Wondering how to turn a simple pork tenderloin into a flavorful, tender dinner in your Dutch oven? The secret lies in a few key steps that lock in moisture and develop rich flavors.
By the end, you’ll be able to prepare a juicy, perfectly cooked meal with minimal fuss. Keep reading to learn the easy process that makes this dish so satisfying.
How to Prep Pork Tenderloin for Maximum Tenderness
To maximize tenderness, start by selecting a pork tenderloin that is firm and deep pink, with minimal fat and a fine grain. Carefully remove all silver skin, as it can curl during cooking and toughen the meat. Pat the tenderloin dry, trim uneven ends, and evenly sprinkle salt over all sides. Gently rub the salt in for 2 to 3 minutes to help break down muscle fibers and enhance moisture retention. Let the meat rest for 15 to 30 minutes after salting—this allows the salt to penetrate and improves the overall texture. For an equally tender result with beef, a chuck roast can be seared and braised in a Dutch oven for fall-apart texture.
For additional tenderness, use tenderizing tools such as the spiked side of a meat mallet. Place the loin between plastic wrap and softly pound it until it reaches about half an inch thick. Allow the meat to relax for 15 minutes before cooking. Alternatively, marinate the tenderloin in olive oil, lemon juice, and herbs for at least 30 minutes—or overnight—for more flavor and tenderness. If you’re short on time, dry salting provides a faster way to tenderize without sacrificing juiciness, avoiding the need for wet brines. After preparing the meat, be sure to properly season your cast iron skillet using three rounds of high-quality oil to maintain a non-stick surface. A thin, even layer of oil applied before baking at high heat creates a durable seasoning that improves with use.

One boneless pork tenderloin weighing between 1 and 1.75 pounds

Two-in-one tool for pounding and tenderizing poultry, pork and beef
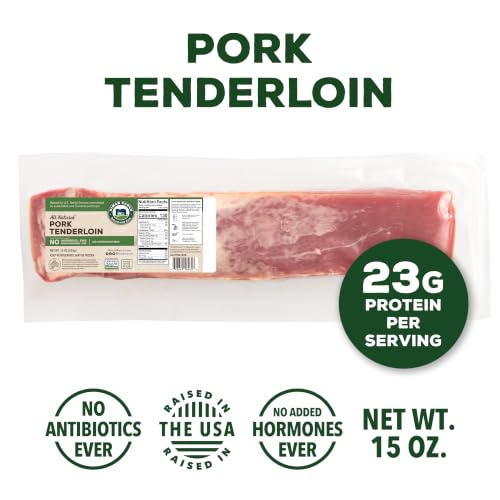
Tenderloin, 15-ounces, one per package
The Best Vegetables to Roast With Pork Tenderloin
The best vegetables to roast with pork tenderloin are those that add both flavor and texture to the dish. Potatoes and carrots are essential—they provide a starchy, naturally sweet base that soak up the savory juices from the pork. For a flavor contrast, add fennel root or shallots; their anise and mild onion notes help cut through the richness without overpowering the meat. To introduce variety in texture, include Brussels sprouts or green beans: they handle high heat well and deliver a crispened, tender bite. Roasted whole garlic cloves bring warmth and pungency, infusing the entire dish with depth. Each vegetable plays a specific role, whether soaking up fat, adding sweetness, or providing crunch, creating a balanced and flavorful one-pan meal. To keep your cookware in top shape through repeated roasts, dry completely and oil the pan after every use.
How to Sear, Braise, and Roast in Your Dutch Oven
To sear, braise, and roast in your Dutch oven, start by removing the pork after browning. Use the Dutch oven to deglaze the pan with stock, scraping up all the browned bits to build flavor. Add aromatic vegetables like onions, carrots, or celery and cook until they are translucent. Return the pork to the pot, placing it on top of the vegetables, then pour in enough liquid to cover the bottom—avoid submerging the meat entirely. Cover tightly and braise at 350°F until tender, which usually takes about 2 to 3 hours depending on the cut. For roasting smaller tenderloins, cook for roughly 10 to 15 minutes; larger cuts will need about 70 to 80 minutes, or until the internal temperature reaches 145°F. Keep an eye on the internal temp to achieve perfect tenderness without overcooking. For the best texture, the pork should reach an internal temperature of 195-205°F for shredding.

Even Heat Distribution Retention: This Umite Chef Dutch oven Made with heavy-duty enameled cast iron, ensures even heat distribution for perfect searing and slow cooking, locking in flavors. thickened walls lock in heat for slow braising, searing, and baking. Unlike thin pots that scorch food, this professional-grade Enameled cast iron potSuperior heat retention after preheating (allow 5-7 mins for even distribution). CRITICAL: Always cool naturally for 45+ mins before cleaning. Thermal shock (hot-to-cold contact) cracks enamel. USE TIP: Preheat 2-3 mins on medium-low only

PFAS-FREE & NON-TOXIC COOKWARE: ATTENTION: If your manual mentions "enamel" or "low-medium heat only", it is incorrect. This is 100% pure cast iron cookware! Not Enamel-Coated: Safe for High-Heat Cooking! Metal utensils OK (avoid sharp edges) Every Umite Chef cast iron pot has been burned with 100% natural, food-grade vegetable oils—absolutely zero PFAS, PFOA, PTFE, synthetic coatings, or toxic chemicals. Our seasoning naturally builds with use, developing a superior non-stick surface over time while ensuring oven-to-table safety

BREAD BAKER'S DUTCH OVEN, 500°F OVEN-SAFE, SOURDOUGH-READY – one of the highest ratings in its class – delivering the sustained heat that sourdough, artisan bread, and pizza dough demand. Thick cast-iron walls trap and circulate heat like a brick oven, producing bakery-quality crusts at home. The tight-sealing lid features raised self-basting nodes that continuously recirculate steam: a perfect moisture chamber, every single bake.
Why Resting and Slicing Correctly Keeps Pork Juicy
Waiting until the resting period ends is key to keeping pork juicy. Slicing too early breaks the crust and allows those valuable juices to escape before they can redistribute within the meat. Once resting is complete, slice the pork into medallions against the grain. This technique helps each piece stay moist and succulent. Additionally, slicing against the grain ensures the meat is easier to chew and more tender. Allowing the pork to rest for 10 to 15 minutes under a light foil covering ensures juices redistribute throughout the meat before slicing. By following this step, your pork will be better equipped to catch pan sauces without losing its natural flavor and moisture. Just as with steak, patting the meat dry before cooking helps achieve the best crust during searing. You can further enhance the flavor by deglazing the pan with beef stock or wine to lift the browned bits, similar to building a rich crust in a Dutch oven stew. For the best results, cook the pork in a covered Dutch oven at 300°F to 425°F to ensure even tenderness and moisture retention.

Durable HT150 Alloy Construction: Built with superior heat-retaining HT150 cast iron, ensuring even cooking performance and long-lasting durability.

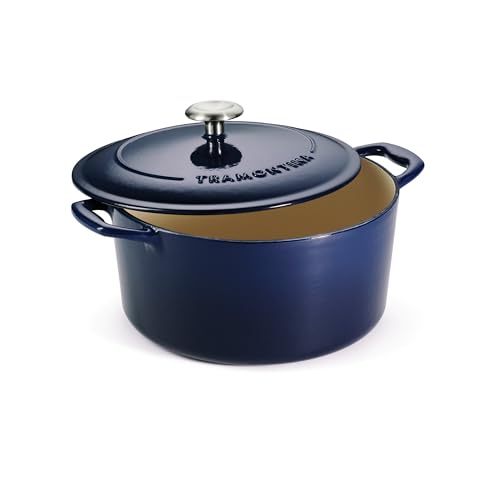
Durable HT150 Alloy Construction: Built with superior heat-retaining HT150 cast iron, ensuring even cooking performance and long-lasting durability.
One-Pot Pork Tenderloin: The Complete Cooking Method
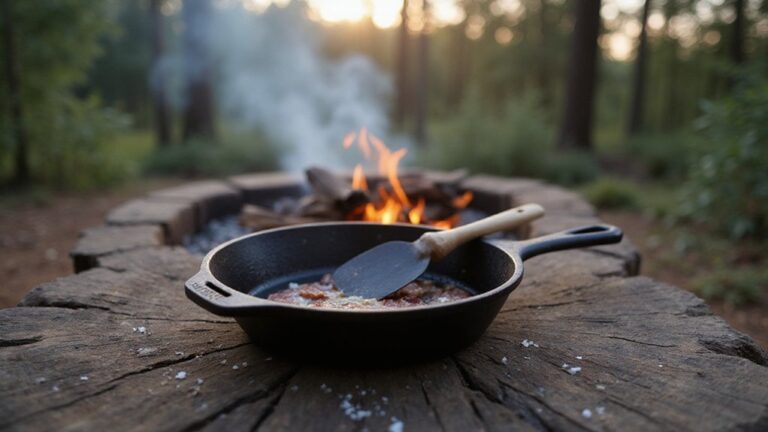
After resting and slicing the pork, you can maximize the one-pot method by using your oven-safe skillet. First, preheat it to 400°F. Sear the tenderloin without moving it for 5 minutes on each side to develop a rich Maillard crust. To enhance flavor, try marinade variations or spice rubs like smoked paprika and cumin instead of just salt and pepper. Once seared, add potatoes cut side down around the pork. Bake everything together for 20 minutes. Then, add carrots and green beans to the skillet. Continue roasting until the pork reaches an internal temperature of 145°F, usually about 10 to 15 minutes more. Remove the pork from the skillet and let it rest, tented with foil. Meanwhile, increase the oven temperature to 475°F to finish browning the vegetables for 5 to 10 minutes. This step ensures tender meat with perfectly roasted sides, all from a single skillet. For campfire cooking, placing charcoal briquettes evenly on top and bottom provides consistent heat comparable to this oven method. Using an infrared thermometer allows you to instantly verify the skillet surface temperature without contact, ensuring even heat distribution. To replicate the steam effect for a crispy crust on any bread baked alongside, placing a pan of water in the oven is an effective technique.