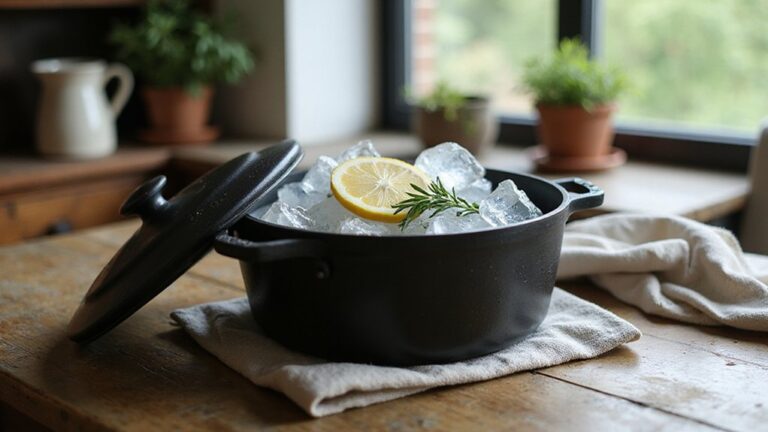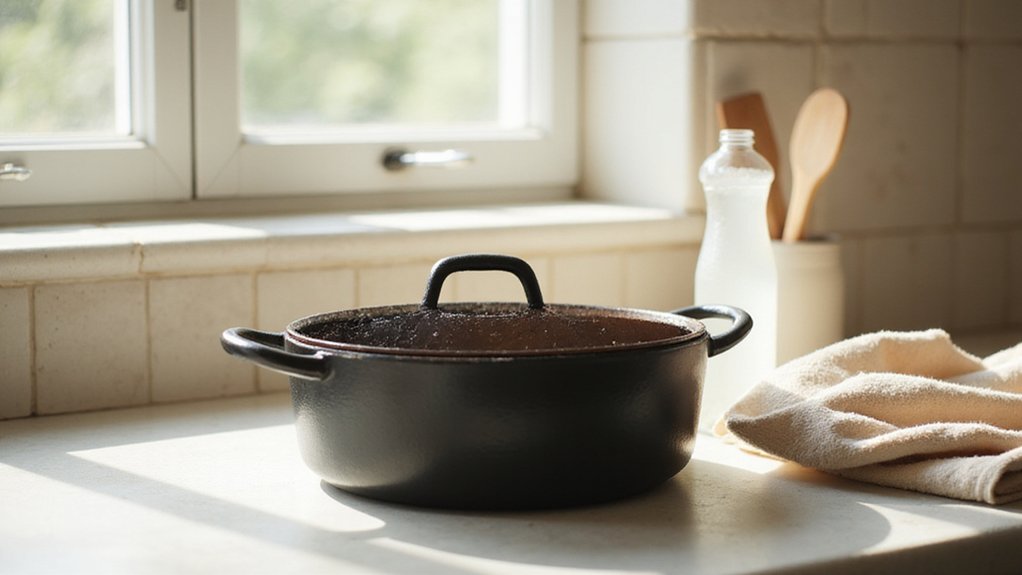
Caring for your Staub Dutch oven can seem tricky, especially when it comes to keeping its surface nice and your cookware in good shape. Proper cleaning and maintenance not only preserve its appearance but also ensure you get the best cooking performance over time.
By understanding the right methods to clean, store, and care for your Dutch oven, you can extend its life and keep it looking and working like new.
The tips below will guide you through everything you need to know to care for your Dutch oven with confidence.
Wash Your Staub Dutch Oven for the First Time
To wash your new Staub Dutch oven for the first time, follow these steps. First, remove all labels, stickers, and packaging from the pot. Then, wash it in warm, soapy water using a soft sponge to eliminate any residues from manufacturing or packaging. Be sure to check that the lid fits properly and look for any defects or damage before proceeding. Rinse the pot thoroughly under hot water to remove all soap, then dry it immediately with a clean cloth to prevent water spots. Allow the Dutch oven to air dry upside down, which helps prevent moisture from hiding inside the bottom. Never wash a hot Dutch oven, as thermal shock could crack the enamel; always wait until it cools completely before cleaning. For cleaning frequency, only wash after unboxing or before long-term storage, not after every use. If you encounter stubborn adhesive residue, soak the pot in warm, soapy water overnight or boil a mixture of vinegar and water to loosen it. Unlike raw cast iron, the enameled surface should not be treated with vinegar spray solutions to remove rust, as this could damage the enamel finish. Avoid harsh soaps or abrasive scrub pads that could damage the enamel finish and compromise its appearance or performance. Once these steps are complete, your Staub Dutch oven is ready for its first use.
Clean Your Staub After Every Use
After each use, allow your Staub Dutch oven to cool completely to room temperature before cleaning. Never rinse a hot pot with cold water, as thermal stress can crack the enamel. Instead, wash it with warm water and a mild liquid dish soap using a non-abrasive sponge. Gently scrub both the interior and exterior in circular motions; while the enamel surface is resistant to damage, harsh abrasives should be avoided. Use minimal soap to help preserve the finish. It is important to note that in modern slang, a Dutch oven also refers to a crude prank under bedcovers, but this cooking pot is designed for entirely different purposes. Similar to the cast iron skillet method for pizza, you can stovetop preheat the pot to help set a crust or sear before baking. For tough residue or minor stains, you can use a natural salt scrub with a soft sponge to gently clean the enamel without scratching it. Regular cleaning helps maintain your pot’s nonstick properties and supports natural seasoning over time. If stubborn stains do appear, cleaning promptly usually prevents them from setting in. After washing, dry the Dutch oven thoroughly with a soft cloth to prevent water spots. Store it with the lid slightly ajar to ensure good airflow, which helps keep the enamel in great condition. Following this routine keeps your Staub performing beautifully for years.
Remove Stubborn Food Residue Without Damaging the Enamel
To remove stubborn food residue without damaging the enamel, use gentle, non-abrasive cleaning methods. Natural abrasives like baking soda or Bar Keepers Friend can be applied on a damp cloth or soft sponge to scrub the surface softly. This helps lift residue while protecting the enamel’s integrity. For protein deposits or more stubborn spots, a stiff nylon brush serves as an effective tool without risking damage. Similar to seasoning a cast iron skillet, building up a durable layer through regular cooking oil use helps strengthen the surface over time. For candy making, using a digital probe thermometer ensures accurate internal temperature readings for syrup stages.
You can also try boiling a mixture of baking soda, water, and vinegar in the pot for 10 to 15 minutes to loosen burnt-on food. After boiling, a plastic scraper can carefully lift the loosened residue. For particularly tough spots, soaking the pot in warm water for several hours softens residues, making them easier to remove. Always avoid using metal tools, as these can scratch or chip the enamel. Instead, stick with silicone or wooden utensils to preserve the surface. After cleaning, wash with soap and water to remove any remaining powder or debris, then towel dry immediately to prevent water spots. This gentle approach ensures effective cleaning without compromising the enamel’s durability. A baking soda boiling method can also be used alone, requiring only baking soda and water boiled for 8-10 minutes to effectively lift burned-on residue. For extra tough stains, precise temperature control similar to sous vide cooking can help soften residues without damaging the pot.

STEEL WIRE BRISTLES: Stainless steel wire bristles clean almost any surface & quickly tackle stubborn residue, rust, paint & scale for effective abrasive brush performance
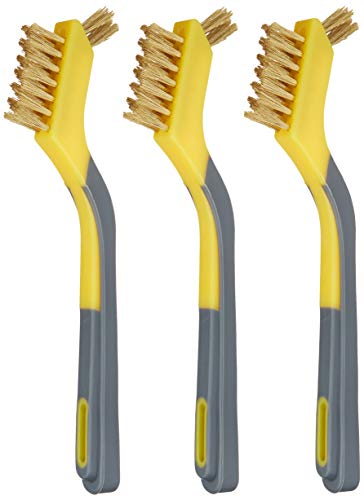
Brass wire bristles: can clean most surfaces and efficiently removes stubborn residue

Product Quantity & Size: This package includes 2pcs nylon cleaning brushes, 1pc with red handle, 1pc with yellow handle, both featuring black nylon bristles, each measuring 17.5x2.5cm (6.89x0.98 inch), compact yet functional for targeted cleaning, making the non-scratch nylon bristles and small cleaning brushes for tight spaces perfect for home, car, or workshop use, and the 2pc quantity ensures a backup or dedicated brush for different tasks
Avoid Thermal Shock, Chips, and Cracks
To avoid thermal shock, chips, and cracks, you should handle your Staub Dutch oven with gradual temperature changes. Always start cooking with the pot at room temperature and use low heat initially—never exceed one-third of the maximum setting during the first five minutes. Match the burner size to the pot’s diameter to ensure even heat distribution, which helps reduce thermal stress. Incrementally increase the heat, waiting three to five minutes between adjustments. Avoid setting the heat to high immediately, as this can cause thermal shock and physical damage.
For cooling, let your cocotte cool completely before washing. Never submerge a hot pot in cold water or pour cold liquid into a hot, empty pan. When reheating refrigerated leftovers, allow the pot to sit out first and then warm it gradually starting from the lowest setting. Making these gradual temperature changes protects your enamel from cracking and chipping, extending the life of your Staub Dutch oven.

Made in France , Heavy weight tight-fitting lid retains moisture spikes on the lid create a rain-forest effect evenly returning juices back onto food
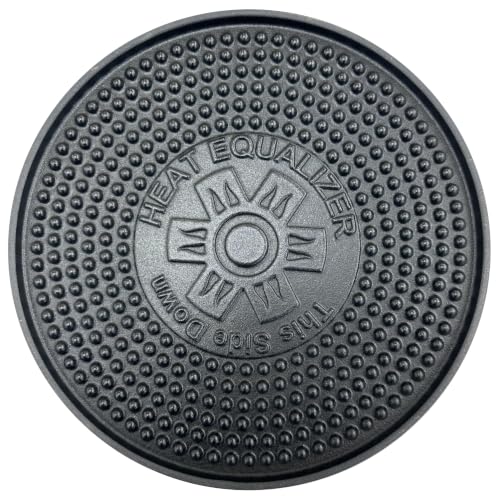
Perfect Fit for Your Cookware: The Cast Iron Heat Equalizer is designed with a 9.25-inch diameter, ensuring a snug fit for most pots and pans. Transform your everyday cookware into high-performance tools, achieving consistent, professional-grade cooking results every time.

Everyday Cooking Made Better: Perfect for skillets, frying pans, sauté pans, omelet pans, saucepans, and everyday cookware. The 8-inch heat diffuser plate helps eliminate hot spots while promoting even cooking.
What Cleaning Tools to Never Use on Your Staub
Never use metal scrapers on your Staub. The rigid edge can chip and scratch the enamel surface, leading to permanent damage. Likewise, avoid abrasive sponges like steel wool and green scouring pads, as they dull the protective coating and ruin the non-stick finish. Metal brushes, wire whisks, and chainmail scrubbers are also off-limits unless explicitly labeled as enamel-safe. Stiff plastic brushes and natural fiber scrubs pose similar risks of micro-scratches. Instead, opt for soft sponges, nylon brushes, and gentle cleaning techniques to preserve your Staub’s pristine surface.

Is Your Grill Brush Safe? - With all the concern about metal wire bristles, we decided to develop a safe grill brush that leaves your grill clean and free of metal wire bristles.

Comfortable Grip: Patented soft-grip handle reduces hand fatigue during extended scrubbing

Measures 3.25"
Dry and Store Your Dutch Oven Properly
Dry and store your Dutch oven properly to keep it in top condition. After each use, wipe the cocotte dry immediately with a clean cloth, ensuring all edges and exposed cast iron rims are thoroughly dried. Avoid using high heat; air drying combined with cloth wiping is sufficient. Incomplete drying can lead to rust, mildew, and unpleasant odors. Additionally, after washing, apply a thin layer of cooking oil to the interior and rim while the pot is still warm to help maintain its seasoning. This process, which involves heating the oil to its smoke point, creates a polymerized oil layer that bonds chemically with the cast iron.
For storage, always keep the lid off or slightly ajar to promote air circulation. Storing it with the lid sealed traps moisture inside, which can cause enamel discoloration and rust. Place a soft cloth or plastic clip between the pot and lid to prevent scratches. Avoid stacking other cookware on top, as this can cause chipping. Store your Dutch oven in a stable, well-ventilated area away from heat sources and humidity. Periodically check that all parts remain dry and that knobs stay snug to prevent any issues. If you plan to travel with your Dutch oven, remember that cast iron skillets are prohibited in carry-on luggage, so pack it in your checked bag instead.
Oil the Interior for Nonstick Performance
Oiling the interior creates a protective film that enhances natural gloss and prevents food from sticking. Applying a thin layer of cooking oil, such as vegetable, grapeseed, or canola oil, helps maintain the nonstick surface. Similar to the cake mix method used in campfire cobblers, this technique relies on simple ingredients to create a reliable, easy-to-clean layer. Use about half a tablespoon of oil before cooking, coating the entire interior evenly and wiping away any excess with kitchen paper to prevent pooling. For best results, ensure the pot and oil are completely dry before sealing to avoid trapping any residual moisture that could lead to damage.
Heat the pot slowly on low heat for a few minutes until the oil absorbs into the enamel. Low heat reduces the risk of burning the oil and damaging the coating. After heating, allow the pot to cool for a minute, which helps set the film. Pre-oiling before first use activates the enamel’s nonstick properties. Repeat this process when the interior appears dull or food begins to stick more often. However, if the surface remains shiny and clean after washing, additional oiling isn’t necessary. For precision, you can use an infrared thermometer to check the surface temperature and ensure the low heat setting is correct. Regular small applications sustain the nonstick performance over time.

Graza Frizzle Oil Made from 100% Olives: A neutral-flavored, high heat cooking oil made from 100% peak harvest olives. With a smoke point of up to 450 degrees, Frizzle is your high-heat kitchen hero. 1 bottle/750ml.

Light Buttery Flavor That Elevates Every Meal: Algae Cooking Club Chef-Grade Algae Oil enhances every dish with subtle richness. Its neutral profile makes it ideal for searing, baking, and dressings, transforming everyday meals into gourmet experiences.

Light Buttery Flavor That Elevates Every Meal: Algae Cooking Club Chef-Grade Algae Oil enhances every dish with subtle richness. Its neutral profile makes it ideal for searing, baking, and dressings, transforming everyday meals into gourmet experiences.
How to Deep Clean Your Staub’s Finish
Deep cleaning your Staub’s finish involves a few targeted steps to remove stains and restore its shine. Start by applying a baking soda paste made with equal parts baking soda and water on burnt or stained areas. Let it sit for about an hour to loosen especially stubborn residues, then scrub gently with a non-abrasive sponge to avoid scratches. For more persistent stains, reach for Bar Keepers Friend; its mild abrasiveness polishes the enamel without damaging it. To loosen baked-on food or mineral deposits, simmer a mixture of equal parts vinegar and water in the cookware for 10 to 15 minutes, then drain and let it cool. For deep stains or buildup, create a slurry of coarse salt and a few drops of water or oil, then scrub in circular motions. For heavy deposits, soak the entire piece in warm, soapy water overnight, then rinse thoroughly and dry completely. Fully drying prevents water spots and maintains the glossy finish.
SIX SCRUBBING SPONGE: This pack of Scotch-Brite Zero Scratch Scrub Sponges includes 6 sponges

NINE SCRUBBING SPONGES: This pack of Scotch-Brite Zero Scratch Scrub Sponges includes 9 sponges

CLEAN SMARTER - NOT HARDER: We all know the pain of scrubbing away dirty or burnt food on pots with a soft cloths, and the hassle of a dish cloth and scrubber taking up space on the sink. Why not get the best of both worlds with our brand designed scourer/microfiber cloth combo sponge.
When to Seek Professional Repairs
You should seek professional repairs if you notice enamel damage such as chips, cracks, or pitting that expose the underlying cast iron. These defects can pose food safety risks because bacteria may hide in the damaged areas and cannot be fixed at home. Additionally, contact a specialist if the handle becomes wobbly or detaches, as this indicates broken internal threads or mounting issues that create safety hazards. For comparison, FoodSaver bags are BPA-free and FDA-approved for sous vide cooking, offering a safe alternative when enamel integrity is compromised.
Thermal shock symptoms like hairline cracks, warping, or popping sounds during cooling are signs of internal stress fractures. If your pot heats unevenly or the rim won’t seat properly with the lid, this suggests internal damage affecting performance. In any of these cases, stop using the pot immediately. Send a clear photo of the issue to info@consiglioskitchenware.com to initiate your warranty or repair process.