If your cast iron skillet with grooves is becoming a challenge to clean, you’re not alone. These tricky spots can trap food and grime, making your scrubbing routine a bit more involved.
Fortunately, there are straightforward methods to keep your skillet spotless and well-maintained.
Below, you’ll find the essential steps to tackle the grooves effectively and keep your skillet performing its best.
Why Grooves Are Harder to Clean
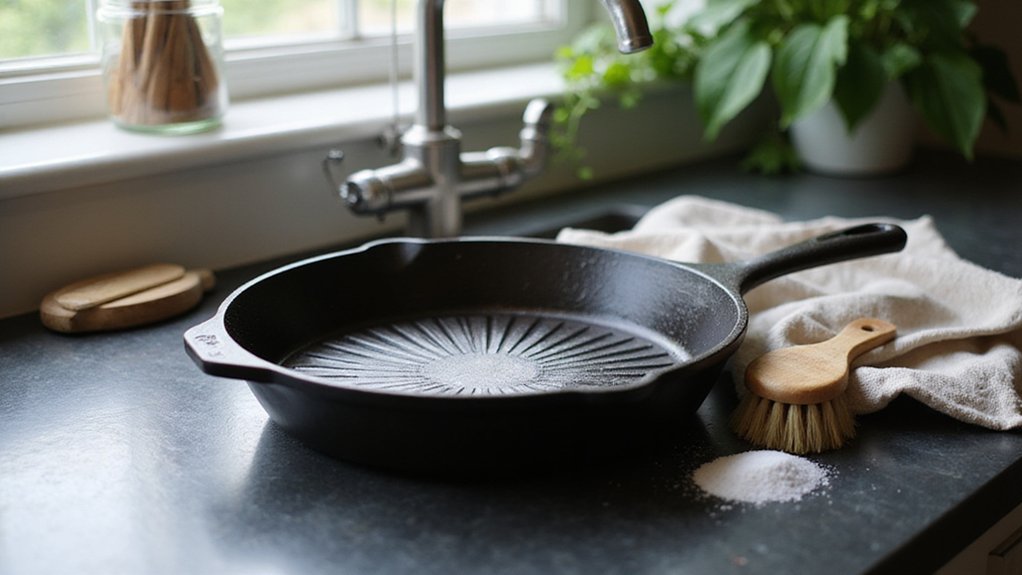
Grooves are harder to clean because their deep channels trap food particles that are inaccessible to standard flat scrubbing motions. These narrow, curved pathways prevent water and soap from reaching all debris, allowing grease and residue to build up over time. The rounded bottoms can leave sticky remnants even after washing, making it challenging to achieve a thorough clean. Additionally, high heat causes oil polymers to bond strongly to the iron inside the grooves, creating a carbonized layer that water alone cannot remove. Because thick groove material heats more slowly than the ridges, food often remains undercooked and stuck in these depressions. Steam has limited effectiveness here, as it struggles to fully penetrate deep channels, reducing its ability to lift stubborn debris. Narrow slots restrict boiling water flow, making traditional deglazing methods less effective. Moisture tends to linger longer in these crevices, increasing the risk of rust if they are not dried thoroughly after each use. Using a vinegar spray solution can help loosen rust and residues in these hard-to-reach areas without causing pitting damage. Using a salt-water slurry first can effectively loosen these difficult residues before resorting to brushes or scrapers. A similar principle of trapping steam inside a Dutch oven helps achieve a crisp, golden crust on artisan bread by creating a moist environment for the dough.

Scrubs without soap to preserve seasoning and protect surfaces

EARTH FRIENDLY MATERIALS: Crafted with a bamboo handle and recycled plastic for environmentally friendly cleaning.

Easy Cleanup Tool: The Lodge Scrub Brush is designed to help tackle stubborn food residue and simplify cast iron cookware cleanup
Which Scrub Tools Are Safe for Grooves (and Which Will Scratch)
Steel wool and abrasive scouring pads are too harsh for cast iron and enameled cookware—they can scratch and damage the surface. Regular sponges might seem gentler but tend to fail in cleaning grooves and textured areas without causing harm. For enameled cast iron, chain mail scrubbers are not recommended; they can scratch the enamel. Opt for tools that are designed for delicate cleaning while effectively removing grime.
Safe tools include non-abrasive scrubbing pads made from nylon or silicone, which won’t scratch surfaces. Soft plastic scrapers also work well for gently loosening stuck-on food without harm. A microfiber cloth or a soft-bristled brush can be used for light cleaning, especially in grooves. Always apply light pressure and avoid scrubbing vigorously. Never rush through the process—gentle, consistent cleaning preserves the cookware’s surface and extends its lifespan. After cleaning, thoroughly drying the skillet and applying a light coat of oil prevents rust and preserves its seasoning. As with baking sourdough bread in a Dutch oven, the key to success lies in patience and careful technique rather than harsh shortcuts. This precision mirrors the sous vide cooking approach, where exact temperature control prevents damage to delicate egg textures.

#1 SILICONE DISH SCRUB: When you’re dealing with dirty dishes, the last thing you want is a sponge that’s not up to the task. Our silicone dish scrubber sponges contain real silicon, so they’re durable and won’t scratch your dishes, glasses, surfaces or car.

【Box Contents】 Need a gentle pad that won't cut? This box holds 8 white, light-duty hand pads, each 6" × 9", non-abrasive (7445-type)—for cleaning, polishing, and finishing without removing material.

What you receive: 10 pieces of silicone washing sponges, 2 yellow, 2 green, 3 orange and 3 blue, you can use the sponge of certain color to clean a certain place, more hygiene and convenient; Each silicone sponge measures 11.5 x 7 x 2 cm/ 4.5 x 2.8 x 0.8 inch, easy to store, clean and quick to dry
How to Loosen Stuck-On Food From Deep Grooves Fast
Fill the pan with 1 to 2 inches of water, enough to cover the stuck-on food. Bring it to a rolling boil and cover it for 5 to 10 minutes. The steam generated will loosen residue from the deep grooves. While it boils, gently scrape away softened food with a wooden spoon. After boiling, pour out the hot water and, for stubborn remnants, add coarse kosher salt and a teaspoon of oil. This method preserves the seasoning while cleaning, as salt doesn’t dissolve in oil and acts as an effective scrub without stripping the non-stick layer. Scrub in circular motions with a paper towel held by tongs; this abrasive action won’t damage your seasoning. Regularly clean based on how often you cook, and always maintain your seasoning after each deep clean. Rinse with hot water, and your skillet is ready for its next use.

Premium kosher sea salt from the Mediterranean

No additives; Only pure kosher salt

Mineral-Rich: Unrefined to preserve essential minerals, our Baja sea salt enhances the flavor & nutritional value of your dishes. This coarse salt for grinder refill adds depth to every dish, making it a healthy & flavorful choice for your kitchen.
Dry Grooves and Every Crevice So Rust Doesn’t Stand a Chance
To prevent rust, focus on thoroughly drying all grooves and crevices after cleaning. Start by wiping the warm skillet with firm pressure using crumpled paper towels; this helps force moisture out of deep textured areas. Don’t rely solely on visual dryness—place the skillet on medium-low heat for 3 to 5 minutes, rotating it occasionally. This step evaporates hidden moisture that can promote rust. To minimize the risk of damage to the seasoning, avoid high heat. In humid climates, place the skillet upside down in an oven set to low heat for five minutes, then let it cool entirely inside the oven overnight. Once dry, apply a single drop of high-smoke-point oil, like canola or avocado, and spread it in circular motions into all crevices. Allowing steam to release baked-on residues is a technique that can be used before this drying process to help loosen stubborn food from the grooves. This drying method is similar to how vacuum sealing locks out air to prevent moisture damage. Work it into an ultra-thin film across the surface, then briefly heat until the oil stops smoking. This step creates a protective layer that keeps moisture at bay and preserves your skillet’s seasoning. For precision tools like infrared thermometers, the same principle of eliminating hidden moisture applies as it does for cast iron, given their classification under HS Code 9025 for customs compliance. If you encounter stubborn food bits in the grooves, scrubbing with coarse salt can effectively remove them without damaging the seasoning.

Mild and Easy: Grapeseed Oil is at its best in stir-fries and sautés; it doesn't overwhelm other ingredients and lets fresh flavors shine. When grilling or frying, it is a must-have in the pantry.

Light Buttery Flavor That Elevates Every Meal: Algae Cooking Club Chef-Grade Algae Oil enhances every dish with subtle richness. Its neutral profile makes it ideal for searing, baking, and dressings, transforming everyday meals into gourmet experiences.
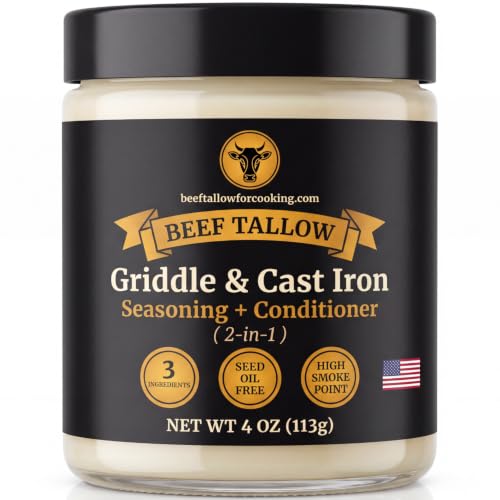
THE SEED OIL FREE FORMULA — Golden Render is the world's first seed oil free, tallow-based griddle seasoning & cast iron conditioner. While others use soy, shortening, grapeseed, sunflower or canola, we use just 3 clean ingredients: beef tallow, avocado oil & beeswax.
Which Oil Works Best for Re-Seasoning Grooves
The best oil for re-seasoning grooves is one with a high smoke point, good polymerization properties, and easy accessibility. Flaxseed oil is excellent because it bonds deeply with the surface through multiple thin coats, creating a durable seasoning layer. However, it has a low smoke point, which can produce heavy smoke, so proper ventilation is essential. For a more forgiving option, grapeseed oil offers strong foundation-building benefits thanks to its ability to polymerize well. Avocado oil has an even higher smoke point, making it suitable for creating a tough, long-lasting seasoning. Sunflower or peanut oil can also work effectively once a solid base layer is established. Excessive oil application during seasoning creates a sticky, gummy residue that can be particularly problematic in grooves, so always apply only a very thin layer of oil to avoid pooling, then wipe off any excess after about 30 minutes. When re-seasoning grooves, heat the skillet upside down at 400°F to 425°F for one hour. This step helps the oil polymerize evenly, especially into hard-to-reach crevices, leaving a resilient and smooth seasoning finish.

100% GRAPESEED OIL BULK SIZE: Expertly crafted by The Olive Oil People using wine grape seeds imported from France

Mild and Easy: Grapeseed Oil is at its best in stir-fries and sautés; it doesn't overwhelm other ingredients and lets fresh flavors shine. Great for everyday use, high heat cooking, and for DIY beauty applications

Very High Smoke Point: Features a smoke point of 450-500F, making it suitable for high-temperature seasoning and maintenance of cast iron cookware
How to Store Your Cast Iron So Grooves Stay Rust-Free
To prevent rust, store your cast iron skillet in a dry, well-ventilated space. After cleaning, dry it thoroughly with paper towels, paying special attention to the grooves where moisture can hide. Once dry, place the skillet on low stove heat for 2 to 5 minutes to evaporate any remaining hidden moisture. For optimal airflow, hang your skillet on a wall rack rather than stacking it. If stacking is necessary, insert a paper towel between pans to absorb moisture and prevent scratches. Avoid wrapping the skillet in plastic, since trapping moisture promotes rust formation. After drying, apply a thin layer of oil to form a protective barrier against moisture. Keep the lid off or set slightly ajar to allow ventilation. In humid environments, adding silica gel packets to your storage area can further help absorb excess moisture.