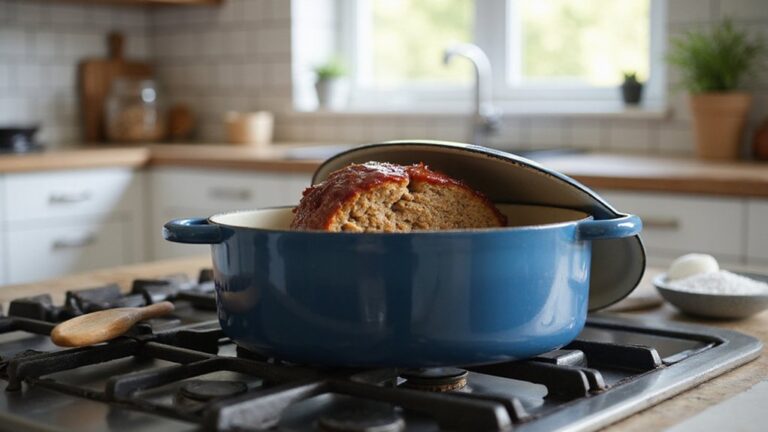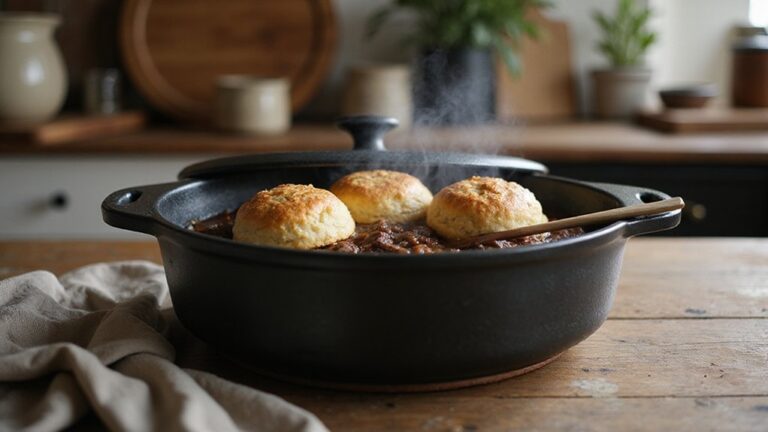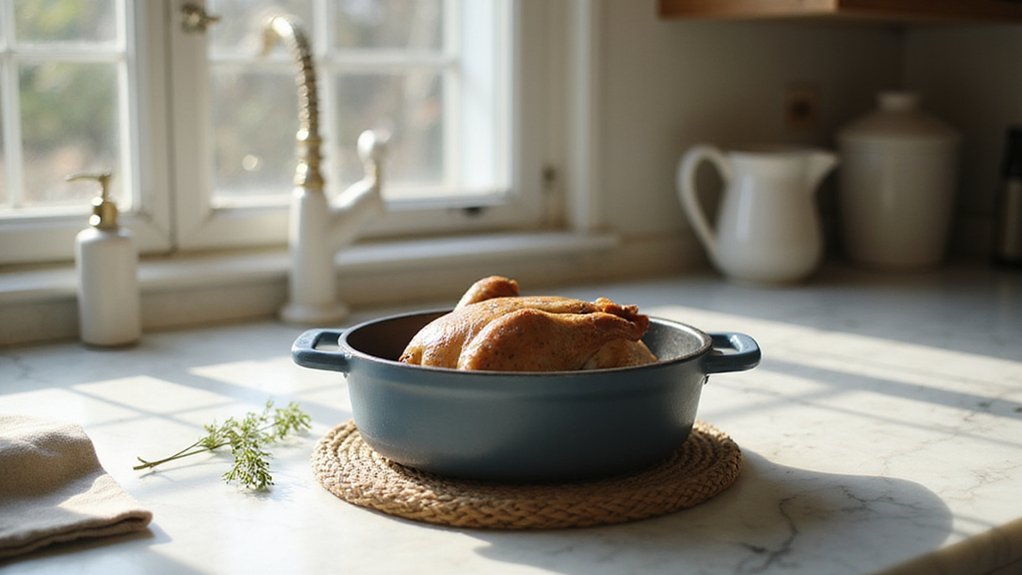
Getting perfectly roasted chicken on your stove top might seem tricky, but it’s entirely doable with a Dutch oven and a little know-how. The key is starting with a seasoned, dry bird and building a flavorful crust through a careful sear.
Then, low and slow cooking with vegetables locks in moisture and adds depth to the dish.
Follow these steps to achieve tender, juicy chicken every time.
Prepare the Dutch Oven Chicken for Browning
To prepare the Dutch Oven Chicken for browning, start by patting the entire chicken dry with paper towels, including the cavity, to remove excess moisture that can cause sticking. Let the chicken sit out of the fridge for about 30 minutes to reach room temperature, which promotes even cooking. Brush the skin with olive oil or softened herb butter to help seal in moisture and enhance browning. Instead of using a liquid marinade, directly infuse flavors by lifting the skin gently and rubbing seasoned butter between the flesh and skin for a deep, crispy exterior. For optimal cooking results, season the cavity with 1 teaspoon of salt and stuff with onions, celery, and parsley. Use simple seasoning techniques by mixing salt, pepper, garlic powder, and smoked paprika in a bowl, then season both the cavity and the outside of the chicken. Truss the bird with kitchen twine to keep it compact and ensure even heat distribution. The same principle of building a durable seasoning layer applies to cast iron, where multiple rounds of oiling and baking create a natural non-stick surface. This preparation sets the stage for perfectly browned, flavorful chicken in your Dutch oven.

Bold Garlic and Herb Flavor: Packed with savory garlic and herb taste in every spoonful
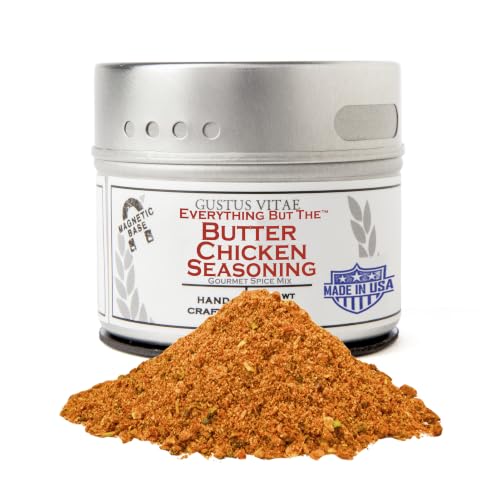
GOURMET BUTTER CHICKEN SEASONING: Handcrafted Everything But The blend captures the warm, aromatic, slightly tangy essence that makes classic butter chicken one of the most beloved dishes in the world.

If you like herb butter on your steak, look no further. This is an expertly mixed seasoning with herbs and spices that match the rich taste of butter. Simply soften the butter, add the seasoning, churn and refrigerate again. Then add a slice of the herb butter to your meats, sausages or corn. Great for any BBQ dish.
Brown the Chicken in the Dutch Oven on the Stove
Once you’ve preheated your Dutch oven over medium-high heat, add about a tablespoon of olive oil and let it shimmer. Pat your chicken bone-dry to ensure it sears properly. Place the chicken skin-side down in the hot oil; don’t move it right away, as it will stick initially. Let it cook undisturbed for about 3 minutes, then gently lift to check if it’s releasing naturally. If it still sticks, give it another 2 to 3 minutes. Patience is key—allowing the proteins to cook and moisture to evaporate helps build a golden crust. This process not only enhances flavor infusion but also creates a seasoned surface in the pan that improves future roasts. For consistent results, rotate the lid and body periodically to prevent hot spots during longer cooking. Similar to the browning method, canning jars rely on heat to expel air and create a secure seal to preserve food. Choosing a vacuum sealer for your kitchen can similarly rely on sealing modes for different food types and ease of use to achieve the best results. Sear the chicken for a total of 5 to 7 minutes per side, turning occasionally to brown the top and sides too. Keep the lid off throughout to allow moisture to evaporate and achieve a crispy skin. Once the entire piece is evenly golden, remove the chicken and set it aside. The whole browning process generally takes about 10 to 15 minutes, depending on the size of the chicken.

2-in-1 Versatile Cookware Design: The Lodge Cast Iron Double Dutch Oven is a Dutch oven and dual-handle skillet in one smart design, expanding your options for searing, baking, frying, and more

Enhanced Cooking Experience: Carote enameled cast iron braiser boasts excellent heat conduction & retention. Its thick cast iron body and lid condensation lock food flavor. Ideal for searing, roasting and braising.

Pre-seasoned 2-in-1 cast iron dutch oven: The 2-In-1 cast iron dutch oven pot with skillet lid has been burned with vegetable oil,(no synthetic coatings or chemicals). The shallow skillet that can be used as a lid
Build a Vegetable Bed in the Dutch Oven
After deglazing the pan, build a vegetable bed that promotes even roasting and deep flavor. Start by shingling half of your yam rounds on the bottom, slicing them into ¼-inch-thick rounds for a stable base. Spread collard greens evenly over the yams to create a hearty layer that retains moisture. Fan out sliced Brussels sprouts to fill gaps without packing the vegetables tightly, allowing heat to circulate for uniform cooking. Lay slices of Muenster cheese over the greens to act as a barrier that prevents drying out during roasting. Similar to how patting the meat dry helps achieve a perfect sear on steak, ensuring the vegetables are dry before layering can improve browning and texture. Sprinkle diced onions, salt, pepper, and rosemary across the layers to infuse deep, aromatic flavor. Add chopped cauliflower on top, then pour ¼ cup of vegetable stock down the sides of the Dutch oven to maintain moisture and enhance flavor penetration. Finish with a sprinkle of Parmesan cheese, forming a protective crust that helps lock in moisture and develops a rich, roasted exterior. For an even more stable and harder vegetables base, add chunky-cut carrots and potatoes beneath the softer vegetables to follow the cooking progression used for beef chuck. This layered approach ensures even heat distribution and a fully infused, flavorful vegetable roast. Always heat the Dutch oven gradually on low to medium before adding stock to prevent thermal shock and protect the enamel. A butane torch provides quick, targeted heat for finishing the top layer if you want a browned, crusty effect without overheating the oven.

【Charming Multi-Color Set】This mini cocotte set includes white, gray, brown and soft pink options, each with a chic sesame-speckle finish and khaki base, perfect for adding color to your kitchen

COOKING SURFACE: This oval roaster has a capacity of 11 inches, providing ample space for versatile cooking options

This small roasting pan measures 13 x 8 x 3 inches, making it well-suited for preparing small whole chickens, hams, and roasted veggies. Thanks to its compact build, it easily fits most conventional household ovens — a practical kitchen staple for routine meals and intimate gatherings
Set the Oven Temperature and Roasting Time
Preheat your oven to 425°F for the initial high-heat blast that crisps the skin nicely. Roast the chicken for 15 minutes at this temperature, then lower the heat to 375°F for a bird weighing around 3 to 4 pounds. This two-step approach ensures even cooking without drying out the meat. The total roasting time is roughly 20 minutes per pound, so for a 4-pound chicken, it will take about 1 hour 20 minutes. Keep the Dutch oven uncovered during roasting unless you notice signs of burning, in which case you can cover it briefly to prevent over-browning. Use a dry brine before roasting to enhance crispiness and season the bird effectively. If you prefer, swap out butter for olive oil to suit your taste. To check for doneness, insert a thermometer into the thickest part of the thigh; it should read 165°F. Also, ensure the juices run clear, and the legs wiggle easily, indicating the chicken is fully cooked. For the most precise results, rely on a digital probe thermometer rather than an infrared model for accurate internal temperature measurement. Baste the chicken every 30 minutes with pan drippings to help lock in moisture and flavor. Just as a cast iron skillet excels at heat retention and even heat distribution for a superior crust, a Dutch oven’s heavy construction provides consistent oven heat for roasting. Similarly, maintaining your cookware with multiple seasoning rounds ensures long-term performance and prevents rust.
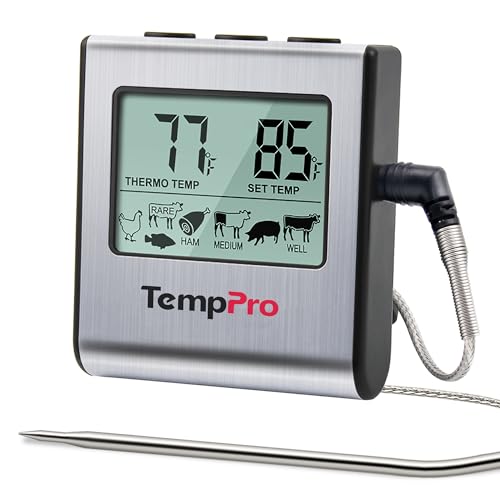
Cook mode with USDA preset temperature settings: TempPro cooking thermometer ideal for meat, oven, smoker or stove top; Programmable alert with preset temperatures for specific foods recommended by USDA; All of the preset temps can be reset to your desired tastes

Fast & Accurate: Get precise readings in just 1 second with ±0.9°F accuracy. NSF Certified for trusted food safety, this digital food thermometer features a 4.3 inches food-grade stainless steel meat probe, perfect for grilling, frying, baking, making candy and more

Fast and Accurate Reading: Kitchen thermometer for cooking features a 1 second readout speed and high accuracy of +/-0.9 degrees Fahrenheit, ensuring you receive the most delicious results every time
Rest the Chicken Before Serving
After removing the chicken from the oven, let it rest for at least 15 minutes before carving. Resting allows the juices to redistribute evenly throughout the meat, resulting in a moister, more flavorful dish. During this time, the internal temperature will rise about 5°F due to carryover cooking, so aim to remove the chicken at around 155°F to reach the safe 165°F when rested. Loosely tent the chicken with foil to keep it warm without softening the skin. Avoid wrapping tightly, as this traps steam and can make the skin soggy. This resting technique is similar to how sous vide cooking uses precise temperature control to achieve perfect doneness, though a vacuum sealer is not required for that method. Do not rest the chicken longer than 20 minutes, as extended resting can compromise food safety and lead to a cold, dry meal. This principle mirrors how a cast iron skillet is preheated to a high temperature to create a superior crust on a steak. Serve within an hour for optimal freshness and moisture.

High Quality Material: Our disposable aluminum pans are made from high quality and food-grade aluminum foil which is is safe and non-toxic. Though disposable, they are durable enough that can be used repeatedly. They are dishwasher safe. Or just throw them away after use, they are recyclable and eco-friendly, making them an excellent choice for anyone who is concerned about our environment.
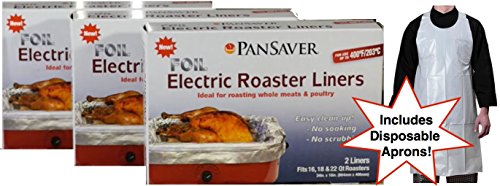

Household tin foil paper--if you don't like cleaning after baking, you must use these paper linings,foil sheets kitchen