Wondering how to make a juicy, flavorful meatloaf on the stove top in a Dutch oven? The trick is shaping it just right and simmering it gently in a simple broth until it’s perfectly cooked.
By the end, you’ll have a tender loaf with a rich, homemade gravy ready to serve. Here’s how to do it step by step.
Shape, Place, and Simmer the Loaf in the Broth
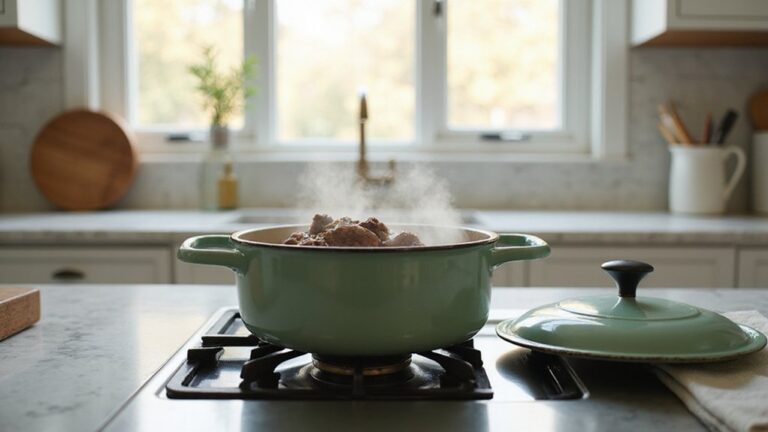
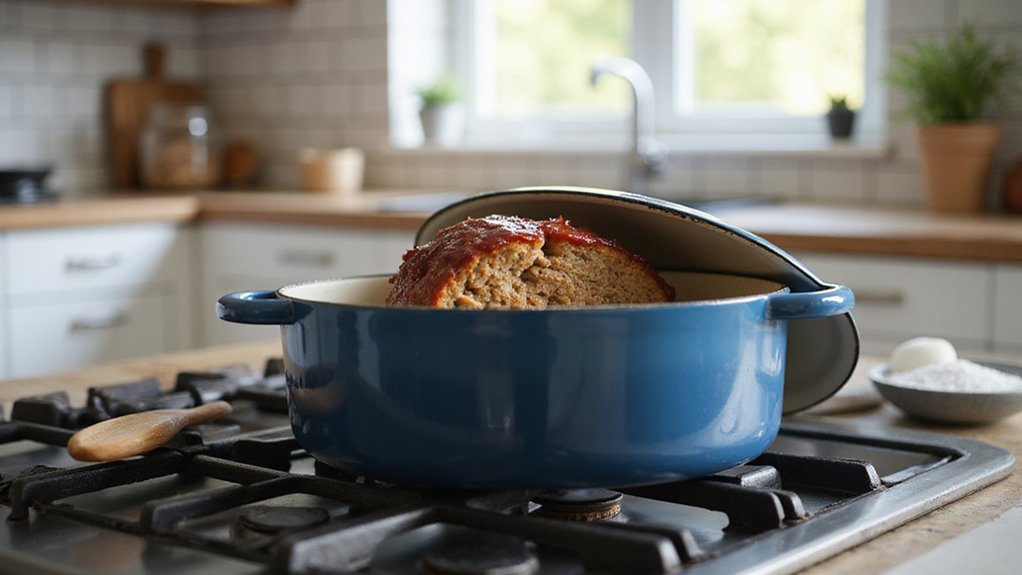
To shape the loaf, form it into a round about 7 to 8 inches wide to fit comfortably in a standard Dutch oven. Alternatively, divide the mixture into smaller, individual portions for serving. Gently mix the ingredients until just combined to prevent a dense texture. Use parchment paper or lightly oil a surface to lift and transfer the shaped loaf into the pot. This method mirrors the versatility of cooking in a small Dutch oven, which can also be used for baking, roasting, and frying such as in recipes for cornbread and frittatas. Center the loaf carefully, then pour in your broth—diluted tomato sauce, water, and tomatoes—until it reaches a depth of 2 to 3 inches. Add bay leaves for added flavor. For variation, consider swapping the broth with beef stock or enhancing it with Worcestershire sauce, and for deeper flavor, you can also deglaze the pot with balsamic vinegar. To ensure the loaf is cooked through, insert an instant-read thermometer into the thickest part of the meat to check for the correct internal temperature. Reduce the heat to medium-low, cover the pot, and let it simmer for about 1.5 hours. Check the liquid level occasionally and add water if needed to prevent burning or sticking. This method uses a Dutch oven as suitable for outdoor cooking, as noted in *The Scouts Outdoor Cookbook*. Serve the loaf alongside mashed potatoes or crusty bread to soak up the flavorful broth.

Even Heat Distribution Retention: This Umite Chef Dutch oven Made with heavy-duty enameled cast iron, ensures even heat distribution for perfect searing and slow cooking, locking in flavors. thickened walls lock in heat for slow braising, searing, and baking. Unlike thin pots that scorch food, this professional-grade Enameled cast iron potSuperior heat retention after preheating (allow 5-7 mins for even distribution). CRITICAL: Always cool naturally for 45+ mins before cleaning. Thermal shock (hot-to-cold contact) cracks enamel. USE TIP: Preheat 2-3 mins on medium-low only
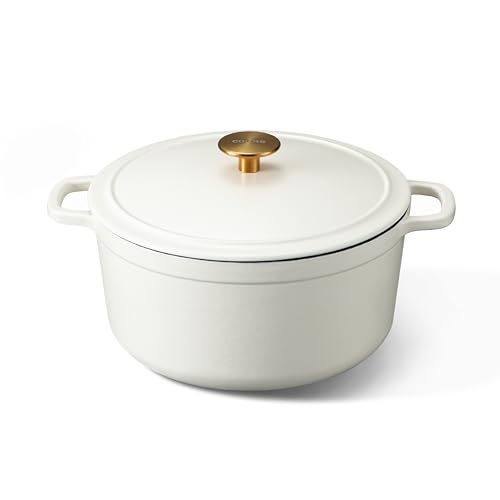
Superior Even Heat Control: One-piece thick cast iron delivers uniform heat with zero hot spots and excellent heat retention, ideal for searing, braising and crusty bread baking. Preheat on medium-low heat; cool naturally before washing to prevent enamel cracking.

BREAD BAKER'S DUTCH OVEN, 500°F OVEN-SAFE, SOURDOUGH-READY – one of the highest ratings in its class – delivering the sustained heat that sourdough, artisan bread, and pizza dough demand. Thick cast-iron walls trap and circulate heat like a brick oven, producing bakery-quality crusts at home. The tight-sealing lid features raised self-basting nodes that continuously recirculate steam: a perfect moisture chamber, every single bake.
Use the Right Binding Ratio for Moist Meatloaf
Use ¾ to 1 cup of binder and one egg per pound of meat to keep your meatloaf moist and tender. This ratio ensures a good meat texture—firm but not dry. If you’re making ingredient substitutions, like oats instead of breadcrumbs, keep the same binder volume. For leaner meats, increase the binder slightly and add a splash of milk or broth to retain moisture. Fattier blends, such as 80/20 ground beef, require less binder since the fat adds moisture naturally. If your mixture feels wet, add more dry binder, not eggs. Conversely, if it’s crumbly, incorporate liquid a tablespoon at a time until the right consistency is achieved. Shredded vegetables release moisture, so reduce the binder slightly when adding them. When cooking in a Dutch oven, its superior heat retention ensures even cooking without hot spots that can dry out the edges. Let soaked breadcrumbs or panade sit a few minutes to absorb in milk before mixing—the longer they rest, the better the moisture retention. This careful balance helps your meatloaf stay juicy and slices smoothly without falling apart. For similar care in restoring cast iron, high-quality seasoning oil applied while still wet prevents flash rust during multiple seasoning rounds.
Build a 3-Ingredient Broth for Simmering
Using just three ingredients—beef bouillon, water, and onion powder—you can create a simple, flavorful broth for simmering your meatloaf. Start by dissolving one beef bouillon cube in each cup of hot water, stirring vigorously until the granules are fully dissolved. Then, add a teaspoon of onion powder to deepen the broth’s aromatic profile. Pour this mixture into your Dutch oven, creating a shallow pool before placing your meatloaf inside. Before beginning, it is essential to purge any excess air from the torch’s fuel tank to prevent malfunction and ensure optimal ignition, though for this stove-top recipe you simply skip that step. Maintain a gentle simmer at around 185°F to 200°F; avoid boiling vigorously to prevent toughening the meat. Partially cover the pot to minimize evaporation, ensuring the broth stays flavorful. For added flavor complexity, consider tossing in halved carrots or potatoes—these will soak up the beefy essence as they cook. When ready to serve, spoon some of this concentrated broth over your sliced meatloaf to enhance moisture and taste. Let the meatloaf rest for 10 minutes before slicing to allow the juices to redistribute. After removing the meatloaf, clean your cast iron Dutch oven using vinegar and baking soda to remove any baked-on residue and maintain its seasoning. If you were using sous vide cooking instead, FoodSaver bags are BPA-free and FDA-approved for simmer-safe temperatures up to 212°F.


Includes one 3.25 oz container of 25 HERB-OX Beef Bouillon Cubes

Knorr Beef Flavor Bouillon Cubes blend flavors of beef, onion, parsley, and other spices
Check Doneness of Stovetop Dutch Oven Meatloaf
To check if your stovetop Dutch oven meatloaf is done, use an instant-read thermometer as your most reliable indicator. Insert it at least one inch into the thickest part of the loaf, avoiding the pan bottom or any trivet. Wait for a stable reading of 160°F if using ground beef or pork. Check in multiple spots to ensure even cooking. Besides temperature, look for a golden brown crust and clear juices when pressing down. A firm but slightly springy texture also indicates doneness. The seasoning should create a dark, flavorful exterior. This dark, flavorful crust is enhanced by seasoning the skillet with a high smoke point oil. Once the internal temperature reaches 160°F, you can carefully transfer the meatloaf for plating, leaving the cooking liquid behind. In contrast, blanching is not required for vacuum-sealed squash if used within four to six months. For a richer flavor, you can incorporate tomato paste and Worcestershire sauce into the meatloaf mixture, similar to how they deepen the broth in a hearty beef stew.

Fast & Accurate: Get precise readings in just 1 second with ±0.9°F accuracy. NSF Certified for trusted food safety, this digital food thermometer features a 4.3 inches food-grade stainless steel meat probe, perfect for grilling, frying, baking, making candy and more

【8X Faster + 4X More Precise】: Upgraded with an industrial-leading professional thermocouple sensor, Themomonster meat thermometer digital with NIST certified ±0.5℉ precision provides you the accurate temperature of your food in just 0.5 Seconds.

【Fast & Accurate】Our meat thermometer digital delivers accurate readings within ±1°F in just 1–2 seconds, with a wide temperature range of -58°F to 572°F (-50°C to 300°C). No more waiting over the heat - know your food's exact temperature instantly.
Let the Meatloaf Rest Before Slicing
Let the meatloaf rest for 10 to 15 minutes before slicing. During this time, muscle fibers relax, which helps lock in the juices and prevents the slices from becoming dry or crumbly. The internal temperature stabilizes, allowing the meat to hold together better for clean, attractive plating. Tent the meatloaf loosely with foil in a warm spot, such as the turned-off oven with the door slightly ajar, to keep it hot without steaming or softening the surface. Use this interval to consider wine pairings, like a bold Zinfandel, that complement the rich flavors. Gently press on the top of the meatloaf after resting; it should feel firm and springy to the touch, similar to the finger test technique used for checking steak doneness by comparing firmness against the palm. A small cut revealing minimal juices indicates it is perfectly rested, ready to be sliced confidently for a moist, satisfying meal. This resting period also allows for carryover cooking to finish the internal temperature gently. Similarly, precise temperature control during cooking, as seen with sous vide methods, can achieve different desired textures and doneness levels.
Turn Leftover Sauce Into Quick Gravy
While the meatloaf rests, you can turn leftover sauce into quick gravy. Start by melting butter in a saucepan over medium heat, then whisk in an equal amount of flour to create a smooth roux. Cook it for 1 to 2 minutes until it becomes fragrant. Gradually pour in 2 cups of beef broth, scraping up any fond from the pan to incorporate those flavorful bits. This fond is a wonderful ingredient that adds depth to the gravy flavor. Bring the mixture to a boil, then reduce the heat and simmer until the gravy thickens, which usually takes about 5 minutes. For a clearer, more polished gravy, mix equal parts cornstarch and cold water, then stir this slurry into the simmering sauce. Keep stirring until it reaches your desired consistency. For extra richness, add in some pan drippings from the meatloaf. Adjust the seasoning with salt, pepper, and thyme to taste. For garnish, sprinkle with chopped fresh parsley or a splash of cream for a finishing touch. Remember that the glass lid used with a Dutch oven has a lower temperature tolerance than the pot itself, so avoid using it in the oven if your recipe requires temperatures above 420°F. For long-term storage, leftovers like this gravy can be vacuum sealed to preserve their freshness and flavor. To keep your cookware in top condition, regularly season the skillet by baking a thin oil coating to build a durable nonstick layer.