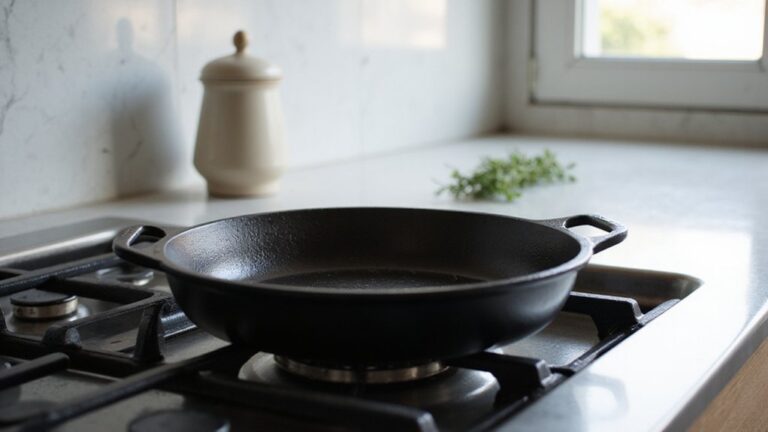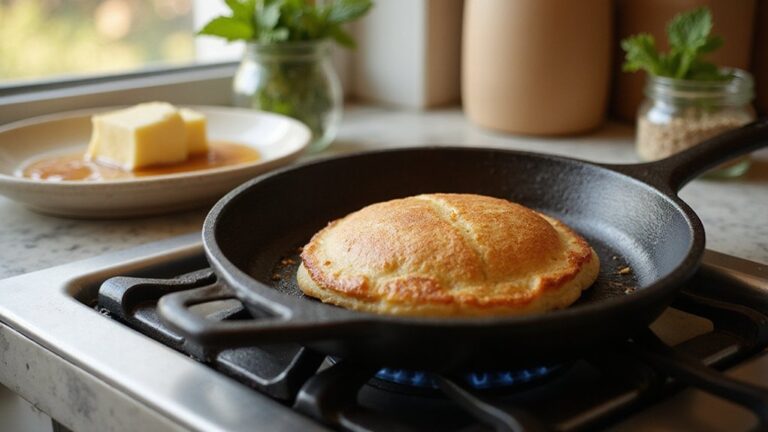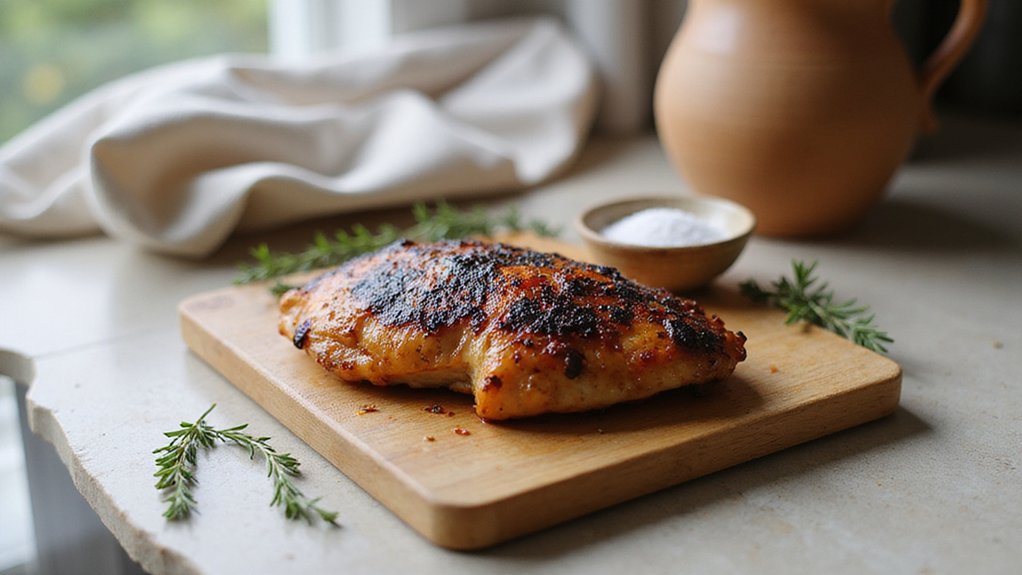
If you’re wondering how to get a flavorful blackened chicken with that signature charred crust without using a cast iron skillet, you’re in the right place.
The good news is you can achieve it with other heavy-duty pans or even different cooking methods like an air fryer or grill.
In this guide, you’ll learn how to create that deep, smoky crust using common kitchen equipment, so you can enjoy perfectly blackened chicken no matter what tools you have on hand.
Why Cast Iron Isn’t Required for Blackened Chicken
You do not need a cast iron skillet to make authentic blackened chicken. What matters most is using a heavy-bottomed pan that maintains consistent heat. Thick stainless steel or carbon steel pans work equally well because they resist quick temperature changes when you add the chicken. The key is pan weight, not material. A well-weighted pan prevents temperature drops, helping you develop that perfect spice crust through proper caramelization. If you ever need to restore your pan’s surface, you can strip away any old seasoning and bake the skillet upside down with a thin oil layer to rebuild a durable, nonstick coating. For rust removal, you can use a vinegar spray solution to loosen the rust without causing pitting damage. For optimal crust development, you can also deglaze with wine or bourbon after cooking to capture flavorful browned bits left in the pan.
Proper seasoning is also crucial. Pat the chicken completely dry before applying a thick, even spice rub, making sure there are no bare spots. Allow it to rest uncovered for about 15 minutes so surface moisture can evaporate. This step enhances the blackening effect more than the pan material itself. Focus on heat retention and moisture management, and you will consistently achieve the flavorful, crispy crust you want.
5 Cooking Methods for Blackened Chicken Without Cast Iron
You can achieve a perfectly blackened crust on chicken without using cast iron by employing five different cooking methods that utilize tools you already at home. First, pan-sear in a nonstick or stainless steel skillet over high heat for about 5 minutes per side. This quick, intense heat creates a seared crust, especially if your pan is well-heated and lightly oiled.
Second, grill the chicken outdoors or on a grill pan—oil the grates and cook for approximately 4 to 7 minutes per side. The direct flame and smoky flavor add authenticity and depth to the blackened seasoning. Keep an eye on the chicken to prevent flare-ups, which can burn the crust quickly.
Third, use your air fryer at a temperature of 375°F for 7 to 15 minutes. The convection heat crisps the exterior evenly, producing a crust similar to traditional methods, but with less mess and added convenience.
Fourth, try a sear-and-bake approach: sear the chicken in an oven-proof skillet over high heat for about 2-3 minutes per side, then transfer it to a preheated 350°F oven to finish cooking through. This method ensures a deep, flavorful crust without requiring a cast iron skillet.
Finally, broiling the chicken on high is a quick way to get a charred exterior. Place the chicken on a baking sheet close to the broiler element, about 4 inches away, and broil for 2-4 minutes per side, watching carefully to avoid burning.
For presentation, slice the chicken neatly and fan the pieces across the plate. Pair with a tangy remoulade or fresh salsa to balance the smoky, spicy flavors and enhance the overall dish. Sous vide cooking can achieve precise temperature control for custom doneness, but for blackened chicken, direct high-heat methods are essential for the crust.

Eco-friendly Classic Granite – Non-stick Granite Material, PFOS,PFOA free, our cookware ensures your daily cooking is always safer and healthier.
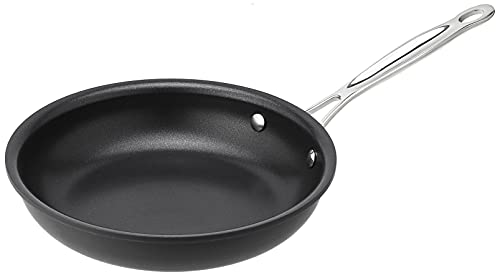
Hard anodized exterior for even heat distribution
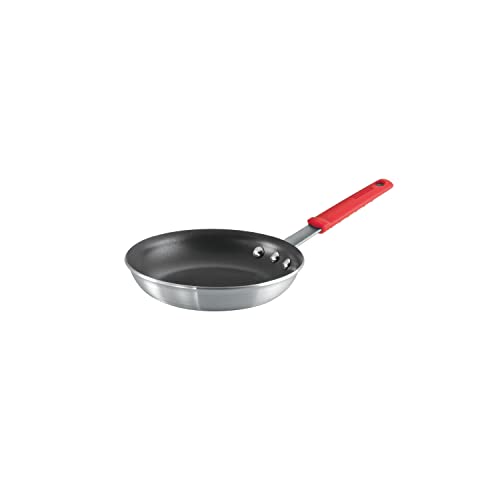
Compact & Versatile for Everyday Cooking: This compact 8-inch egg pan is ideal for frying eggs, making omelettes, sautéing vegetables, and preparing single servings. A must-have fry pan for any kitchen.
How to Build Your Blackening Spice Blend From Scratch
To build your own blackening spice blend from scratch, start with 2 tablespoons of smoked paprika as your base. This provides the smoky flavor characteristic of blackened dishes. Next, add 1 tablespoon each of cayenne, onion powder, and garlic powder to bring heat and depth. Incorporate ½ teaspoon each of dried thyme, basil, and oregano to add herbal complexity. Include 1 teaspoon of black pepper for sharpness and ½ teaspoon of salt to enhance overall flavor; you can omit the salt if you prefer an unsalted blend. For an extra spicy note, toast and grind cumin seeds before mixing them in. Whisk everything thoroughly in a bowl until no lumps remain. This spice blend can be used interchangeably with Creole seasoning for a deeper, flavorful crust. For the most accurate temperature readings when cooking the chicken, digital probe thermometers are recommended as they measure the internal temperature of the meat reliably. For the best texture, cooking the chicken sous vide ensures it remains tender and evenly cooked before searing. Store your spice blend in an airtight container placed in a cool, dark area; it will stay fresh for up to six months and be ready whenever you want to add that authentic blackened flavor to your dishes. For a comparable tender result on the stovetop, a gentle simmer in a covered Dutch oven works similarly for braised meats.

Signature Cajun Flavor: Crafted by Chef Paul Prudhomme, this seasoning delivers the bold, smoky, and slightly spicy flavors of Louisiana-style cooking; Whether pan-searing fish, grilling chicken, or preparing a seafood boil, this blackened seasoning creates a rich, flavorful crust for a true Southern - style meal.

Signature Cajun Flavor: Crafted by Chef Paul Prudhomme, this seasoning delivers the bold, smoky, and slightly spicy flavors of Louisiana-style cooking; Whether pan-searing fish, grilling chicken, or preparing a seafood boil, this blackened seasoning creates a rich, flavorful crust for a true Southern-style meal

Signature Cajun Flavor: Crafted by Chef Paul Prudhomme, this seasoning delivers the bold, smoky, and slightly spicy flavors of Louisiana-style cooking. Whether pan-searing fish, grilling chicken, or preparing a seafood boil, this blackened seasoning creates a rich, flavorful crust for a true Southern-style meal
How to Control Heat and Smoke for Each Cooking Method
Controlling heat and smoke for each cooking method involves precise temperature management and preparation. For gas stoves, preheat a heavy-bottomed stainless steel pan on maximum heat for about 8 minutes until the oil begins to smoke. Keep the heat high; use an infrared thermometer to verify a temperature between 425°F and 500°F. However, be aware that infrared thermometers are not ideal for measuring dog temperature, as studies show they often underread actual body temperature significantly. If your gas supply is limited, set the burner to medium heat and add an extra minute to the cooking process to maintain proper searing. This stainless steel method still requires high heat and a preheated pan to mimic cast iron’s ability to achieve proper browning. However, unlike cast iron, stainless steel cannot rely on evenly heated surfaces without careful preheating to prevent sticking. For a similar result, partially baking the dough first on the stovetop helps set the crust before adding toppings.
When grilling, preheat your grill on high for at least 15 minutes to achieve a hot, even cooking surface. Avoid using non-stick pans on the grill, as they are not designed to withstand high temperatures and can emit smoke or degrade. To reduce smoke production, turn on your exhaust fans at least 10 minutes before starting to cook and open windows to ventilate the area effectively.
Limiting butter to three tablespoons per two pounds of chicken minimizes excess smoke and flare-ups. Wiping the pan between batches prevents built-up residue from burning and causing unwanted smoke. Use oils with high smoke points such as avocado or canola, applying only a light coating to prevent smoking and sticking. Effective heat control ensures your dark crust develops perfectly without excessive smoke, giving each batch that professional finish.

CONFIDENCE IN EVERYDAY COOKING — Cuisinart stainless steel delivers dependable performance for everyday cooking. This 10-inch, mid-sized Cuisinart skillet is built to last with a lifetime warranty, ensuring your only worry in the kitchen is what to cook next.

PowerBond high impact bonded base heats fast and distributes heat evenly

CONFIDENCE IN EVERYDAY COOKING — Proven, dependable performance for everyday cooks looking to upgrade worn nonstick kitchen pans. This stainless steel pan features an uncoated surface with nothing to chip or wear, plus a lifetime warranty.
Let It Rest, Check Doneness, Then Slice and Serve
Once the chicken is off the heat, let it rest for 5 to 10 minutes. This allows the juices to settle and stabilize, resulting in a more tender and flavorful dish. Loosely tent it with foil to keep it warm without steaming the crust, which can make it soggy. During this resting period, carryover heat gradually increases the internal temperature from 160°F to the safe 165°F mark. Use a meat thermometer to check the temperature; don’t rely solely on the exterior color or appearance. For storing leftovers, a vacuum sealer helps preserve the chicken’s moisture and flavor for much longer than standard storage methods. As noted in the guide for braised beef, achieving a deep brown crust through proper searing is essential for building rich flavor before the meat is slowly cooked. A cast iron grill pan is ideal for achieving that same crispy, smoky finish even on a stovetop.
After resting, check for doneness by looking for clear juices when you pierce the thickest part of the chicken. Transfer the cooked chicken to a clean cutting board and slice it on the bias—at an angle—to improve texture and presentation. If you prefer a tangier crust, consider marinades like yogurt or citrus-based blends, but keep the seasoning simple. A squeeze of lemon or a pinch more salt can brighten the final dish. Serve immediately with your favorite sides.