Cooking with a cast iron skillet might seem straightforward, but getting the best results takes a bit of know-how.
Whether you’re new to cast iron or want to improve your technique, understanding some simple tips can make a big difference. From proper preheating to maintaining your seasoning, the right approach ensures your skillet performs its best.
Keep reading to uncover essential advice for mastering your cast iron.
Preheat Your Cast Iron Skillet Slowly to Stop Warping
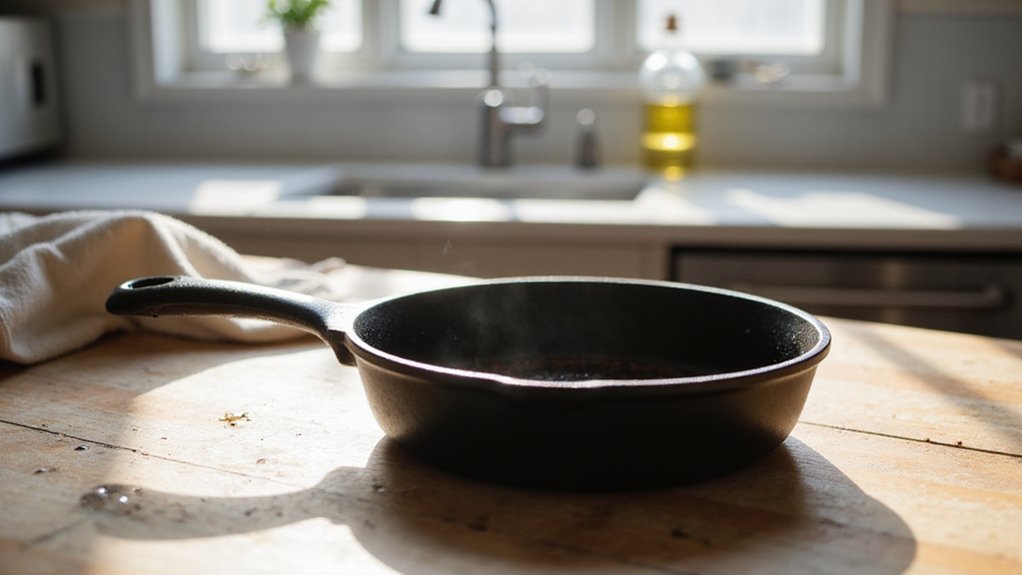
Preheating your cast iron skillet slowly is essential to prevent warping. Start on the lowest heat setting and let it sit for 5 to 10 minutes before gradually increasing the temperature. This slow approach allows the metal to expand evenly, reducing internal stresses that can cause deformation. Avoid sudden temperature changes by never turning up the heat abruptly on a cold pan, as rapid shifts can distort its structure over time. This gradual heating also leverages the superior heat retention of cast iron, which is a key advantage for techniques like searing and sautéing. On electric or induction stoves, extra caution is needed because they heat unevenly—focusing on the bottom while sides remain cooler. Instead, raise the heat to medium over 5 to 7 minutes, aiming for a surface temperature between 325 and 375 degrees Fahrenheit. You can check even heating with an infrared thermometer or observe the Leidenfrost effect by dropping water on the surface; if the droplets skitter, your skillet is evenly heated. However, note that an infrared thermometer measures only surface temperature and can be less reliable for precise internal heat readings, as it may be influenced by steam or reflective surfaces. This careful heating method keeps your skillet flat, stable, and ready for cooking. Self-clean oven cycles, which generate temperatures above 900°F, can cause irreversible warping or cracking if the skillet is inadvertently exposed. For precise control over doneness, similar to how sous vide cooking uses specific temperatures and timing to achieve various egg textures, you can also use a thermometer to fine-tune your skillet’s heat for different cooking tasks.

PRECISE TEMPERATURE MEASUREMENT: Optical resolution (distance-to-spot) of 10:1 ensures accurate temperature readings from a distance

𝐕𝐞𝐫𝐬𝐚𝐭𝐢𝐥𝐞 𝐓𝐨𝐨𝐥𝐬: Infrared technology allows you to measure various objects at home and outdoors; Use it for 𝒎𝒆𝒂𝒕, 𝑫𝑰𝒀 𝒄𝒂𝒏𝒅𝒚, 𝒐𝒗𝒆𝒏𝒔, 𝒈𝒓𝒊𝒍𝒍𝒊𝒏𝒈, 𝒇𝒐𝒐𝒅, 𝒄𝒐𝒐𝒌𝒊𝒏𝒈, 𝒂𝒖𝒕𝒐𝒎𝒐𝒕𝒊𝒗𝒆 𝒖𝒔𝒆, 𝑨/𝑪, 𝒓𝒆𝒇𝒓𝒊𝒈𝒆𝒓𝒂𝒕𝒐𝒓𝒔, etc.

5.5-inch square skillet for grilled cheese or ham & cheese sandwiches
Heat the Pan, Then Add Oil to Cook Without Sticking
Preheat your empty cast iron skillet over medium heat for 3 to 5 minutes until it reaches a surface temperature of about 400°F for gentle tasks like sautéing onions or up to 500°F for searing steak. You’ll know it’s ready when flicked water sizzles upon contact. This ensures the pan is hot enough to prevent sticking and promotes even browning. Similar to a Dutch Oven Cherry Cobbler, this method relies on high initial heat to create a perfect golden crust. To achieve this reliably, maintain a seasoning layer that is smooth and free of damage, as a well-seasoned surface holds heat evenly.
Once the skillet is hot, stop heating it and add a small amount of neutral oil with a high smoke point, such as grapeseed oil. Pour a thin layer and tilt the skillet to evenly coat the bottom, avoiding puddles. Heat the oil until it shimmers or just begins to smoke, which takes about 30 seconds. This high heat creates a seal on the surface, forming a non-stick barrier that prevents food from bonding to the pan. The skillet’s heavy-duty and sturdy construction provides stability during this process, allowing you to handle high-heat tasks securely. For searing steak, this technique works just as effectively as using a heavy non-stick or stainless steel pan preheated to the same temperature.
Avoid moving foods immediately after placing them in the pan. Let them sear undisturbed for better crust formation. If the food sticks, the pan wasn’t hot enough before adding the oil, or the pan wasn’t properly preheated. Using this technique ensures your food cooks without sticking every time, resulting in better texture and flavor.

Graza Frizzle Oil Made from 100% Olives: A neutral-flavored, high heat cooking oil made from 100% peak harvest olives. With a smoke point of up to 450 degrees, Frizzle is your high-heat kitchen hero. 1 bottle/750ml.

Light Buttery Flavor That Elevates Every Meal: Algae Cooking Club Chef-Grade Algae Oil enhances every dish with subtle richness. Its neutral profile makes it ideal for searing, baking, and dressings, transforming everyday meals into gourmet experiences.

Light Buttery Flavor That Elevates Every Meal: Algae Cooking Club Chef-Grade Algae Oil enhances every dish with subtle richness. Its neutral profile makes it ideal for searing, baking, and dressings, transforming everyday meals into gourmet experiences.
Avoid Acidic Foods Like Tomatoes and Wine for the First Month
Avoid acidic foods like tomatoes, wine, and vinegar for at least the first month. Your new cast iron skillet’s seasoning is still delicate, and acidic ingredients can chemically strip away this protective layer. Even a brief exposure, such as a short simmer with tomato sauce, can damage the seasoning in minutes.
During this initial period, stick to high-fat, low-acid foods like bacon, steak, or cornbread. These help build a robust seasoning layer without risking damage. Regularly cooking high-fat recipes strengthens the seasoning by continuing to bond oil layers through heat. If you need to use acidic ingredients later, limit contact to no more than 15 minutes and transfer leftovers quickly to prevent any seasoning erosion. Prioritizing a strong seasoning foundation now ensures better nonstick performance and prevents metallic tastes from developing. To maintain that foundation, you can restore rusted areas with simple techniques like a vinegar spray solution that loosens rust without causing pitting.
Clean With Hot Water, Then Dry on the Stove to Prevent Rust
To prevent rust, immediately after cooking, clean your cast iron skillet with hot water while it’s still warm. Rinse thoroughly but do not use soap, which can strip away the seasoning. Use a nylon brush, chainmail scrubber, or coarse salt as an abrasive to remove stubborn bits—this preserves the skillet’s non-stick coating. Avoid letting food sit in the pan, as this increases the risk of rust formation. A chainmail scrubber or kosher salt can be used as a milder abrasive for rust removal. After rinsing, place the skillet on a burner set to low heat. This step evaporates any remaining moisture from the pores of the metal, which is essential to prevent rust. For many foods, this technique produces results similar to sous vide cooking, where precise heat control ensures consistent doneness. Move your skillet around the burner to check all areas, including handles and crevices, ensuring it is completely dry. This thorough drying process mirrors the principle of avoiding moisture retention to prevent damage, just like vacuum sealing keeps bread fresh by eliminating air pockets that cause freezer burn. Consistent with good maintenance practices, replacing a worn gasket or seal when needed prevents performance issues in kitchen tools. Once dry and cool enough to touch, apply a thin layer of neutral oil over the entire surface. Proper drying and oiling keep your skillet rust-free and ready for the next use.

PROTECTS CAST IRON SEASONING: Effortlessly glides across cookware to lift off stubborn, burnt-on food, crusty grease, and scorched pan bottoms without stripping away your hard-earned seasoning.

Clean your cast iron pans with the uniquely designed chainmail that allows for safe treatment of pan

【PROFESSIONAL COMBO FOR TOUGH CLEANING】: Cast iron scrubber is made of 316 stainless steel + silicone. Silicone has extreme stability, can resist high temperatures. Pan scraper is made of thickened ABS plastic, non-stick and non-cracking, heat-resistant up to 275 °F
Season Your Cast Iron Skillet in the Oven With Three Oil Coats
Season your cast iron skillet in the oven with three oil coats for the best durability. Start by preheating your oven to 200°F and place the skillet upside down inside for 15 to 20 minutes, which helps excess oil drain off. After removing it from the oven, apply a neutral oil such as grapeseed or canola. Use a lint-free cloth to spread a thin, even layer of oil over the entire surface, then wipe off any excess until the pan appears dry. Bake the skillet at 300°F for 15 minutes, then increase the temperature to 400°F–450°F and bake for an additional 60 to 90 minutes. Allow the skillet to cool completely in the oven between coats. Repeat this process two more times, applying oil and baking, to build a tough, non-stick seasoning layer. Avoid flaxseed oil because it flakes over time. Crisco is also a common seasoning alternative that provides a durable finish. A superior alternative is to use flaxseed oil, which creates a harder finish through high-heat polymerization, though it requires more time and care. Once cooled, store your skillet in a dry place to maintain the seasoning. This method relies on gentle preheating on low to avoid damaging the coating and ensure even heat distribution. Regular cooking with oil further strengthens the seasoning layer and helps preserve it for generations of use.

Mild and Easy: Grapeseed Oil is at its best in stir-fries and sautés; it doesn't overwhelm other ingredients and lets fresh flavors shine. When grilling or frying, it is a must-have in the pantry.

100% GRAPESEED OIL BULK SIZE: Expertly crafted by The Olive Oil People using wine grape seeds imported from France

Mild and Easy: Grapeseed Oil is at its best in stir-fries and sautés; it doesn't overwhelm other ingredients and lets fresh flavors shine. Great for everyday use, high heat cooking, and for DIY beauty applications