You’ll master Dutch oven cooking by leveraging its thick walls and tight-fitting lid for exceptional heat retention. Start by searing meat in hot oil, then layer ingredients sequentially for optimized flavor. Control temperature through strategic charcoal placement—use the Rule of 3 for 350°F baking. Rotate your oven every 15 minutes to eliminate hot spots. Whether you’re braising, baking bread, or slow-cooking stews, you’ll achieve consistently superior results. Uncover advanced techniques to release even greater culinary potential.
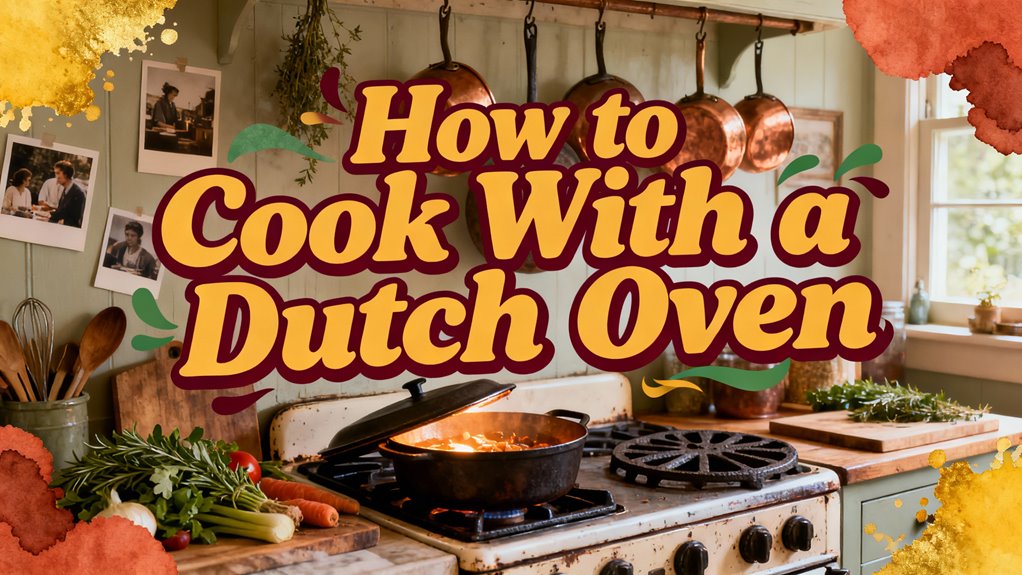
Dutch Oven Cooking Techniques
Because a Dutch oven‘s thick walls and tight-fitting lid create an ideal environment for heat retention and moisture control, you’ll find it’s exceptionally versatile across multiple cooking methods. The slow cooking benefits are substantial—low heat over extended periods tenderizes tough meats while infusing rich flavors. The self-basting design locks moisture throughout cooking.
For flavor enhancement, sear meat in hot oil to develop a caramelized crust, then cook vegetables in the residual pan to deepen taste. Layer ingredients sequentially rather than combining everything simultaneously.
The Dutch oven’s thick walls and large surface area make it ideal for all frying methods. Maintain oil temperature around 350°F for crispy results without greasiness.
Additionally, steaming, roasting, and baking benefit from the vessel’s superior heat retention and tight seal, enabling you to optimize multitasking and achieve consistent, controlled cooking results. Understanding charcoal briquette placement can significantly improve outdoor cooking temperatures and outcomes.
Heat Control and Charcoal Briquette Use
While the Dutch oven’s design handles the heavy lifting of heat retention, you’ll control the actual temperature through strategic charcoal briquette placement and adjustment. For baking at 350°F, apply the Rule of 3: add three briquettes to your oven’s diameter for the top, subtract three for the bottom. This 3:1 ratio prevents bottom burning while maintaining consistent heat. Additionally, using the right cooking techniques will ensure even heat distribution, similar to how it is done with cast iron.
For temperature monitoring, use the hand test—each second you can hold your hand inside equals approximately 50°F below 550°F. An oven thermometer provides precise readings. Rotate both your oven and lid every 15 minutes to eliminate hot spots and guarantee even cooking. Add briquettes every 45 minutes during extended cooking to maintain target temperatures despite environmental factors like wind or rain. Remember to avoid rapid temperature changes when moving the pot to ensure it maintains its integrity and performance.
Cooking Setup and Management
Successful Dutch oven cooking depends on meticulous preparation before you even light your coals. You’ll start by selecting a flat, stable cooking surface away from play areas and flammable materials. Clear debris and use a trivet on hard surfaces for protection.
Position your Dutch oven level to guarantee even cooking and prevent spills. Arrange handles for accessibility and keep the oven centered on your heat source. For food preparation, apply oil to the pot’s interior and lid underside beforehand. Layer ingredients according to your recipe, avoiding overfilling to allow proper steam circulation and expansion. Remember to avoid rapid temperature changes to protect the enamel coating of your Dutch oven. Don’t relocate the oven once food’s inside—this prevents accidents and temperature fluctuations. Following these setup guidelines establishes the foundation for successful, safe outdoor cooking. Additionally, a well-prepared Dutch oven can enhance the cooking versatility of your outdoor meals by allowing you to braise, bake, and simmer in one pot.
Recipe Adaptations and Common Uses
Once you’ve mastered the fundamentals of setup and heat management, you’ll reveal that Dutch ovens’ versatility extends far beyond basic cooking methods. You can adapt virtually any recipe—from braised meats and soups to risottos and breads—to Dutch oven preparation by adjusting liquid ratios and cooking times. The Dutch oven’s design facilitates even heat distribution, allowing for consistent cooking results across various dishes. Recipe substitutions work seamlessly; swap proteins, beans, or vegetables based on availability. Seasonal ingredients enhance flavor complexity while reducing preparation demands. You’ll find that one-pot meals like pot roasts and chilis develop superior depth through the vessel’s heat retention. Savory Dutch Oven Pot Roast leverages this method to create tender, flavorful, and juicy results. Bread baking leverages the Dutch oven’s steam-trapping capability for ideal crust development. Whether you’re preparing spaghetti Bolognese, seafood pies, or braised pork belly, the Dutch oven’s enclosed environment creates conditions that intensify flavors and simplify cleanup.
Cleaning and Maintenance
Proper cleaning and maintenance directly determine your Dutch oven’s longevity and cooking performance. You’ll want to cool your Dutch oven completely before washing, then rinse with warm water and scrub with a stiff brush to remove residue. For cast iron, you’ll apply mild dish soap and hand dry thoroughly to prevent rust formation. Boiling water is sometimes used to help lift stubborn, burnt-on food without damaging the seasoning. Enameled models require soft, non-abrasive sponges and careful drying with microfiber cloths. Your cleaning methods should include natural solutions like baking soda or white vinegar for stubborn stains—simmer the vinegar solution for ten minutes, then cool and wipe gently. Applying a thin layer of oil after cleaning is recommended to maintain seasoning and prevent rust, especially for cast iron. These maintenance tips extend your Dutch oven’s lifespan. Always store your cookware in dry locations and lightly oil cast iron before storage to preserve seasoning and prevent corrosion.
Advantages and Challenges
Because Dutch ovens combine heavy construction with tight-fitting lids, they’ve become indispensable in kitchens seeking superior cooking results. Dutch Oven Benefits include exceptional heat retention and even distribution, enabling you to achieve tender braised meats and perfectly developed stews. The sealed lid minimizes evaporation, preserving moisture and intensifying flavors during long cooking sessions. You’ll appreciate the versatility—these vessels shift seamlessly from stovetop to oven across multiple heat sources. Additionally, a Dutch oven is perfect for cooking ham thanks to its ability to maintain consistent heat and moisture. The Dutch oven’s excellent heat retention and moisture-trapping capabilities ensure optimal cooking results.
However, Dutch Oven Drawbacks warrant consideration. Their substantial weight makes handling challenging when full or hot. You’ll need preheating time, increasing energy consumption. Enamel coatings can chip with careless handling, compromising aesthetics and functionality. Additionally, the higher initial investment compared to standard cookware requires careful evaluation of your cooking needs before committing to this premium kitchen tool.


