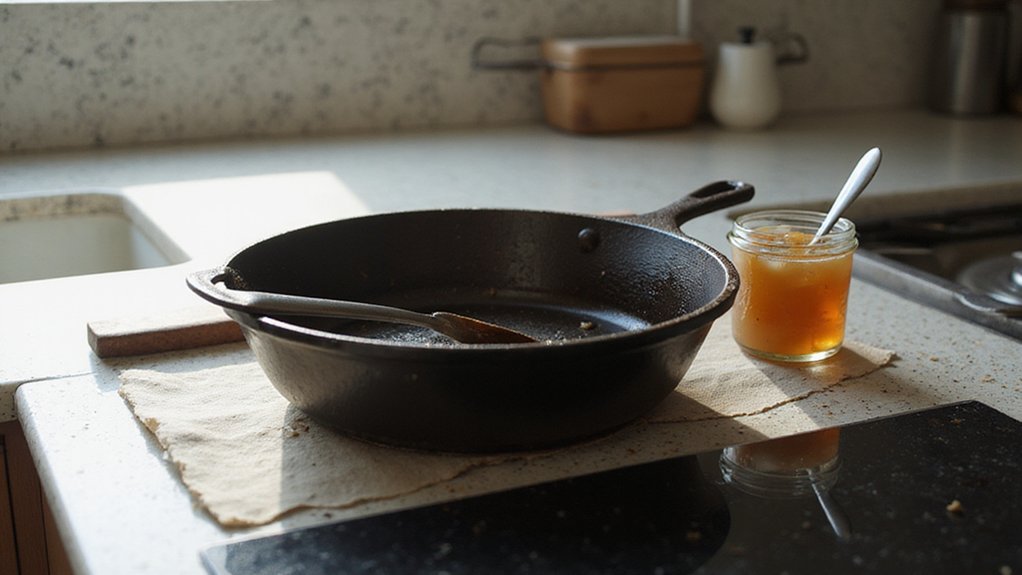
Ever wonder if bacon grease is a good way to season your cast iron skillet? It’s actually a popular choice because of its stability and the subtle smoky flavor it adds.
When applied properly, bacon grease can help build a strong, non-stick surface that lasts through many cooks.
Keep reading to learn the best way to use bacon grease without ending up with a sticky mess.
How to Prep Your Cast Iron Skillet for a Bacon Grease Seasoning
To properly prep your cast iron skillet for a bacon grease seasoning, start by assessing its condition. If it’s rusty, scrub it off with hot soapy water and a steel scrubber until all rust is gone. For stuck-on food, mix 2 tablespoons of bacon grease with 2 tablespoons of salt and scrub the surface vigorously. Rinse the skillet thoroughly with warm water and dish soap to remove all residue. Immediately dry it with a clean cloth or paper towel to prevent further rusting. If rust remains, a vinegar spray solution can be applied for no longer than 30 minutes to loosen it without causing pitting damage. Place the skillet over medium heat to evaporate any remaining moisture, ensuring the surface is completely dry before proceeding.
Next, prepare your bacon grease by letting it cool to room temperature. Strain out any meat particles or impurities to keep your seasoning layers pure. Use a paper towel or pastry brush to spread a thin, even layer of bacon grease across the entire skillet, including the handle and outside surfaces. Be sure the pan is dry and clean — this is essential for those seasoning layers to bond properly. Applying a light coat correctly sets a solid foundation for building up your skillet’s non-stick surface over time.

TLC for your griddle cooktop: All you need to build a slick, easy-release surface that's protected from rust and easy to work with using Blackstone griddle seasoning and cast iron conditioner

Complete Care System: The Lodge Cast Iron Care Kit combines everyday cleaning and maintenance essentials into one convenient set designed to help support long-lasting cast iron care

YOUR NEW GO-TO SEASONING SPRAY: The Lodge Seasoning Spray is the perfect seasoning spray to maintain your cast iron cookware. It is made of 100% canola oil - no additives or propellants, to protect your cookware and enhance its finish.
The Right Way to Apply and Heat Bacon Grease
First, strain the bacon grease through a fine mesh strainer to remove any solids. Use a pastry brush or paper towel to evenly spread about one tablespoon of melted grease over the entire surface of the skillet, including edges and handle. Wipe the surface until it looks almost dry; you want a thin layer, not a thick coating.
Control your seasoning temperature carefully. Start by heating the skillet to 250°F to melt and distribute the grease. Then increase the temperature to 400°F–450°F to promote polymerization, which develops a durable, non-stick surface. Keep the pan moving on the stovetop to prevent cold spots and ensure even heating. Maintain this temperature until smoking stops, but do not exceed 475°F, as higher heat can cause impurities to burn. Once smoking ceases, turn off the heat and allow the skillet to cool naturally so the layer can solidify. This controlled heating mirrors the precise temperature control used in sous vide cooking to achieve consistent results. For optimal results, use a stiff brush to clean grooves before re-oiling. Applying multiple thin coats of oil and baking the skillet in an oven at 400°F to 450°F builds up an exceptionally durable seasoning layer over time.

Scrubs without soap to preserve seasoning and protect surfaces

Restaurant-Grade Tool for Japanese Grilling Pans Designed for Takoyaki, Teppanyaki, Taiyaki molds, Okonomiyaki plates, and flat top grills, reaching small grooves where oil must spread evenly.

Easy Cleanup Tool: The Lodge Scrub Brush is designed to help tackle stubborn food residue and simplify cast iron cookware cleanup
Why Bacon Grease Is Better for Touch-Ups Than a Fresh Seasoning
Bacon grease is better for touch-ups than fresh seasoning because its 40% saturated fat content provides enough stability for light maintenance while adding a smoky flavor that neutral oils can’t replicate. Its ability to layer flavor makes it ideal for quick touch-ups—each application subtly enhances the pan’s seasoning and imparts a savory note to eggs or vegetables without needing a full reseasoning. For versatile kitchen maintenance, choosing the right approach is like selecting a vacuum sealer that balances performance and ease for your specific needs.
For quick fixes, wiping a thin, strained layer of bacon grease after cooking offers a protective coating that guards against acidic ingredients. While it isn’t as durable as vegetable oil, frequent reapplications during touch-ups keep your pan smooth and nonstick. Its moderate smoke point of 325 to 375 degrees Fahrenheit polymerizes well during light heating, helping to maintain the skillet’s seasoning without overcooking or burning. This process mimics the steam environment needed for artisan bread, where moisture and heat work together to create a durable, nonstick surface. Skip the effort of a complete reseasoning session and use bacon grease to maintain and flavor your skillet with minimal effort and maximum flavor. Using it for quick touch-ups follows the same practical approach as making a Dutch oven Thanksgiving meal, where simple maintenance keeps your cookware reliable for festive feasts.
How Often to Reapply Bacon Grease to Maintain Your Seasoning
You should reapply bacon grease to your skillet after every cook to maintain your seasoning. This frequent touch-up helps keep the polymerized layer thick and stable. Applying grease immediately after cooking or washing prevents moisture from damaging the seasoning and allows for maximum absorption. If you cook daily, aim to recoat after each use. Less frequent cooks can do this a few times per year, but never wait until the surface looks dry or dull. Instead, reseason whenever food begins sticking or the color appears uneven. Similarly, using a vacuum sealer can force a thin layer of oil or grease deeper into the skillet’s pores for a faster, more uniform seasoning layer. To do this, heat the skillet on medium-low for five minutes to open the pores, then rub in a thin layer of strained bacon grease. Wipe away excess until the surface looks dry, creating a quick and effective touch-up that reduces the need for full reseasoning in an oven. Always leave the grease in the skillet to prevent rust after each use, as residual fat protects the seasoning and surface. This method mirrors how vacuum sealing slows oxidation to keep stored fats fresh and effective for seasoning. For best results, follow the same browning technique used in one-pan ground beef skillet recipes to ensure even heat distribution and a durable finish.
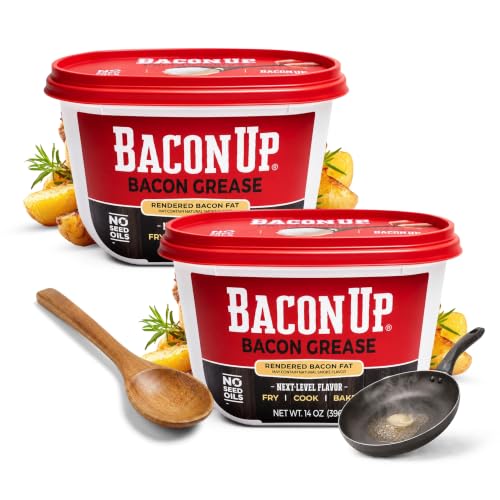
Ready to Use, Always Start with a Scoop! - No need to ration your saved grease, with -Bacon Up, you can always have bacon grease handy, it’s easy to replace shortening, or other cooking oils to get enhanced flavor with NO seed oils whenever you fry, cook or bake. Get creative: use it in the pan, on the griddle, in a recipe, or as a binder.

Delicious Smoky Taste: Our vegan bacon seasoning allows you to add the deep smoky flavor of bacon to your meals quickly and easily; The natural smoke flavor is complemented by the fragrant sweetness of onion and balanced with flavor–enhancing salt

BOLD, FUN FLAVORS: If you know Pork King Good, you know we're all about going bold and getting weird with our innovative lineup of flavors
What If Your Bacon Grease Seasoning Turns Sticky? (Here’s the Fix)
If your bacon grease seasoning turns sticky, the primary fix is to remove excess oil and burn off any residual buildup. Start by scraping off the sticky layer with a spatula, then scrub the surface using kosher salt and baking soda to break down stubborn residue. For tougher spots, you can use steel wool or a yellow cap oven cleaner to strip the pan completely. To prevent future stickiness, heat the skillet upside down at 500°F for an hour, which burns away sticky deposits and helps prevent oil pooling. When re-seasoning, wipe off about 90% of the oil until the surface looks nearly dry, applying firm pressure to avoid a thick, uncured coating. For quick fixes, boil water in the pan to soften the sticky film, then scrub and reapply a thin, even coat of oil. This method mirrors the low, covered cooking technique used for pot roast, where a tight seal and steady heat ensure even moisture and prevent buildup. Dutch ovens, with their heavy, thick-walled cast iron construction, also rely on this principle of consistent heat retention for tender results. You can use a digital meat thermometer to verify the water temperature during boiling, ensuring it stays within safe ranges for softening the residue. Repeat the cycle of oil application, heating, and cooling 3 to 5 times to develop a durable, naturally non-stick surface.

【PROFESSIONAL COMBO FOR TOUGH CLEANING】: Cast iron scrubber is made of 316 stainless steel + silicone. Silicone has extreme stability, can resist high temperatures. Pan scraper is made of thickened ABS plastic, non-stick and non-cracking, heat-resistant up to 275 °F

COMPLETE 7-PIECE CAST IRON CLEANING KIT – Includes 13.5 fl oz cast iron soap, 1 lb cast iron scrub, 13.5 fl oz cast iron oil, scrub brush, scrubber, pan scraper, Microfiber Cleaning Cloth, and Microfiber Applicator for a simple clean, scrub, and condition routine.
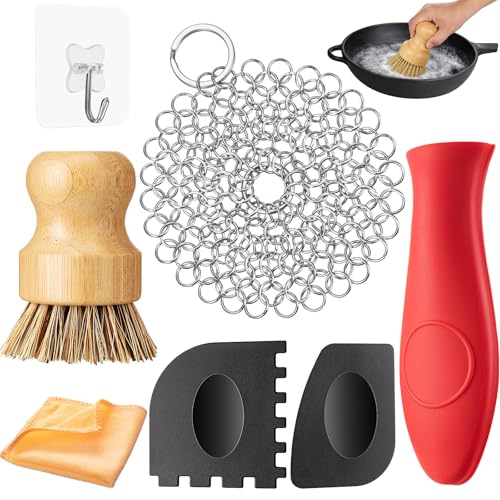
7 Useful kitchen gadgets: you will get 7-in-1 kitchen cleaning set, including 1 stainless steel chainmail scrubber, 1 bamboo scrub cleaning brushes, 1 hot handle holder, 2 pan scrapers, 1 orange towel and 1 wall hook, greatly speeding up your cleaning process