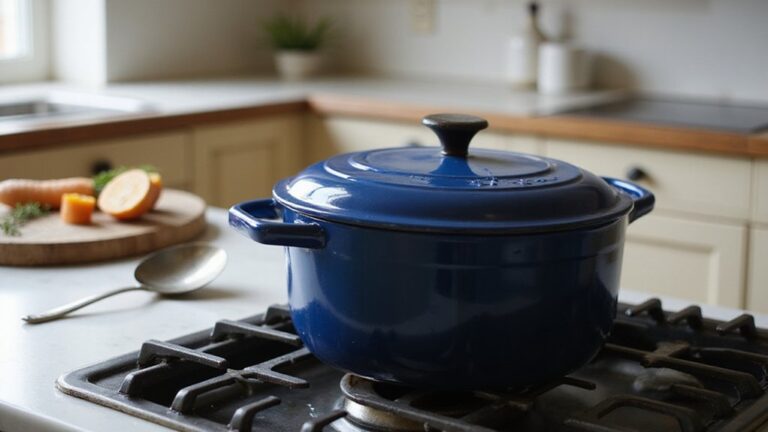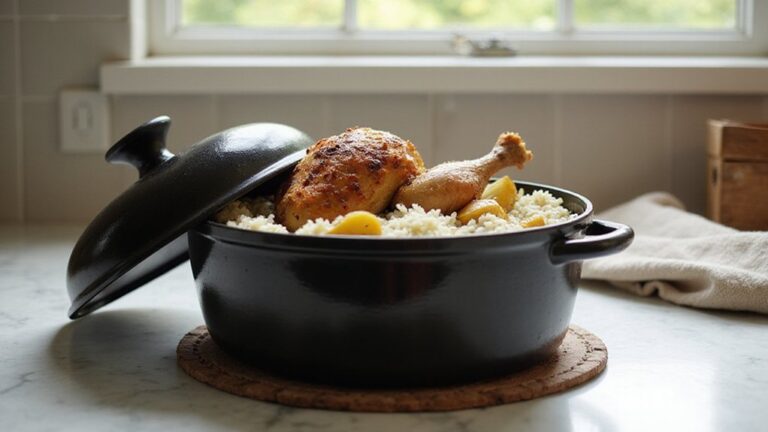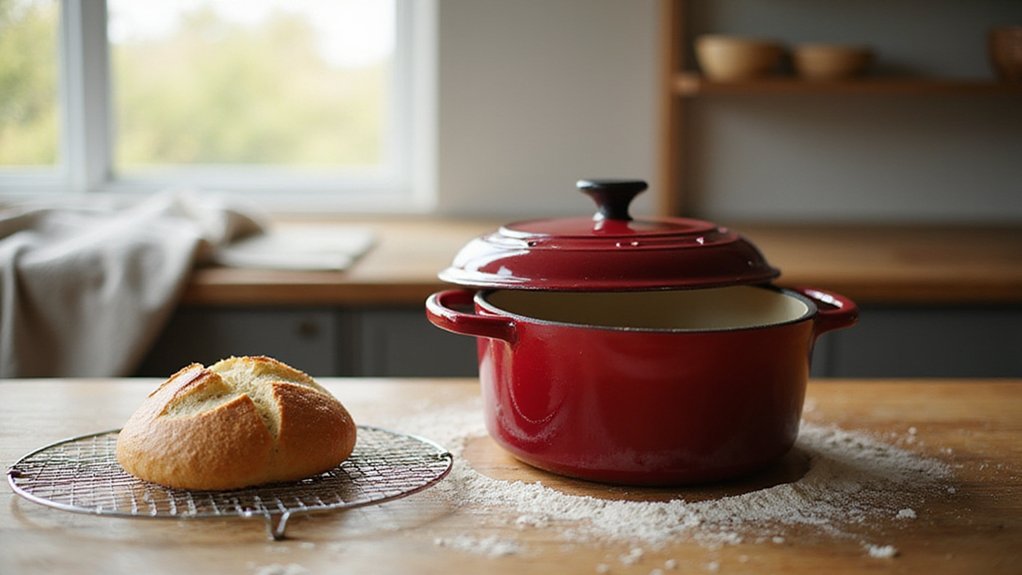
Wondering if you should oil your Dutch oven before baking bread? The quick answer is no—oiling can actually hinder the crust from forming properly.
Instead, relying on steam in a preheated, ungreased Dutch oven creates that perfect, crispy crust you’re after.
Keep reading to understand why skipping the oil makes all the difference.
Why Bakers Skip Oil for Dutch Oven Bread
Oil acts as a shortening agent, which can break gluten strands into shorter pieces. This reduces the dough’s ability to trap gas, leading to a denser, crumbly loaf instead of an airy, open crumb. For rustic, hearth-style bread, you want the gluten to stretch and develop fully, not be tenderized and weakened by fat. Without oil, the natural wheat and yeast flavors become more prominent, giving you a richer, more pronounced grain taste. For precise monitoring of oven temperature during baking, digital probe thermometers offer more reliable internal readings than non-contact tools. Additionally, using a sous vide water bath for preheating other ingredients can provide similar precision for temperature-sensitive dough preparation. Additionally, if your Dutch oven ever develops rust from steam exposure during baking, you can restore it by spraying vinegar solution onto the surface and letting it sit for no more than 30 minutes.
When Oil Ruins Dutch Oven Bread by Frying It
Oiling your Dutch oven before baking bread turns the process into shallow frying, which is undesirable. The oil on a hot cast iron pan instantly fries the dough upon contact, creating a fried, oil-logged bottom instead of a crisp crust. This overcooks the bottom and traps moisture, ruining your dough hydration efforts. Additionally, the oil layer prevents direct contact between the dough and the pan metal, hindering the Maillard reaction that browns bread. Most oils burn at temperatures around 450°F to 500°F, producing smoke that can taint the loaf with off-flavors. You don’t need oil for flavor—alternative spices added to the dough work better. Oil also carbonizes bonds between dough and the pan, causing sticking and tearing the crust. This is because proper searing requires direct metal-to-food contact for even browning, as seen when cooking chicken in a cast iron skillet. To preserve the quality of your bread, avoid oiling the Dutch oven and save it for skillet bread instead.
How Steam Creates a Crisp Crust Without Oil
Preheating your empty Dutch oven for 30 minutes transforms it into a self-contained steam chamber that vaporizes moisture from the dough upon contact. This process relies on your dough’s hydration level, which directly influences the amount of steam released during baking. The trapped vapor keeps the dough’s exterior supple, delaying crust formation and allowing for greater oven spring. As the steam condenses on the dough surface, it gelatinizes surface starches and creates a flexible layer that later hardens into a crisp crust. After about 20 minutes, removing the lid exposes the loaf to dry heat, which dehydrates and caramelizes the surface. This step deepens color and enhances crunch without needing oil, as steam alone drives the development of a crisp, flavorful crust. For tasks requiring direct charring, a butane blow torch offers a portable alternative for adding color and texture.

IDEAL FOR FAMILY MEALS - Perfectly sized for families of 3–5 people, this 5.5QT Dutch oven handles everything from hearty soups and stews to one-pot dinners, pasta dishes, and Sunday pot roasts. Spacious enough for a whole chicken yet practical for everyday cooking, it delivers the ideal balance between daily family meals and weekend entertaining. Also well-sized for artisan bread bakers who want one pot for both family dinners and sourdough baking.

【CRISPIER CRUST & BETTER RISE】 This dutch oven for bread baking keeps steam around the dough during the covered stage, helping sourdough rise before the crust sets. Uncover near the end for deeper browning and a crisp golden crust.

IDEAL FOR FAMILY MEALS - Perfectly sized for families of 3–5 people, this 5.5QT Dutch oven handles everything from hearty soups and stews to one-pot dinners, pasta dishes, and Sunday pot roasts. Spacious enough for a whole chicken yet practical for everyday cooking, it delivers the ideal balance between daily family meals and weekend entertaining. Also well-sized for artisan bread bakers who want one pot for both family dinners and sourdough baking.
Three Non-Stick Fixes That Actually Work
To prevent sticking when baking bread in a Dutch oven, use three reliable fixes. First, line your Dutch oven completely with parchment paper. Crumple the paper, then uncrumple it and lightly oil it, coating with rice flour for extra grip. Proof your dough directly on this paper, then lift the entire sheet into the hot pot. This creates a non-stick surface and makes handling easier. Using stretch and fold techniques will build dough strength and improve consistency. For long-term freezing of bulk dough or bread, these same principles of prevention of freezer burn apply to maintaining quality in airtight storage. An equally essential tool is a properly calibrated thermometer, which requires verifying its accuracy at a fixed reference point like the freezing point of water. When baking outdoors, this method works perfectly alongside campfire techniques like placing coals under the lid.
Second, create an absorbent granular barrier by dusting the bottom of the pot with cornmeal or rice before adding the parchment paper. This insulates the dough and helps prevent adhesion. Be sure to brush off any residue after baking to avoid messes.
Third, apply a thin layer of high-smoke-point oil, such as peanut or sunflower oil, directly onto the hot pot or spray the parchment with cooking spray before placing the dough. This dual-layer coating acts as a non-stick barrier, making removal smooth and keeping your bread intact.
For flavor variety, consider substituting ingredients like rice flour instead of cornmeal to complement your bread’s taste. Using these methods consistently will significantly reduce sticking and help you achieve perfect oven-baked loaves every time.

Graza Frizzle Oil Made from 100% Olives: A neutral-flavored, high heat cooking oil made from 100% peak harvest olives. With a smoke point of up to 450 degrees, Frizzle is your high-heat kitchen hero. 1 bottle/750ml.

Light Buttery Flavor That Elevates Every Meal: Algae Cooking Club Chef-Grade Algae Oil enhances every dish with subtle richness. Its neutral profile makes it ideal for searing, baking, and dressings, transforming everyday meals into gourmet experiences.

Light Buttery Flavor That Elevates Every Meal: Algae Cooking Club Chef-Grade Algae Oil enhances every dish with subtle richness. Its neutral profile makes it ideal for searing, baking, and dressings, transforming everyday meals into gourmet experiences.
How a Pinch of Salt Gives You a Non-Stick Bottom Crust
Salt, used at about 1.5 teaspoons per loaf, is a key ingredient that helps prevent your bottom crust from sticking. It strengthens your dough from within by dissolving completely in warm water, ensuring even distribution. This uniform salt saturation regulates dough hydration, reducing weak, sticky spots that can cause sticking. Salt also tightens your gluten network, creating a smooth, cohesive surface that resists clinging to hot cast iron. This makes handling the dough easier and prevents tearing or leaving behind shaggy bits.
During baking, salt draws moisture to the surface of the dough, promoting a crisp, golden-brown bottom crust. This sturdy crust lifts cleanly from the Dutch oven without the need for oil or non-stick sprays. The result is a reliable, non-stick bottom crust that releases easily, thanks to the resilient layer formed by salt’s moisture regulation and surface drying effect.
When Oil Improves Dutch Oven Bread Crust Texture
Oil improves Dutch oven bread crust texture by creating a barrier that retains surface moisture. Unlike salt, which stabilizes dough and prevents sticking, oil influences crust density directly. When you want a softer, thicker crust rather than a crisp one, applying oil during baking helps produce that outcome. It seals the added surface water, preventing the crust from hardening and becoming brittle. As a result, the crust turns out more substantial and yielding instead of crackling thin.
The fat in oil also lubricates the gluten network within the dough. This strengthening of gluten leads to a more cohesive crumb, making the bread easier to bite into and less likely to become leathery. Moreover, oil slows the crust’s drying process during baking, allowing the interior moisture to stay longer. The net effect is a loaf with prolonged softness that remains pleasant long after it comes out of the oven.

【ALL YOU NEED】Complete set includes 5QT sourdough dutch oven with frying pan lid,bread proofing basket, bread sling, stainless steel scraper, cleaning brush, bowl scraper, wooden-handled dough whisk, bread lame, silicone oil brush,silicone spatula. Sourdough starter kit with dutch oven is ready to use out of the box!

VERSATILE USE: The bread dutch oven with lid is perfect for baking sourdough and homemade sandwich loaves with crispy crusts and soft interior; beyond baking bread, this cast iron bread pan is also perfect for slow-cooking, simmering, braising, baking, Boiling, or roasting a wide range of recipes.

2-in-1 Versatile Cookware Design: The Lodge Cast Iron Double Dutch Oven is a Dutch oven and dual-handle skillet in one smart design, expanding your options for searing, baking, frying, and more
Which Oil to Use If You Decide to Oil
The best oil for oiling your Dutch oven is one with a high smoke point and a neutral flavor. Canola oil is a popular choice because it withstands high heat without burning and doesn’t affect the taste of your bread. Vegetable oil is another reliable, neutral option that performs similarly. Grapeseed oil offers a lighter coating—it creates a thin, non-greasy layer while still protecting the surface. Unrefined coconut oil can be used if its smoke point is considered; it typically burns at around 350°F, so check before application. Avoid olive oil, as its lower smoke point can lead to burning. Also, skip bacon fat since it can turn rancid over time. When applying the oil, use just a small amount to create a thin, even coat. Wipe off any excess to keep the surface from becoming greasy, ensuring your Dutch oven is perfectly prepared for baking. Alternatively, for breads baked without a Dutch oven, you can rely on a water tray to provide the necessary steam for a crusty exterior.

Light Buttery Flavor That Elevates Every Meal: Algae Cooking Club Chef-Grade Algae Oil enhances every dish with subtle richness. Its neutral profile makes it ideal for searing, baking, and dressings, transforming everyday meals into gourmet experiences.

America's #1 Avocado Oil for Cooking — Every batch of Chosen Foods avocado oil is independently tested to confirm 100% pure avocado oil with no fillers or seed oil blends. Our purity standard was verified by UC Davis as one of only two avocado oil brands to pass their rigorous quality test. This bottle delivers the clean, neutral taste and consistent high-heat performance that has made Chosen Foods the avocado oil of choice for home cooks, professional chefs, and clean-eating households across the United States.

100% GRAPESEED OIL BULK SIZE: Expertly crafted by The Olive Oil People using wine grape seeds imported from France
The Right Way to Apply Oil Without Ruining Your Bread
To apply oil without ruining your bread, start with a preheated Dutch oven that’s been wiped almost dry. Use a paper towel to spread an ultra-thin, even layer of oil across the bottom and sides. The goal is to avoid pooling; a visible but non-slick film is ideal. Immediately wipe off any excess oil to prevent it from soaking into the bread. This precise approach helps create a proper crust—that crisp exterior results from just enough fat to prevent sticking without making the bread greasy or soggy. If you’re using parchment paper, skip oiling altogether for a cleaner non-stick surface. To further prevent sticking, sprinkle coarse cornmeal or semolina on the bottom of the preheated pan. These dry powders protect the crust from sticking without adding moisture that could damage its texture. Remember, applying only a whisper of oil will limit sticking and help develop that coveted crackling crust. This method relies on the oil’s polymerization to form a protective layer that prevents rust and enhances nonstick performance.

YOUR NEW GO-TO SEASONING SPRAY: The Lodge Seasoning Spray is the perfect seasoning spray to maintain your cast iron cookware. It is made of 100% canola oil - no additives or propellants, to protect your cookware and enhance its finish.

AIR PRESSURE ONLY: Pompeian cooking sprays contain no propellants or additives, providing you the best-tasting, highest-quality oil to help you Eat and Live Well.

For Fat Free Cooking, so there’s more on your plate, and less in your pan
Why Seasoning Your Dutch Oven Doesn’t Affect Bread Crust
Seasoning your Dutch oven does not influence the formation of bread crust. Although cast iron seasoning creates a smooth, polymerized surface, it doesn’t bond with your dough or change how the crust develops. The crust forms primarily through processes like starch gelatinization and steam evaporation, which happen independently of the seasoning layer. Therefore, relying on your seasoning to affect your bread’s crust will not yield the desired results. However, the Dutch oven itself is ideal for baking bread because its ability to retain and distribute heat creates loaves with crispy crusts and perfect soft interiors. You might be concerned about seasoning flakes affecting your bread, but those flakes occur from heavy seasoning layers flaking off under high heat, and they do not bond with the bread’s gelatinized starch. These flakes simply fall away, leaving no impact on the crust. Adding more seasoning won’t improve or alter the crust’s texture. Instead, focus on techniques like properly preheating your oven and managing steam, which are the real factors that influence the crust’s development. For cast iron models, proper seasoning with high smoke point oils ensures longevity and optimal non-stick performance. To maintain this seasoning, periodically apply thin layers of oil and reheat the Dutch oven when the surface appears dull, a process similar to reconditioning the protective layer for cast iron.
How to Skip Oil Completely and Still Get a Perfect Crust
When you skip oil altogether, a combination of parchment paper, intense heat, and trapped steam ensures your bread develops a perfect crust. Parchment paper prevents sticking without any greasing and can withstand oven temperatures up to 450°F. Preheating the Dutch oven creates a sealed environment that traps steam released from the dough, gelatinizing starches and forming a crisp exterior. After 30 to 40 minutes of covered baking, removing the lid allows dry heat to deepen the crust’s color to a beautiful golden brown. This steam-driven method eliminates the need for oil while delivering a crunchy, evenly browned crust. To prevent sticking, simply flour your dough and work surface generously before shaping your loaf, and avoid deflating the dough before shaping to maintain fluffiness. The result is a crust that’s both fat-free and visually appealing every time.