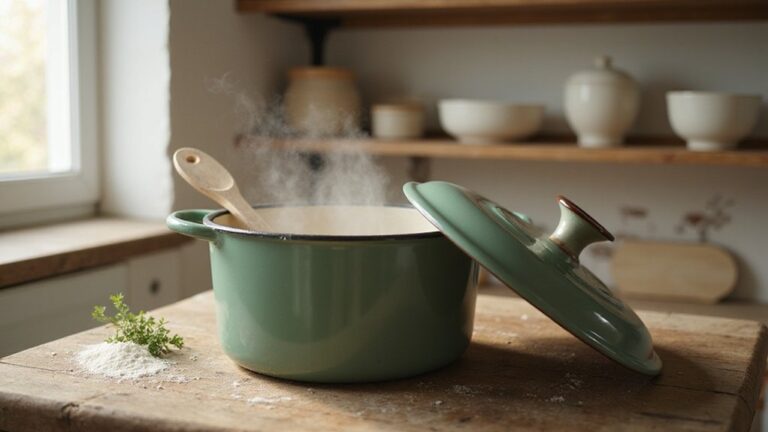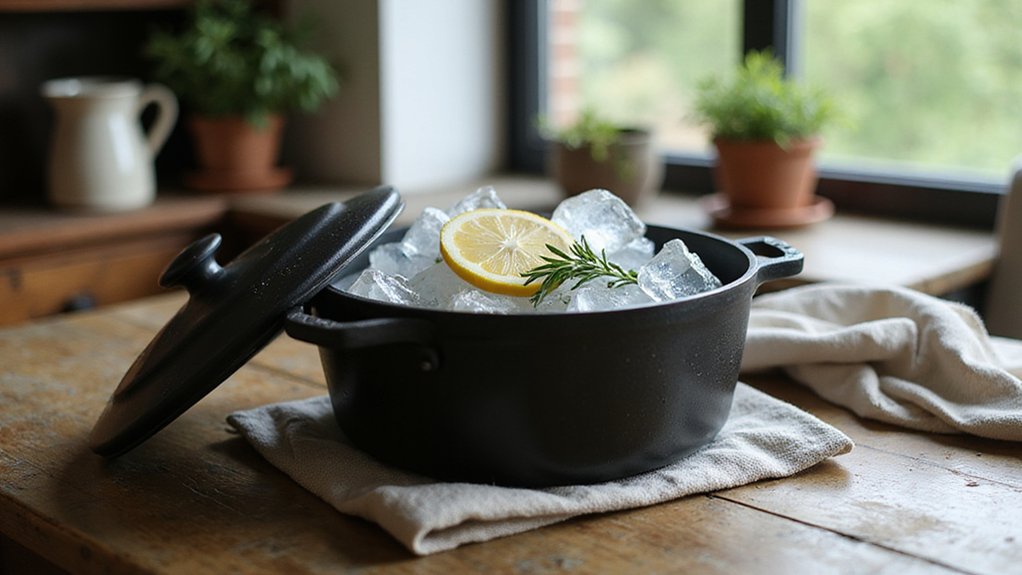
Wondering if adding ice to your hot Dutch oven is worth the risk? This trick can create extra steam to improve your bread’s crust and oven spring, but it also comes with dangers.
Using just a few ice cubes carefully placed can help, but too much or direct contact might damage your cookware.
Keep reading to understand how to do it safely.
Will Ice Crack Your Dutch Oven? Here’s the Real Risk
Dropping ice into a hot Dutch oven can crack or chip the enamel because of thermal shock. Enamel-coated cast iron is sensitive to sudden temperature changes. When you introduce ice to a scorching surface, the rapid contraction causes stress that the coating can’t handle, leading to chips or micro-fractures. Ceramic Dutch ovens are even more vulnerable and can shatter under these conditions. While non-enameled cast iron resists damage better, it’s still risky. Cast iron skillets develop a natural seasoning over time, improving their durability and non-stick properties for searing tasks. Before seasoning, rust can be removed using simple restoration techniques such as a vinegar spray solution that loosens rust without causing pitting damage. Instead of risking damage, spritzing dough with water or relying on the dough’s moisture provides the steam you need without damaging your cookware. Dutch ovens excel at retaining heat and cooking meals evenly, making them ideal for budget-friendly dishes like stews and chilis. Protect your investment by avoiding ice altogether for longer-lasting Dutch ovens.
Why Bakers Add Ice to a Dutch Oven (And When It Helps)
Adding ice to a preheated Dutch oven helps generate rapid steam, which is crucial for delaying crust formation. This moisture creates a soft layer that allows your bread to expand more fully before the exterior firms up. As a result, you often see improved oven spring and a more open crumb structure, especially with under-fermented dough. Ice also promotes blistering and enhances the development of a better crust ear, reducing unwanted split sections when the loaf springs up too much but scoring is shallow. The precise control of heat and moisture in sous vide cooking, such as using 165°F (74°C) for 15 minutes, similarly allows bakers to achieve specific egg textures. However, using ice isn’t always the best choice. Alternative methods like spraying the oven with water or placing a pan of boiling water inside can produce steam without lowering the oven temperature too much. These techniques prevent the moisture from dissolving delicate scoring designs, which ice sometimes does. Avoid using ice with over-fermented dough, as the temperature drop can encourage further fermentation and weaken the dough’s structure. Also skip ice if your scoring is already deep enough, since additional moisture may hinder the crust’s final appearance. Use ice only when the crust tends to set prematurely despite proper scoring, to give your loaf more room to rise. For a sweeter application, adding ice to a Dutch oven for a campfire cobbler can help retain moisture while baking fruit and cake mix over hot coals. Thoroughly drying your Dutch oven after use is essential to prevent rust, especially on unfinished rims.
How to Protect Your Enamel Coating When Using Ice
To protect your Dutch oven’s enamel coating when using ice, avoid placing ice directly onto the hot surface, as thermal shock can cause chipping. Instead, place ice cubes beneath a layer of parchment paper or between a silicone mat and the dough. This buffering prevents direct contact with the enamel and reduces the risk of damage. Proper temperature regulation is essential; preheat your pot gradually to avoid sudden temperature shifts. Add ice only after the oven is fully hot and cover immediately to maintain steam and prevent localized cooling. Use silicone or wooden tools to avoid scratches, and never plunge a hot pot into cold water. Hand wash with a soft sponge and skip steel wool to keep the enamel intact. For precise temperature monitoring of the dough’s surface (rather than the liquid’s internal heat), infrared thermometers provide instant non-contact readings, but digital probe thermometers are more reliable for measuring internal temperatures of candy syrups. By carefully controlling how and when you introduce ice and heat, you’ll preserve your enamel coating while achieving the ideal oven spring.

【Extra Longer and Wider Handle Design ,No More Burnt Hands】-- Angadona Bread Sling dutch oven silicone updated extra Longer and wider handle design for more safety transfer dough to Dutch oven pot and avoid burnt your hands when Bread in and out Dutch Oven Pot

Nonstick Perfection: Silicone bread sling with premium non-stick surface and anti-slip backing. Indispensable sourdough bread baking supplies for home bakers, no sticking or mess

Silicone Baking Mats With Handles: Eliminate the risk of burning your hands, our silicone bread sling updated extra Longer and widen handle design(7.2"*3.7") with lift ring for more safety transfer dough to Dutch oven pot and avoid burnt your hands when Bread in and out Dutch Oven Pot
When to Skip the Ice Entirely
You should skip using ice entirely in these situations. First, if your Dutch oven shows micro-fractures or isn’t rated for thermal shock, adding ice could cause it to shatter. It’s safer to use ice-free methods to protect both your cookware and your kitchen.
Second, avoid ice when you want your scoring patterns to stay sharp. Melting ice creates steam that washes out flour designs and obscures visible scores. If crisp, high-contrast scores matter to your presentation, leave the ice out. The crust aesthetics may improve with ice, but the trade-off is a loss of those clean scoring lines.
Third, skip ice if your loaf already achieves the desired flair without it. If your dough springs well and forms a perfect ear without extra moisture from ice, adding it doesn’t improve the bake and might cause temperature drops from pooling ice. Instead, mist the dough lightly with water right before loading to add enough moisture without shocking your cast iron.
How to Add Ice Without Burning Yourself
To add ice without burning yourself, you need to follow a careful sequence and use proper gear. First, wear elbow-length, heat-resistant mitts with fingers to maintain dexterity and protection. Load your dough into the hot Dutch oven before adding ice—this prevents steam from hitting your hand while reaching in. When placing the ice cubes, slide them under the parchment rather than directly onto the bread; this helps avoid gummy spots caused by excessive dough hydration. For stubborn residue on the pot, a gentle cleaning technique using baking soda can be used for maintenance. Work quickly to place the lid back on within seconds, trapping steam and minimizing your exposure to the high heat. To prevent contact with the intense heat source, position the ice along the edge of the oven rather than near the loaf’s center. Grip the ice cubes firmly to prevent slips, and if you’re unsure about handling ice in such high heat, consider misting the dough instead as a safer alternative. Using a similar slow-braising technique can also produce tender and flavorful meat for a variety of dishes. A Dutch oven can also be used for slow-cooking a pork roast with broth and herbs for a tender result.

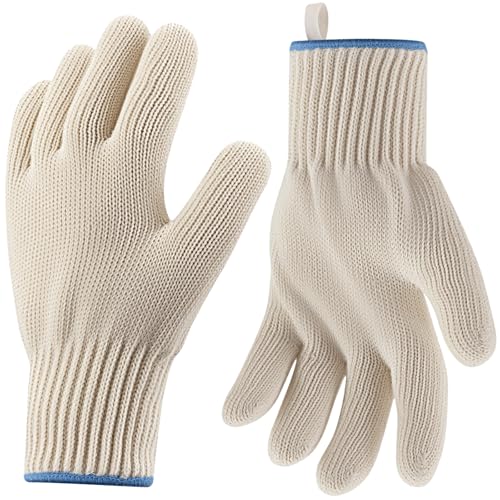
High Quality Oven Gloves Heat Resistant: Our oven mitts heat resistant baking supplies are crafted from premium quality aramid material. The heat resistant oven gloves are very strong, heat resistant and serve you for longtime.

【Extreme Heat Resistance】Our barbecue gloves & oven mitts, are designed to withstand temperatures up to 1472°F(Test max temperature tolerance), providing perfect protection for your hands from high temperatures whether you're grilling, baking, or cooking.

DURABLE, HEAT RESISTANT SILICONE - The Kitchen Aid Ribbed Soft Silicone mitts are heat resistant up to 500 degrees Fahrenheit to safely shield hands from the heat while cooking and handling hot pans and dishes.
Where to Place Ice for Maximum Crust and Minimum Risk
To achieve maximum crust with minimal risk, place 2 to 4 average-size ice cubes underneath the parchment paper and off to the side of the loaf. This placement ensures the ice never contacts the dough directly, preventing soggy or gummy spots on the bread. Position the ice between the corners of the parchment paper and the wall of the Dutch oven to allow steam to circulate effectively without saturating the bottom of the loaf. Limit the number of cubes to control moisture; excess water can inhibit crust development and make the loaf too wet. Always load the dough into the oven before adding the ice, and wear heat-resistant gloves for safety, since you will be handling hot equipment and slippery cubes. Place the ice on a side with enough clearance so it remains separated from the dough. This method delays crust formation, allowing for a better oven spring and more expansion. Proper placement and gentle handling of the ice help ensure easy removal and a crispy, well-developed crust.

Heat Resistant: Our BBQ gloves are designed to provide protection for your hands while cooking, grilling, baking, or handling hot pots. With an instant heat resistance of up to 1472°F, these gloves are perfect for high-temperature cooking and baking.
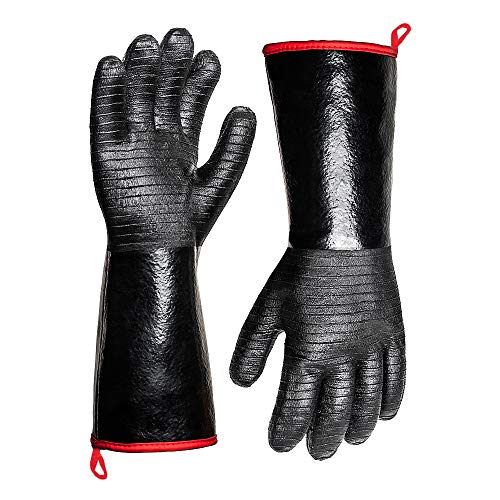
SAY GOODBYE TO BURNS! At 14” inches long, our BBQ gloves better protect fingers, hands and wrists from burns. And Our cooking gloves are heat resistant up to 932°F / 500°C .use this bbq accessories for your turkey fryer ,campfire,fireplace,charcoal,pit & barbecue gas grills as well
【Perfect After-Sales Service】If for any reason you are not completely satisfied with your purchase, or encounter any problems during use,you can click the "contact seller" button to send an email to us, and We will provide you with a satisfactory solution within 12 hours.
Bake With Ice: A Temperature Timeline
The initial temperature inside the Dutch oven drops to 450°F when you load the dough and ice, starting the Steam Generation Phase. This phase lasts for the first 15 minutes and is crucial for achieving a perfect oven spring. During this time, the melting ice causes a foam explosion, dramatically increasing steam penetration on the dough’s surface. This delay in crust setting allows the bread to expand fully and develop a glossy, blistered crust. To retain heat and maximize steam impact, you must close the oven door quickly—every second of heat loss can compromise your rise. This delayed crust formation from the lower temperature allows the dough to rise more freely before browning begins. For optimal steam trapping, many bakers preheat both the Dutch oven and its lid together at high temperatures for 30 to 60 minutes beforehand. This technique is similar to how a one-pot meal combines ingredients in a Dutch oven for a flavorful, convenient dish. Some recipes recommend adding caraway seeds for a savory, aromatic boost that complements the tangy sauerkraut.
After 15 minutes, you transition into the Temperature Reduction Phase. Remove the water pan, then lower the oven temperature to 425°F. Keep the Dutch oven covered for 20 minutes to continue gentle baking and maintain moisture. Next, lift the lid, decrease the heat further to 400°F, and bake for an additional 10 minutes. This browning step enhances crust color and flavor. A brief venting of the oven helps dry out the crust, giving it that ideal deep chestnut hue.
In the Finishing Phase, you adjust the temperature to 425°F for 15 minutes to deepen the crust’s color and texture. Finally, reduce the oven to between 350°F and 375°F for the last 5 minutes. Cracking the door slightly with a wooden spoon helps drive off excess moisture, resulting in a crisp, well-developed crust. This temperature and timing sequence ensures your bread achieves the perfect balance of color, texture, and crust depth.
Why Ice Alone Might Not Improve Your Loaf
Adding ice cubes is not a guaranteed way to improve your loaf. Your dough already produces enough moisture for crust development through natural steam during baking. When you introduce ice, it can create excess water that pools at the bottom of the Dutch oven. This delays crust formation, making the base soggy and requiring longer lid-off baking to restore crispness.
Ice also lowers the internal temperature of the oven, which can hinder oven spring—the rapid rise your dough experiences during initial baking. Reduced oven spring risks compromising the loaf’s structure, potentially causing explosions or collapses. For well-fermented doughs, adding ice offers no real benefit; it primarily helps only under-fermented loaves that need extra humidity. This temperature drop is why one to two ice cubes are recommended as a safe limit. If you frequently bake under-fermented loaves, consider using a vacuum sealer to store and portion proofed dough for more consistent results. If you prefer to measure the water temperature precisely, a digital meat thermometer with a waterproof rating can safely check the heat of your water or ice bath.
Furthermore, steam from melting ice dissolves surface flour and can spoil decorative scoring. This makes it harder to achieve clean, crisp designs on your loaf’s surface. Because of these issues, trusting your dough’s natural humidity and steam generation is generally a better approach than adding ice cubes, though a lid with self-basting spikes can enhance moisture distribution if you prefer using the lid.
What to Use Instead of Ice in a Dutch Oven
There are several effective alternatives to ice for generating steam in a Dutch oven. Instead of placing ice inside, you can mist the dough generously with water before loading it or spray the interior of the lid. These methods help initiate steam circulation without lowering the oven’s temperature as ice does. To ensure reading accuracy of a related tool, allow the device to acclimate to its environment before use. This approach creates a perfect baking atmosphere by trapping moisture directly around the bread. To add ambient moisture, preheat a cast iron pan on the bottom rack and then pour in a few drops of boiling water. This creates a steady stream of steam during the early phase of baking. If you don’t have a lid, invert a large oven-safe pot over your loaf or use a foil tent with enough clearance above the dough to allow steam to escape. For a richer flavor, the technique of deglazing with balsamic vinegar can lift browned bits from the pot. Keep in mind that for enriched doughs such as brioche, skipping ice altogether prevents trapped steam from ruining the crust. Placing parchment paper underneath steam sources also helps prevent soggy spots, ensuring a crisp crust. For cooks familiar with sous vide, using a water displacement method on dough bags can similarly remove excess air to improve moisture distribution.

Adjustable Fine Mist or Stream: Twist the nozzle to switch from a wide mist for gentle spritzing to a strong stream for precise spraying. Perfect for brisket, ribs, pork, or chicken.

Simple to use and sanitize; As easy as 1-2-3, disassemble your BBQ spray bottle and access its gasket chamber to wash its components clean; Raise your food preparation routines to a much cleaner and healthier living standards; Food is food, and it goes bad and rancid fast; Spray-Plast will help to keep your food spray bottle clean

Multi-purpose: BBQ spray bottle capacity is (12oz/350ml), we provide syringe nozzle, spray nozzle and oil nozzle, you can use injection or spray function by changing the nozzle, which is more suitable.
Common Mistakes Baking With Ice (and How to Fix Them)
Baking with ice in your Dutch oven requires care to avoid common mistakes that can ruin your loaf. Using more than four cubes creates a water pool inside the oven, which prevents the crust from crisping up and can leave sticky, gummy spots if the ice touches the dough directly. Dropping ice directly into a hot, ceramic pot risks thermal shock, which can shatter the vessel and cause burns. To prevent this, use alternative hydration methods such as misting the dough or spraying the underside of the lid with room-temperature water before baking. Always place the ice underneath parchment paper instead of directly touching the dough or oven surface. Remember that ice cannot fix over-fermented dough, and using it can make decorative scoring vanish from the crust. A Dutch oven is also ideal for dishes like Beef Bourguignon and soups, which benefit from even heat distribution. Additionally, rapid temperature changes from adding ice can degrade the condition of your Dutch oven over time, so if you see no significant difference with ice, it’s best to skip it altogether.

【SAFE LIFT, NO MORE BURNED HANDS】This parchment paper for sourdough baking lets you lift raw dough and baked bread in and out of a hot Dutch oven in one move; it keeps hands away from heat and makes handling safer for beginners

Time-Saving & Effortless: Pre-cut specifically for sourdough baking—no measuring or trimming needed, simply place the liner directly into your pot and start baking.
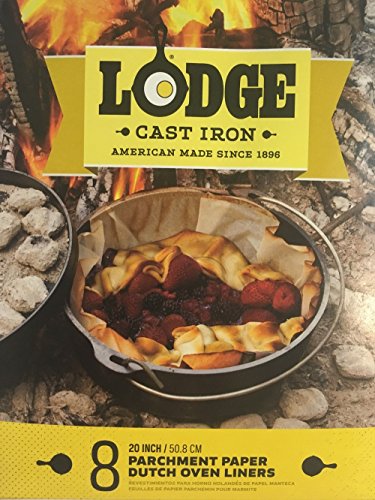
YOUR NEW GO-TO DUTCH OVEN LINERS: The Lodge Dutch Oven Liners make camp cooking cleanup easier than ever. Made of 100% biodegradable parchment paper, after cooking, simply remove to discover fresh cookware that is ready for the next adventure.