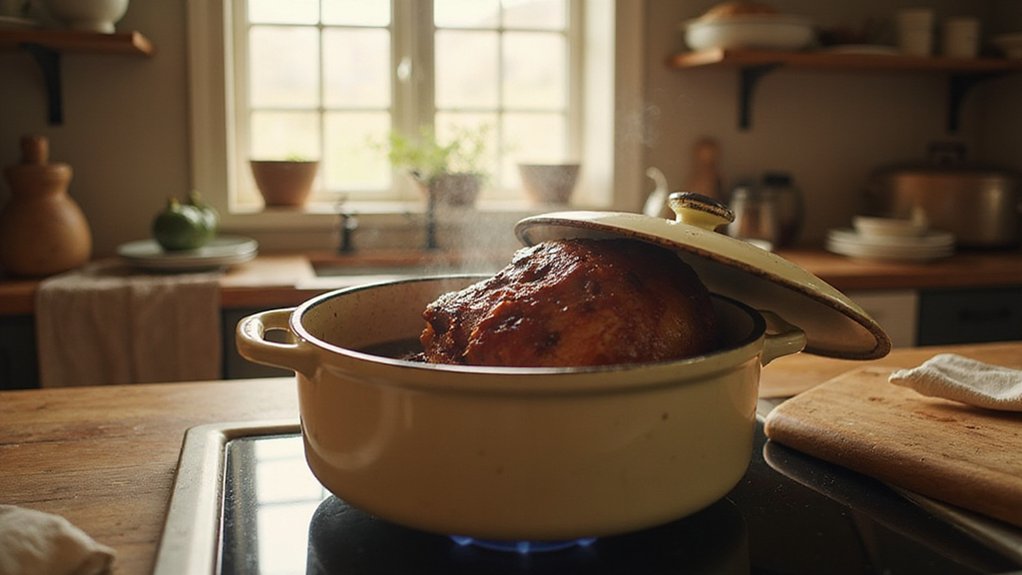
Wondering how to cook ham right on your stovetop using a Dutch oven? You can achieve moist, tender meat with a simple simmer that locks in flavor and moisture.
When done properly, you’ll end up with juicy ham that’s perfect for slicing or glazing. The key is patience and careful temperature control, and I’ll guide you through the process step by step.
What Safe Internal Temp for Stovetop Ham?
The safe internal temperature for stovetop ham depends on whether it is fully cooked or raw. For raw ham, aim to reach an internal temperature of 145°F, then let it rest for three minutes to allow carryover cooking and ensure safety. If you’re reheating fully cooked ham from USDA sources, heat it to 140°F. For ham from other sources, such as non-processed or pre-cooked but not USDA-certified, reheat to 165°F. Ground ham or ham-based products should reach 160°F for safety. Always use a meat thermometer inserted into the thickest part of the meat, avoiding bone or fat, to verify these temperatures. Relying solely on cooking times can be misleading; precise temperature measurement guarantees both safety and optimal texture. Using an infrared thermometer instead of a standard probe can provide real-time temperature readings without contact, helping to prevent overcooking on the stovetop surface. To avoid moisture-related issues similar to those in vacuum sealing, freeze moist foods before cooking to ensure even heat distribution. For a deeply savory result, consider deglazing the pot with beef stock or wine after browning to lift browned bits and enhance the broth’s flavor.
How to Prep Your Ham for Max Flavor and Moisture
To prep your ham for maximum flavor and moisture, start by managing its temperature. Remove it from the fridge at least two hours before cooking to allow for even heating throughout. If you’re working with a cured ham, soak it in warm water for 45 minutes to reduce excess salt, then repeat if necessary. For a fresh ham, brine it in a salt-water solution for 8 to 12 hours to enhance moisture retention and add flavor. Score the fat in a diamond pattern to help seasonings penetrate more deeply. Look for ham with about 20% fat content, as this marbling keeps the meat juicy during cooking. Rinse off any residual brine, pat the ham dry to remove excess moisture, and brush on a basting mix of honey, brown sugar, and mustard for added flavor and caramelization. Finally, loosely tuck foil around the ham and place it cut-side down in the roasting pan to trap steam and promote even cooking. The same principle of precise temperature control that yields perfect eggs with sous vide cooking can be applied to ham for consistent results. After removing all rust, apply three rounds or more of seasoning oil while the surface is wet to prevent flash rust from forming. For a similar effect in baking, you can create a hot and humid environment by using a preheated baking stone with a pan of boiling water underneath.

AUTHENTIC ORIGINAL PORK INJECTION & BRINE: Our secret combination of ingredients capture the true taste of Memphis-style championship BBQ with the perfect balance of sweet & heat to take your BBQ to the next level.

SWEET & SAVORY BROWN SUGAR Rich brown sugar blend for smoked fish, chicken, turkey and pork with exceptional moisture and flavor.

[Reinforced Seal] The brine bags have a double zipper clicker closure and cotton string is provided for each bag, double seal can effectively prevent spilling out.
Build a Moist Braising Liquid Base for the Dutch Oven
To build a moist braising liquid base, use exactly 2 cups of broth, wine, juice, or water. This amount should bring the liquid halfway up the ham, ensuring about 50% coverage, which locks in approximately 92% of the moisture. For flavor, sauté chopped onions, carrots, and celery in the Dutch oven until they soften, then add garlic and cook for one minute to release aromatics. You can also boost flavor by adding halved onions, smashed garlic cloves, whole peppercorns, thyme, rosemary, or bay leaves. Using a vacuum sealer can speed up the marinating process by creating a low-pressure environment that forces flavors deeper into ingredients. This technique is similar to seasoning cast iron with sunflower oil, which uses a high smoke point to create a durable non-stick layer through polymerization. To deglaze, scrape up any browned bits from the bottom of the pot with a splash of your chosen liquid—this adds richness and depth. Bring the liquid to a gentle simmer between 185 and 195°F, where bubbles just break the surface, then cover the Dutch oven immediately. This method infuses the ham with deep, savory flavors without oversaturating it, resulting in tender, moist meat. For a similarly robust result, searing the ham in the hot Dutch oven until a deep brown crust forms enhances the final flavor.

Even Heat Distribution Retention: This Umite Chef Dutch oven Made with heavy-duty enameled cast iron, ensures even heat distribution for perfect searing and slow cooking, locking in flavors. thickened walls lock in heat for slow braising, searing, and baking. Unlike thin pots that scorch food, this professional-grade Enameled cast iron potSuperior heat retention after preheating (allow 5-7 mins for even distribution). CRITICAL: Always cool naturally for 45+ mins before cleaning. Thermal shock (hot-to-cold contact) cracks enamel. USE TIP: Preheat 2-3 mins on medium-low only

Quality Enameled Dutch Oven: The Lodge Essential Enamel Cast Iron Dutch Oven gives you all the benefits of cast iron cooking, great heat retention and durability, without fear of rust; it's also PFAS free

Crock Pot Artisan Oval Enameled Cast Iron Dutch Oven, 7-Quart, Scarlet Red w/Lid
Set Low and Slow Heat: Here’s the Exact Timing
Once the braising liquid is gently simmering, set the heat to low and cover the pot tightly. This low-and-slow method is essential to prevent the meat from drying out and helps it stay moist. Maintain a low simmer—just gentle bubbles, not a rolling boil. For a fully cooked smoked ham, reheat it for exactly 30 minutes. If you’re braising a larger pre-cooked piece, allow 15 to 18 minutes per pound. These precise timing adjustments are key to enhancing flavor and ensuring tenderness. Use a meat thermometer to monitor the internal temperature; remove the ham at 140°F for smoked varieties or 145°F for boneless cuts. Do not exceed 150°F, as higher temperatures can cause the protein to tighten and dry out the meat. Let the ham rest for 10 to 15 minutes before slicing to allow the juices to redistribute evenly. Pouring two cups of orange juice over the ham adds moisture and flavor to prevent drying out during reheating.

Even Heat Distribution Retention: This Dutch oven Made with heavy-duty enameled cast iron, ensures even heat distribution for perfect searing and slow cooking, locking in flavors. thickened walls lock in heat for slow braising, searing, and baking. Unlike thin pots that scorch food, this professional-grade Enameled cast iron pot maintains steady temperatures

Moisture-Locking Lid: The Lodge Essential Enamel Cast Iron Dutch Oven features a moisture-locking design ideal for roasting, braising, and slow cooking pot meals

When and How to Glaze for a Sticky, Golden Finish
To achieve a sticky, golden finish, you should glaze the ham after it reaches 140°F. Once it hits that temperature, remove the lid and increase the oven heat to 400°F–425°F. Score the surface deeply, poking 12–15 holes, and pat the ham dry to ensure proper glaze adhesion. Prepare your glaze by simmering equal parts brown sugar and maple syrup with a teaspoon of mustard until it thickens. Pour half of the glaze over the ham, then use a brush to work it into the scored surface and holes. Reapply the glaze every 15 minutes during the uncovered baking process. For a caramelized, crispy edge, finish with a quick broil for 3–5 minutes or use a kitchen torch. Throughout baking, baste repeatedly and add any leftover glaze during the last 5 minutes. This method guarantees a beautifully sticky, golden crust that won’t burn. For similar results, a carbon steel skillet offers excellent heat retention and quick temperature response for glazing.

Brush on meat at the end of cooks to add color and flavor

BROWN BUTTER FLAVOR MAPLE SYRUP: A rich, buttery flavor maple syrup with notes of caramelized sugar, butterscotch, and toasted pecan for a decadent taste experience.

100% Pure, all natural, maple sugar
Let the Ham Rest, Then Slice It Right
After glazing, let the ham rest for at least 15 minutes; larger cuts may need up to 30 minutes. This step is crucial to allow the juices to redistribute, ensuring a moist and tender result. Transfer the ham to a cutting board and loosely tent it with foil—avoid sealing it tightly, as this will soften the crust. Resting helps maintain the ham’s moisture and flavor, preventing it from becoming dry or stringy when sliced. This mirrors the care needed for a cast iron skillet, where drying completely and oiling after every use keeps it in optimal condition. Just as with aluminum brazing, patience and careful temperature control are essential to achieving a successful outcome without damaging the material. When caring for cast iron, a light seasoning oil is key to building a resilient non-stick surface that improves over time.
When ready to carve, remove the foil, then use a sharp knife to slice against the grain. Slicing against the grain results in more tender, cleaner cuts. After slicing, add the ham back into the pan juices if desired, to boost moisture and flavor. Skipping this resting process can compromise the texture and overall quality of your ham.
Why a Dutch Oven Works Best for Stovetop Ham
A Dutch oven is ideal for stovetop ham because its heavy cast iron construction retains heat evenly, preventing hot spots or dry patches. The tight-fitting lid traps steam, maintaining moisture inside the pot—essential for cooking ham thoroughly without it drying out. Simmering the ham in broth or wine creates a humid environment that tenderizes the meat and prevents burning the glaze. For the best sear, use a high-smoke-point oil like avocado or canola to help form a golden crust on the ham before adding liquid. Avoid overheating the pan by heating it gradually on low heat to protect the enamel and ensure even cooking.
Unlike roasting or grilling, which can dry out ham, the Dutch oven’s enclosed design allows you to sear, simmer, and glaze all in one pot. Adding aromatics like onions, garlic, cloves, and allspice to the braising liquid enhances the flavor; the circulating steam infuses every slice. You can even reuse the leftover liquid to make flavorful soup. This versatility makes stovetop ham straightforward and reliable, ensuring even heating and juicy results. Maintaining the Dutch oven’s performance involves seasoning its cast iron with a thin layer of high smoke point oil baked at a high temperature to preserve its non-stick surface.

BREAD BAKER'S DUTCH OVEN, 500°F OVEN-SAFE, SOURDOUGH-READY – one of the highest ratings in its class – delivering the sustained heat that sourdough, artisan bread, and pizza dough demand. Thick cast-iron walls trap and circulate heat like a brick oven, producing bakery-quality crusts at home. The tight-sealing lid features raised self-basting nodes that continuously recirculate steam: a perfect moisture chamber, every single bake.

PFAS-FREE & NON-TOXIC COOKWARE: ATTENTION: If your manual mentions "enamel" or "low-medium heat only", it is incorrect. This is 100% pure cast iron cookware! Not Enamel-Coated: Safe for High-Heat Cooking! Metal utensils OK (avoid sharp edges) Every Umite Chef cast iron pot has been burned with 100% natural, food-grade vegetable oils—absolutely zero PFAS, PFOA, PTFE, synthetic coatings, or toxic chemicals. Our seasoning naturally builds with use, developing a superior non-stick surface over time while ensuring oven-to-table safety

【10QT CAMPING DUTCH OVEN】 The Velaze 10 Quart camping dutch oven is made of cast iron with a high-quality design and excellent thermal conductivity and heat retention. The flanged lid holds hot coals and inverts for use as a griddle. The extra stand support allows the oven to sit perfectly over the table.