If your cast iron skillet is flaking and you want it to last longer, you’re not alone. Flaking can happen when the seasoning breaks down or is damaged, leaving your pan less effective and safe to use.
Luckily, there’s a straightforward way to fix it and restore your skillet’s durability. Keep reading to learn how to repair and maintain it for a smooth, nonstick surface.
Why Your Cast Iron Skillet Is Flaking (And What’s Causing It)?
You’re likely applying too much oil, which leads to flaking. Thick layers of oil prevent proper polymerization, leaving a soft, non-bonded coating that can peel off easily. To avoid this, wipe the pan after oiling until it reaches a dull sheen—any excess oil left on will create sticky residue that flakes off as the seasoning builds. Flaking typically occurs around side walls rather than the bottom, even with regular care. If rust is already present underneath the flaking, you can use a vinegar spray solution to gently lift the rust without causing additional pitting. To build a truly durable layer, multiple rounds of baking and oiling are often recommended to strengthen the seasoning.
Cooking acidic foods like tomatoes in an under-seasoned or improperly prepared skillet can also cause flaking. Acid reacts with the bare iron, breaking down the seasoning and lifting the coating. Additionally, improper heating below the oil’s smoke point prevents the seasoning from properly bonding to the pan’s surface. Ensuring you heat your skillet to the right temperature for the oil you’re using allows polymerization to occur, forming a durable and long-lasting layer. Achieving that durability involves understanding that precise temperature and timing, much like sous vide cooking for eggs, creates a perfectly bonded result. Correcting these mistakes will significantly reduce or eliminate flaking issues.
How to Diagnose the Severity of Your Flaking Seasoning
To diagnose the severity of your flaking seasoning, start with a visual assessment. Minor issues typically show small patches under 10 percent of the surface area, which are usually easy to patch up. If you notice seasoning peeling in large sheets or bare metal appearing in multiple spots, this indicates a severe problem that needs attention. Check the surface for roughness between flakes; a smooth texture suggests shallow damage, while a rough feel indicates deeper failure of the seasoning layer. Unlike traditional raw cast iron, pre-seasoned skillets from the factory often have a more uniform initial layer that may flake differently if the coating was applied too thickly.
Next, assess texture and adhesion through simple tests. Rub a dry finger over the pan’s surface—gummy residues point to oily buildup that can cause flaking. Use a soft brush; if loose particles come off easily, your seasoning may be weak. Press gently on the surface; if it lifts or flakes without much pressure, deeper issues are likely present. For a more precise check, you can use a digital meat thermometer with a waterproof rating like IP67 to verify the pan’s temperature consistency during cleaning.
Finally, observe how the pan performs during use. Eggs sticking to certain areas, uneven oil pooling, or water beading on damaged spots are clear signs of compromised seasoning. Linking these symptoms to causes like acidic foods, metal utensils, or harsh detergents can help you determine whether a cleaning, re-seasoning, or more thorough repair is needed. Achieving a proper seasoning requires using oils with high smoke points to build a durable, non-stick layer.
Quick Fix for Light Flaking: The Salt Scrub Method
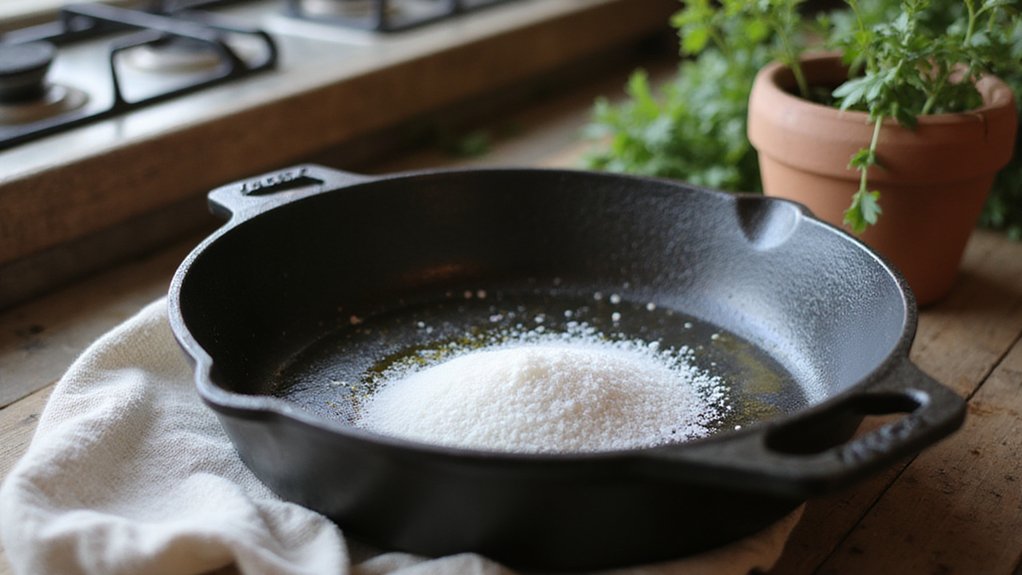
To fix light flaking on your cast iron, the salt scrub method is an effective and quick solution. Start by heating the skillet on low until it’s warm to the touch. Pour two to three tablespoons of coarse salt directly onto the surface. Using a halved potato or a folded paper towel, scrub the area in small circles for one to five minutes, applying firm pressure to lift loose flakes. Continue until the surface feels smooth, making sure to focus on the flaky patches. This salt scrubbing technique is effective yet gentle, minimizing damage to remaining seasoning. For a more resilient base, preheat the cast iron as intensely as you would for searing a ribeye to ensure the new seasoning bonds properly. For best results, choose a versatile sealer that offers vacuum strength and sealing modes suited to different tasks. Proper cleaning the gasket on your sealer prevents food debris from compromising seals.
Once the flakes are lifted, discard the salt in the trash. Dry the pan completely on the stovetop over low heat to prevent rust. Then, apply a thin layer of high-smoke-point oil, wipe away any excess with a cloth, and bake the skillet at 400°F for one hour. Repeat this oiling and baking cycle at least twice to develop a durable, flake-free coating that improves the skillet’s performance and longevity.

Premium Mediterranean sea salt from Spain
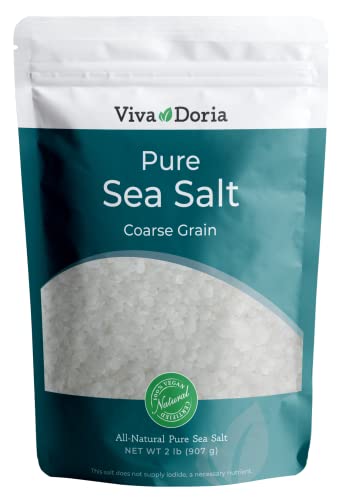
VISUALLY CAPTIVATING: Each crystal glistens with pristine clarity, reflecting the sun's radiant glow and embodying the sea's untamed essence.

Premium kosher sea salt from the Mediterranean
Heavy Flaking Removal: Steel Wool and Oven Degreaser
Heavy flaking that doesn’t respond to a salt scrub can be effectively removed with coarse steel wool and an oven degreaser. Begin by scrubbing the skillet inside and out with warm, soapy water and steel wool in a circular motion. Don’t worry about damaging the cast iron; steel wool is tough and designed to handle it. Rinse the skillet until the water runs clear, ensuring any loose flakes are washed away. Then, place the pan upside down on the middle rack of your oven and run the self-cleaning cycle to burn off heavy buildup. Once the cycle is complete, let the skillet cool overnight before removing it from the oven. Rinse again to clear away any remaining carbonized residue. Dry the skillet thoroughly on the stovetop or in the oven until it turns a grayish-silver color, ensuring moisture is eliminated to prevent new rust formation. For reseasoning, apply a very thin coat of sunflower oil to create a durable non-stick layer through polymerization. Proper preheating of the cast iron to an even temperature before cooking helps prevent future flaking. For a similar effect in baking, you can create a hot and humid environment by adding boiling water to a separate dish in the oven. Finish by re-seasoning your skillet to restore its non-stick surface and protect it from future flaking.

【PROFESSIONAL COMBO FOR TOUGH CLEANING】: Cast iron scrubber is made of 316 stainless steel + silicone. Silicone has extreme stability, can resist high temperatures. Pan scraper is made of thickened ABS plastic, non-stick and non-cracking, heat-resistant up to 275 °F

✔️【Package Included】4pcs steel wool scrubber set, they are easy to clean and scrub the stains and grease on the kitchen utensils, as well as the rust on the bottom of various pots, making them shiny as new. Of course you can use it together with a cleaning agent, the removal effect is better and the efficiency is higher.

[ You Will Receied ] 1pcs steel wool scrubber and 4pcs steel cleaning pads for replacement, which are easy to scrubbing stains and grease on kitchen appliances, as well as rust on various pot bottoms, making them shiny like new. In addition, you can use it combination with stainless steel cleaner to achieve better cleaning and improve cleaning efficiency
Why Oil Selection and Thickness Matter for Cast Iron Skillet Seasoning
Choosing the right oil and applying it in a very thin layer—about half a teaspoon for the entire skillet—is essential for proper seasoning. The polymerization process, where heat transforms unsaturated fats into a durable, non-stick surface, relies heavily on both factors. Use an oil with a high smoke point, ideally between 400 and 500°F, so it bonds to the metal rather than burning into a sticky residue. To ensure the seasoning builds effectively, preheat the skillet over medium heat to warm the metal before adding oil, as cold iron won’t bond properly. For best results, follow the flaxseed oil method by baking the pan at high temperatures and repeating multiple cycles over several hours to achieve the hardest finish.
Fat composition also plays a role. Polyunsaturated oils like flaxseed, grape seed, or soybean oil polymerize most easily, forming a strong seasoning layer. In contrast, saturated fats such as coconut oil tend to resist forming that durable coating and may result in a less effective seasoning. Always wipe off any excess oil with a lint-free rag before heating; thicker layers won’t fully polymerize and can leave a sticky, flaky surface. Several ultra-thin coats build a more reliable, slicker seasoning than one thick layer, making repeated applications worthwhile for a better finish.
Extra strength flaxseed oil softgels formulated with 700 mg of Omega-3 to help support a healthy heart

Heart health support supplement: contains one 100 count bottle of Nature Made Flaxseed Oil 1000 mg Softgels for a 100-day supply

MADE WITH ORGANIC FLAXSEED OIL - CERTIFIED BY CCOF: Our pure flaxseed oil ingredient is carefully extracted from organic, non-GMO flax seeds without hexane or added heat to preserve the delicate structure of the omega-3s.
Step-by-Step Oven Seasoning to Build a Durable Base Layer
Apply a very thin layer of grape seed or avocado oil using a lint-free cloth, then wipe away all excess oil until the skillet looks nearly dry and glossy. This helps prevent buildup and ensures an even seasoning. Place the skillet on a sheet pan and bake at 400°F for one hour to polymerize the oil onto the surface, creating a durable, non-stick base layer. After baking, turn off the oven and allow the skillet to cool completely inside; this slow cooling process helps the seasoning set properly. Repeat this entire cycle at least three times before cooking with the skillet to build a strong, long-lasting seasoning layer that resists flaking and enhances non-stick properties. Unlike infrared thermometers, which only measure surface temperature and can be less reliable for liquids, a digital probe thermometer is recommended for checking the internal temperature of cooking oil if you choose to monitor it precisely. Preheating the skillet to medium-high heat and testing readiness with water droplets that skip and scatter can help avoid burning food during initial use. This process mirrors how cast iron’s superior heat distribution prevents temperature drops when cooking a cold steak, ensuring an even and durable seasoning.
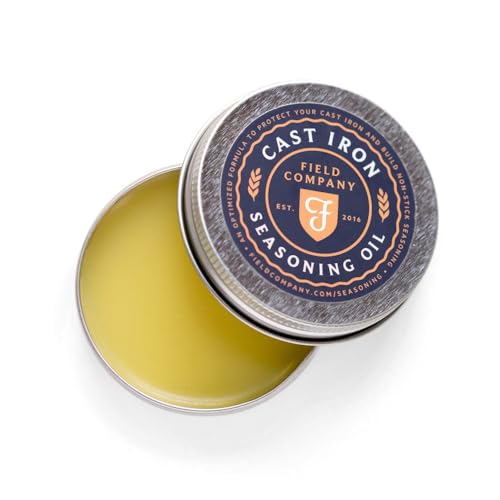
HOW TO USE: The key to naturally nonstick cast iron cookware? Cook often, and apply Seasoning Oil every time you clean your pan. Clean your cast iron with soap and a brush, then use a chain mail scrubber to smooth out existing seasoning layers. Apply a dab of Seasoning Oil and spread it thinly over the surface with a paper towel or clean rag. Wipe away excess oil to leave a dry, matte finish.

Our Mantova Grapeseed Oil Spray bottle dispenser preserves all the genuine qualities of 100% natural grapeseed with nothing else: no fillers, additives, or preservatives. Perfect for vegan, vegetarian, or other plant-based diets.

CLEAN, NEUTRAL FLAVOR: GrapeOla 100% Grape Seed Oil complements delicately flavored foods and enhances flavors without overpowering them
3 Coats Minimum: Why Thickness Beats Quantity for Cast Iron Seasoning
The key to lasting seasoning is applying three to six thin coats, not stacking many layers. Each coat should be nearly dry when you wipe it on, creating a whisper-thin film that bonds chemically with the iron. Thick, oily layers tend to flake because they don’t fully polymerize, which compromises durability. Properly thin coats ensure the oil bonds tightly, resisting peeling or damage under heat and acidity. While three coats lay a solid foundation, adding up to six coats promotes a more durable, resistance surface. To preserve this strong bond, always dry the skillet thoroughly before applying subsequent coats or after cleaning to prevent rust. Avoid heavy, uneven layers—focus on achieving multiple translucent, fully polymerized coats for best results. Using a high smoke point oil like grape seed or avocado ensures the oil fully polymerizes without flaking, forming a stable, durable coating. If you do develop rust, vigorous scrubbing and reseasoning can restore the pan’s integrity. This careful seasoning process also helps the skillet withstand the acidity from red wine used in braised dishes like pot roast.
How to Reseason on the Stovetop for a Quick, Glossy Finish
To reseason your pan quickly and achieve a glossy, nonstick finish, follow these steps. First, select a polyunsaturated oil like flaxseed or grapeseed oil, as these oils polymerize faster, providing quicker results. Apply a very thin layer of oil using a paper towel—blot instead of pouring—to ensure an even, light coating. Wipe off any excess so only a faint sheen remains, preventing sticky buildup. Remember to use proper elbow grease and thorough work across all areas to ensure a clean, rust-free surface before applying oil.
Next, turn your burner to high heat and rotate the pan continuously to distribute heat evenly. When the oil begins to smoke, turn off the heat and allow the pan to cool naturally. This process starts the polymerization, forming a durable, smooth surface. Repeat this process for two to three coats, allowing each layer to smoke and cool before applying the next. Building multiple layers enhances the glossiness and nonstick qualities of your cookware.
Ensure good ventilation by opening a window or turning on a fan, as the smoking oil produces fumes. Better ventilation also helps prevent lingering odors. Unlike standard butane torches, which cannot reach high enough temperatures to melt glass effectively, your stovetop easily generates sufficient heat for seasoning. Once cooled, your pan will have a glossy, nonstick finish that not only improves cooking performance but also helps prevent sticking and flaking over time.
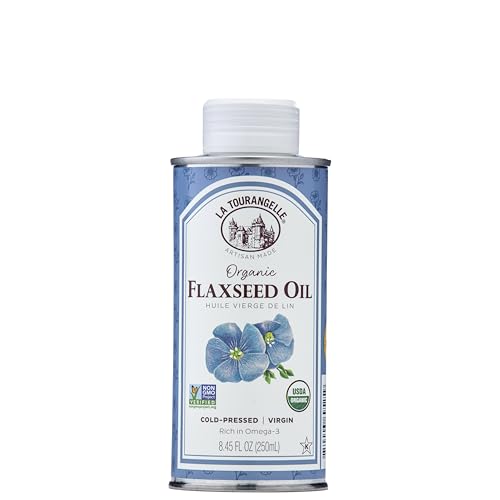
Organic Flaxseed Oil: This oil provides over 7 grams of plant based Omega-3, making it the ideal ingredient to add to your smoothies, oatmeal, or salad dressings.

PURE, ORGANIC AND UNREFINED: Barlean's organic flax oil is cold pressed without the use of heat or solvents. Each drop is protected from damaging heat and light from seed to bottle, offering a potent and healthy balance of Omegas 3, 6, and 9 and a pleasant and mild nutty flavor.

Velona USDA Certified Organic Flaxseed Oil: 100% Pure and Natural Carrier Oil. Unrefined. Cold Pressed. Not Diluted, Non-GMO, No Additives, No Fragrance, Alcohol Free.
How to Clean Your Cast Iron Skillet After Reseasoning
To clean your cast iron skillet after reseasoning without damaging the glossy new surface, start by rinsing it with warm water. Use a non-abrasive sponge—nothing steel wool—to avoid scratching the coating. For stubborn bits of food, sprinkle coarse kosher salt into the skillet and scrub gently with a rag or paper towel. This salt scrub works as a milder abrasive for rust removal, just like the technique used on rusted pans. Avoid soaking the skillet, as prolonged exposure to water can strip away the seasoning and cause rust. After cleaning, dry the skillet thoroughly with a dish towel or paper towels. Once dry, heat it on the stovetop for about 30 seconds to evaporate any remaining moisture. This step is crucial for preventing rust from forming. Lastly, apply a very thin layer of oil over the entire surface using a paper towel or cloth, then wipe away any excess to keep the surface slick and free of stickiness. Proper cleaning and maintenance will preserve your skillet’s seasoned finish and ensure it remains flake-resistant for years. Store it in a dry, ventilated spot to keep it in optimal condition.
A 5-Minute Weekly Oil Wipe to Stop Flaking Permanently
A 5-minute weekly oil wipe is all you need to prevent flaking permanently. While your skillet is still warm after cooking, grab a paper towel lightly coated with oil and give the surface a vigorous wipe. You’re not applying a thick coating, just maintaining the existing polymer layer without overheating the pan. This simple step challenges the myth that heavy, goopy coatings are necessary—you only need a thin, almost-dry wipe to keep the seasoning intact, prevent rust, and reinforce the bond between layers. After wiping, store your pan with a folded paper towel inside to absorb moisture from the environment. Avoid soaking or submerging the skillet, as even brief water contact can cause rust underneath the seasoning. Regular cooking in that skillet naturally strengthens the bond over time, so this quick routine ensures your seasoning stays durable and flake-free.