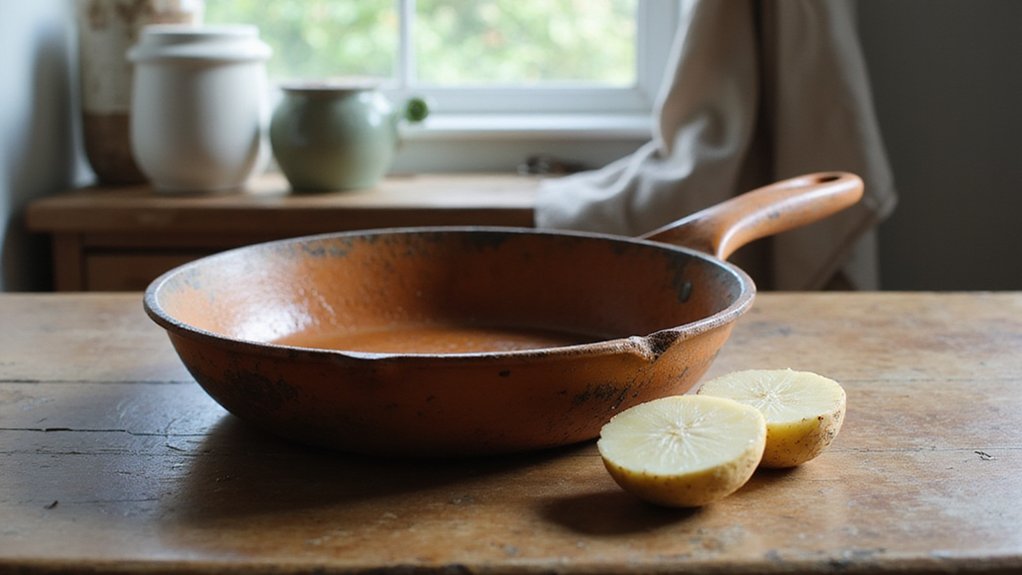
Rust on a cast iron skillet can be frustrating, especially when you want to keep it in top shape. Luckily, a simple trick using a potato can help remove surface rust effectively.
By the end of this, you’ll know how to use a potato and basic kitchen ingredients to restore your skillet’s shine. Keep reading to learn the easy steps to dip and scrub away the rust.
Surface Rust vs. Heavy Corrosion: How to Tell
To determine whether you’re dealing with surface rust or heavy corrosion, start with a simple visual and tactile check. Surface rust appears as a light orange stain that feels smooth to the touch. It usually forms on clean, uncoated metal surfaces and is relatively easy to remove. Heavy corrosion, on the other hand, shows up as deep, gritty patches with visible pitting and flaking. When you run your finger across the surface, a smooth, discolored area indicates surface rust that’s manageable with basic cleaning. If you feel bumps, rough patches, or flakes, it means the corrosion has penetrated the metal and requires more intensive treatment. A Lodge Rust Eraser with silicon carbide and rubber can effectively target surface rust and tarnish in nooks and crannies without damaging the seasoning. For a more durable finish after cleaning, you can apply a high smoke point oil like vegetable or flaxseed oil to rebuild the protective layer. For heavy corrosion, a vinegar spray solution left for no more than 30 minutes is a popular chemical method to loosen deeper rust before scrubbing.
A quick white paper towel test can also confirm rust type. Wipe the surface; if orange residue remains on the towel, it’s surface rust. If, after rinsing, you see flakes or deep-colored dirt in the sink, you’re facing thick, embedded corrosion that needs chemical or abrasive methods to address. Recognizing these signs early helps prevent unnecessary labor or materials—simple scrubbing might suffice for surface rust, while heavy corrosion calls for chemical rust loosening agents.
Why Potato and Salt Remove Rust So Well
Potato and salt remove rust effectively because raw potatoes contain oxalic acid, a weak chelating agent that loosens iron oxide bonds, while coarse salt provides controlled micro-abrasion. The oxalic acid gently dissolves superficial rust layers up to 0.05 millimeters deep without damaging the underlying metal or seasoning. Salt crystals then mechanically lift the loosened rust particles when you apply controlled pressure—around 2 newtons in small circular motions—preventing excessive metal removal. The moisture from the potato forms a penetrating paste that helps salt bind to crevices, targeting rust selectively. Keep in mind, this method is suitable for light rust only; deep pitting indicates a compromised structure that requires full re-seasoning. After scrubbing, you must rinse the skillet under cold water to wash away salt and rust particles before drying thoroughly. For those seeking even more precise control over surface treatment, sous vide cooking offers similar temperature accuracy for egg textures. Properly controlling time and temperature during this process mirrors the critical limits established in a HACCP plan for safe vacuum sealing.
Prep for Rust Removal: Rinse, Cut a Potato, Add Salt
To prep for rust removal, start by rinsing the skillet under warm water to wash off loose dust and particles. Immediately shake out excess water to prevent it from sitting on the surface, as soaking can worsen rust. Use your fingertips to feel the rust’s severity across the surface.
Next, cut a raw Russet potato in half crosswise so that the flat face makes maximum contact with the rusty areas. Sprinkle about a half cup of coarse kosher salt directly onto the rust. Press the cut side of the potato firmly into the salt, allowing its moisture to create a scrubbing paste. This approach offers an effective alternative to methods like vinegar soaks. When stored properly, vacuum sealed meat can maintain best quality for 2 to 3 years in the freezer.
If the paste becomes too slick, reapply salt or slice off a fresh layer of potato. Remember, after rust removal, proper seasoning techniques will restore the skillet’s nonstick surface.

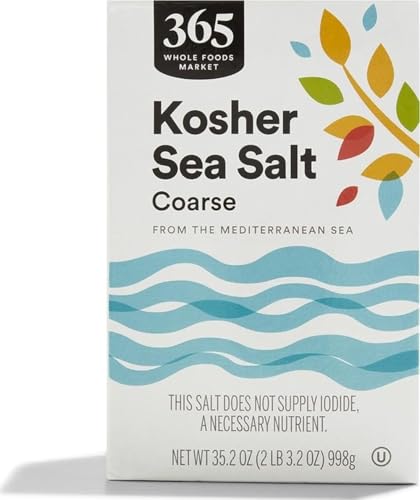
Premium kosher sea salt from the Mediterranean

For All Seasons: No pun intended! Whether it’s your next dinner party or a night in, our non iodized salt kosher option has you covered
How to Scrub With Circular Motions and Firm Pressure
Start scrubbing the rusted areas by using small circular motions combined with firm pressure. This technique helps guide the coarse salt particles across the skillet’s surface, creating a consistent abrasive action that breaks down oxidation. Maintaining a circular trajectory along the cast iron’s grain reduces the risk of scratching while effectively penetrating rust crevices.
Applying adequate pressure is key—press down firmly enough to scrape off stubborn rust layers. The force pushes the salt deep into rusted spots, speeding up the removal process. Make sure to cover the sides, edges, and handle with the same circular scrubbing motion. The potato remains durable under this pressure, with rust clinging to its surface as you work. Keep scrubbing continuously, adding more salt as needed to sustain abrasive power, and observe the removal of gross rust and grime from the pan.

Premium Mediterranean sea salt from Spain

On Your Table For Generations: Morton Salt has been a household staple since 1848

Mineral-Rich: Unrefined to preserve essential minerals, our Baja sea salt enhances the flavor & nutritional value of your dishes. This coarse salt for grinder refill adds depth to every dish, making it a healthy & flavorful choice for your kitchen.
Check Your Progress Mid-Scrub (And When to Stop)
Pause every two minutes while scrubbing to monitor your progress. Look for the rust color shifting from orange to dull gray—this change indicates the acid is working. If stubborn rust flakes cling to the surface, continue scrubbing until they loosen. To protect the skillet’s seasoning after rust removal, avoid dish soap and use only water when scrubbing. Similarly, a non-stick pan requires no oil to cook well-marbled steaks, allowing their own fat to release.
Stop immediately if the metal turns dull gray without any remaining rust, as this suggests overexposure and risks of rust pitting. Run your fingers over the skillet—if it feels smooth, you’re on the right track. Make sure no orange patches are left, since they can reappear later. This risk of pitting arises because a prolonged or concentrated vinegar soak can cause damage. For the most accurate results when assessing surface condition, a digital probe thermometer is best for monitoring temperature if you later heat the skillet for seasoning.
Halt the process once the surface is evenly bright silver and shiny. Continuing beyond this point can harm the iron. Keep an eye on the bubbles produced by the acid; if no new bubbles form after 15 minutes, the acid has completed its work. Trust these cues to prevent damage and ensure effective rust removal.
Clean Your Skillet: Wipe, Rinse, and Remove All Salt
After scrubbing, wipe out the salt and potato slurry with paper towels or a rag, ensuring all visible granules are removed. This step prevents continued abrasive damage during rinsing. Discard the debris straight into the trash, not the sink, to avoid clogs. Rinse the skillet quickly under warm water, flushing out every last bit of salt and potato from the surface. Check every corner and crevice—residue may hide in tight spots. Use a wooden spatula or a metal scraper to gently dislodge stubborn bits stuck in corners. If the surface still feels slick after rinsing, wipe again to remove any remaining residue. This meticulous cleaning is similar to the technique used for seasoning variations that ensure a non-stick finish, much like the polymerization process that creates a durable, hard surface when using flaxseed oil. A final rinse verifies the skillet is clean—no salt granules, rust particles, or debris remain—leaving you with a smooth, ready surface. This method is similar to preparing a camping or family gathering where a clean cooking surface ensures the best results.
How to Dry Your Skillet With Heat to Prevent Re-Rusting
To dry your skillet with heat and prevent re-rusting, follow these steps. First, place the clean, debris-free skillet on a stovetop burner set to medium-low heat. Keep it there for 3 to 5 minutes, rotating the pan occasionally to ensure even drying on all surfaces. This movement prevents moisture from lingering in crevices or along the edges. Using this heat technique helps preserve food quality by creating a dry environment similar to vacuum sealing.
Too often, people assume the pan is dry when it looks dry to the eye, but residual moisture may still be trapped. To be certain, leave the skillet on the warm burner for an additional minute. This extra step helps eliminate any hidden dampness that could lead to rust later. Once the time is up, turn off the heat and wipe the entire surface with a clean paper towel, pressing into grooves and curved areas.
The goal is for the metal to feel completely bone-dry. This thorough heat drying phase is crucial: it forms a moisture barrier that significantly reduces rust risk. Always double-check that your skillet is entirely dry before storing it away. Regular maintenance, such as cleaning the gasket and drip tray is essential for optimal performance of any kitchen equipment.
Season After Rust Removal for a Non-Stick Shield
To season your skillet and create a durable non-stick shield, start with a very thin layer of high-smoke-point oil such as canola or grapeseed. Apply it evenly over the entire surface, then wipe off any excess so no oil drips remain. Preheat your oven to 450°F–500°F, place the skillet upside down with foil underneath to catch drips, and bake for one hour. Avoid opening the oven door during this process to maintain consistent temperature. Repeat this oil layering at least four times; each cycle reduces the amount of oil needed and builds a stronger seasoning layer. Once finished, allow the skillet to cool completely inside the oven. This process creates a protective, non-stick barrier that also resists rust and food sticking. The surface should feel smooth and dry after cooling, indicating a successful seasoning. For best results, season generously with salt and pepper before cooking in the skillet to enhance flavor. If you plan to travel with your skillet, remember that cast iron skillets are prohibited in carry-on luggage and must be packed in checked baggage. For short-term storage, you can use the water displacement method to seal food in a zipper-lock bag without a vacuum sealer.
When the Potato Trick Isn’t Enough: Next Steps for Heavy Rust
If the potato trick isn’t enough to remove heavy rust, you’ll need to use stronger methods. Start by soaking the object in a mixture of 50 percent white vinegar and 50 percent water. Limit the soak to 30 minutes for pitted surfaces or up to 4 hours for very heavy rust. Check every 30 minutes to prevent over-etching and avoid exceeding 4 hours, which can damage the metal. After soaking, scour the rusted areas vigorously with coarse steel wool or a Lodge Rust Eraser for about 10 minutes. For stubborn spots, make a paste using three parts baking soda to one part water, apply it to the affected area, then scrub with coarse salt and a damp towel. Dry your item immediately on a stovetop or in a 200°F oven to prevent flash rust. Once dry, apply a layer of oil and heat the pan to start your seasoning process. Removing heavy rust thoroughly is essential for long-term rust prevention and maintaining your cookware. This baking soda paste works by initiating a chemical rust breakdown on the metal surface.

Cast Iron Rust Remover: The Lodge Rust Eraser is a compact, abrasive rust eraser that restores cookware and other cast iron pieces with precision rust removal

TOUGHER THAN THE TOUGHEST RUST: Easy to use spray gel that clings to iron, steel and other metals to remove rust fast

EVAPO-RUST RUST REMOVER: Evapo-Rust effortlessly removes rust from automotive parts, hardware, tools, cookware, and antiques without any scrubbing or sanding.