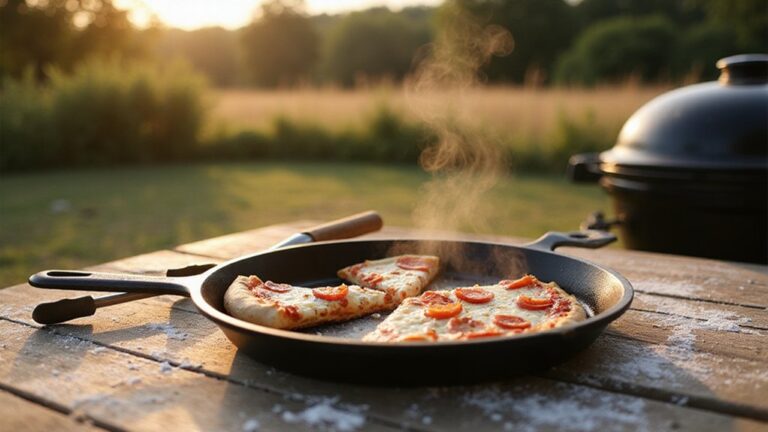
Wondering if you can bake with cast iron? The good news is, yes—you absolutely can, and it’s one of the best tools for creating crispy crusts and tender interiors.
With a well-seasoned pan and proper prep, you’ll find baking with cast iron straightforward and rewarding. Keep reading for all the tips to get started and care for your pan effectively.
What Makes Cast Iron So Good for Baking?
Cast iron excels in heat retention and even distribution, making it ideal for baking. Its thick, dense construction allows it to hold heat longer than steel or aluminum, which means your baked goods benefit from sustained, stable temperatures. This helps develop that perfect crust or crusty exterior without hot spots that can cause uneven browning. When preheated properly, a cast iron pan provides a consistent heat surface, ensuring every loaf or pizza cooks uniformly. Its high durability also allows it to withstand high oven temperatures without warping or cracking, which is essential for achieving crispy, crackling crusts and perfectly baked textures every time. However, it is important to avoid rapid temperature changes that can cause thermal shock and cracking. Regular seasoning with a high-quality oil maintains the pan’s non-stick surface and protects against rust. This versatility makes cast iron perfect for making Dutch Oven Cobbler recipes, whether over campfire coals or in a conventional oven.

2-In-1 Versatility: Cook more with one pan. 4.5QT cast iron casserole dish plus a 2QT lid that flips into a skillet for baking, roasting, and searing

Large Cast Iron Baking Pan: The Lodge Seasoned Cast Iron Baking Pan delivers consistent heat retention and distribution for even edge-to-edge heating

Large-Capacity Casserole Cookware: The Lodge Seasoned Cast Iron Casserole Pan has high sides to keep everything contained for family-sized lasagna, casseroles, and roasting
How Do You Prep a Cast Iron Pan for Baking?
To properly prep a cast iron pan for baking, follow these steps for optimal seasoning and performance. First, scrub the pan with warm, soapy water and steel wool to remove any residue or rust. Dry it thoroughly with a lint-free cloth to prevent moisture from lingering. Then, place the pan on a stovetop flame for about a minute to drive off any remaining water. For complete drying, bake the pan at 200°F for 45 minutes. This step ensures that unfinished rims are fully dry to prevent rusting in future use. Avoid soaking the skillet or leaving it wet to protect the seasoning.
Next, apply a very thin layer of high-heat oil, such as vegetable or grapeseed oil, using a pastry brush. Wipe away any excess oil—if it drips, you’ve applied too much. Place the pan upside down on the middle rack of a cold oven, with a baking sheet on the lower rack to catch drips. Heat the oven to 500°F and bake the pan for one hour. This process helps build cast iron durability and ensures the seasoning develops properly. Let the pan cool inside the closed oven for at least two hours before using it. This same cast iron approach can also be used to achieve fall-apart tender meat by braising short ribs at 350°F for several hours.
Should You Preheat Cast Iron on the Stove or in the Oven?
Preheating cast iron in the oven is generally more effective than on the stovetop. To do this, place your clean, dry skillet in a cold oven and set the temperature to your recipe’s required heat. Allow the pan to heat for 20 to 30 minutes. This method ensures the entire skillet warms evenly, reducing hot spots and preserving the seasoning layer. In contrast, preheating on the stovetop involves starting with a cold skillet over low heat for 3 to 5 minutes, then gradually increasing the temperature. While suitable for searing or frying, stovetop preheating can lead to uneven heat distribution, which may cause hot spots and uneven cooking. For tasks like baking bread or roasting, the oven method offers more consistent results and helps maintain the integrity of your cast iron’s seasoning. This technique also works well for recipes like a one-pot meal where ingredients such as chicken, rice, and potatoes cook together for a flavorful, balanced dish. Always avoid rushing the process by turning the heat to high immediately; slow, gradual heat buildup is key to protecting your pan. Dedicated cooking torches with wider, more diffuse flames are better suited for searing or charring than industrial models.

Quality Cast Iron Frying Pan: The Lodge Seasoned Cast Iron Skillet is loved for its great heat retention, incredible durability, and ability to make almost any recipe you dream up

Homemade Favorites: The Lodge Seasoned Cast Iron Baker’s Skillet is designed for rolls, cobblers, breads, and everyday recipes fresh from the oven
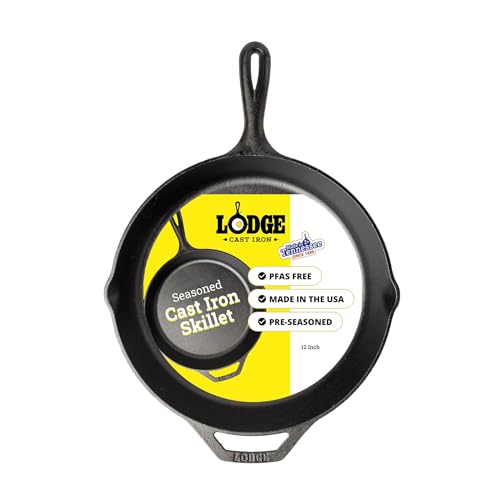
Quality Cast Iron Frying Pan: The Lodge Seasoned Cast Iron Skillet is loved for its great heat retention, incredible durability, and ability to make almost any recipe you dream up
How Hot Should the Pan Be When You Add the Batter?
The ideal temperature for adding batter to the pan is between 350°F and 375°F. Achieving this range ensures your baked goods turn out golden and tender instead of greasy and dense. To check the temperature accurately, use an infrared thermometer or perform the water drop test: drops should sizzle and evaporate immediately. This temperature control is similar to the precision required for sous vide egg cooking, where exact heat levels determine texture. However, note that infrared thermometers measure only surface temperature and can be less reliable for internal heat. Proper preheating takes about 5 to 10 minutes over medium-low heat. Keep in mind that cast iron retains heat well, so reduce your oven temperature by 25°F to prevent overshooting. Avoid letting the pan become too hot, as it can burn your batter and damage your seasoning. Using an infrared thermometer with adjustable emissivity improves accuracy across different pan finishes. Maintaining consistent heat also makes handling easier, since rapid temperature changes can stress the metal. Staying within this temperature window helps deliver perfect results every time.

【2-in-1 Infrared & Probe Thermometer】Perfect for home chefs, grilling enthusiasts and DIY hobbyists who demand professional control; Use the IR sensor for safely checking pan, oven, or grill surface temps, and the meat probe for perfectly cooked meats, candy, or frying oil
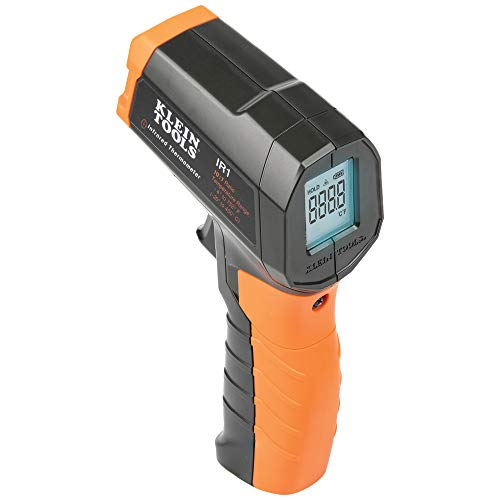
PRECISE TEMPERATURE MEASUREMENT: Optical resolution (distance-to-spot) of 10:1 ensures accurate temperature readings from a distance

Temperature measurement range:-50℃-500℃ (-58℉-932℉)Display resolution: 0.1 ℃ or 0.1 ℉
Do You Need to Adjust Baking Times for Cast Iron?
You need to adjust baking times downward when using cast iron cookware. Its excellent heat retention causes baked goods to brown and cook faster than in standard pans. To prevent overbaking, set your timer at least five minutes before the recipe’s indicated finish time, or even ten minutes early for added safety. Cast iron is similarly reliable for outdoor cooking on a grill, where its heat retention delivers flavorful results with the right technique. Perform the toothpick test by inserting a skewer into the center: if it comes out clean, the item is done. If wet batter remains, return it to the oven for an additional five minutes and recheck. Keep in mind that cast iron’s residual heat continues cooking after removal from the oven, so pulling baked goods slightly early helps avoid overbaking, especially if they can’t be immediately released from the pan. To maintain the cookware’s performance, always dry thoroughly after washing and apply a thin layer of oil to prevent rust. When considering alternative kitchen tools, note that specialized Ziploc vacuum bags are designed to work with hand pumps or compatible vacuum sealers for food storage.
How to Keep Baked Goods From Sticking in Cast Iron
To prevent baked goods from sticking in cast iron, proper preparation is essential. Start by building a durable, polymerized seasoning layer: apply a thin coat of oil, then bake the pan at 550°F. Repeat this process three to five times until the surface is smooth and well-seasoned. For baked goods, avoid butter and opt for melted shortening or a homemade cake release mixture made of equal parts shortening, oil, and flour brushed into crevices. Lightly dust the pan with all-purpose flour or cocoa powder for chocolate cakes to add an extra layer of non-stick protection.
Instead of relying on silicone or other non-stick substitutes, focus on good seasoning and proper greasing. Adjust the baking temperature based on your recipe—preheat the pan for sturdy crusts, but skip preheating for delicate cakes to prevent over-browning. After baking, let your baked goods cool in the cast iron for 10 to 15 minutes before attempting to release them, as this helps prevent sticking and breakage.
When Is It Done? Checking Doneness in Cast Iron
To determine if your baked goods are done in cast iron, check for visual clues and use appropriate tests based on what you’re baking. Always start checking at least five minutes earlier than the recipe’s total baking time, and set a timer for ten minutes before it’s supposed to be finished. For cakes, insert a toothpick into the center; if it comes out clean, it’s done. If batter sticks to the toothpick, bake for another five minutes and recheck. For bread, measure the internal temperature with a digital thermometer, aiming for about 180°F. The crust also provides hints: a crispy exterior suggests doneness for items like cornbread or pizza, while softer goods should remain tender and slightly moist. Keep in mind that pan size influences bake time; smaller skillets usually bake in about 12 minutes. Always protect your cast iron’s seasoning and handle the pan with oven mitts to stay safe. When checking for doneness, adjust your baking time rather than the temperature, and trust those early visual and tactile clues. Regular use enhances the non-stick surface and improves performance over time. Similarly, baking a seasoned pork tenderloin in cast iron can be reliably checked with a digital thermometer for precise doneness.
How to Remove Baked Goods From a Cast Iron Skillet
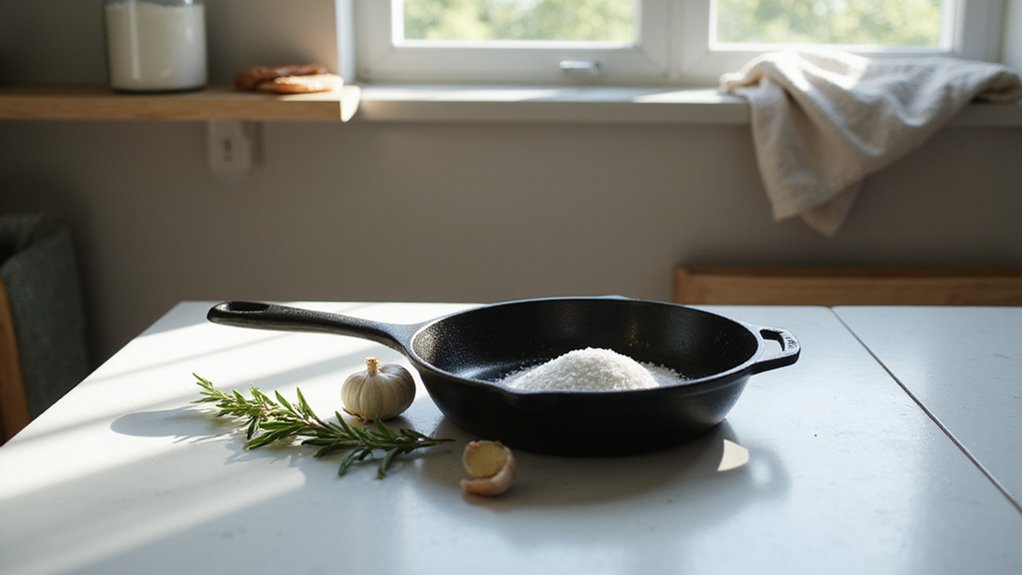
To remove baked-on residue from your cast iron skillet without damaging the seasoning, start while the pan is still warm. Sprinkle coarse salt and add a splash of oil to the bottom of the skillet. Use a cut potato or paper towel to scrub in small circles; this helps lift food without stripping the seasoning. For tougher spots, fill the skillet with water and bring it to a gentle simmer for 10–15 minutes. Adding a tablespoon of baking soda can speed up the process. Use a wooden spatula to dislodge stubborn residue, but steer clear of metal scrubbers, as they can damage the seasoning. Alternatively, mix baking soda with water to form a paste and leave it on the skillet for 15 minutes before scrubbing gently. Always opt for soft, non-abrasive tools to preserve your cast iron’s seasoned surface. For inspiration on perfectly cooked dishes that pair well with a well-maintained skillet, consider sous vide recipes for consistent, stress-free results every time.
How to Cool, Clean, and Oil Cast Iron After Baking
After baking, it’s best to let your cast iron cool slowly to prevent damage. Start by turning off the oven and leaving the skillet inside. Allow it to cool gradually for about 30 minutes to an hour, then move it to a wire rack to cool completely. Do not dunk the hot pan in cold water, as thermal shock can cause cracking or warping.
While the skillet is still warm, wash it with hot water and a scrub brush. Use coarse salt to scrub away any stuck-on debris, then rinse thoroughly to remove residue. Dry the skillet immediately with a clean towel, or place it on a low-heat stove burner to evaporate remaining moisture and prevent rust.
Apply a thin, even layer of cooking oil to both the interior and exterior surfaces of the skillet. Rub the oil in thoroughly with a paper towel, then wipe off any excess to avoid a sticky coating. To further set the seasoning, heat the pan on the stove briefly until the oil polymerizes. Finally, store your cast iron in a dry place with the lid off to air out and maintain its seasoned surface.
Which Baked Goods Work Best for Cast Iron Baking?
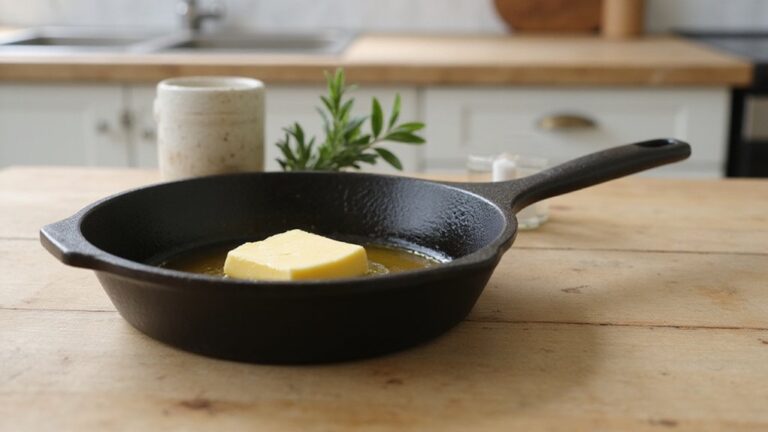
Hearty breads like artisan loaves and cornbreads work best in cast iron because they develop a crisp, golden crust. Preheating your skillet with butter or oil helps achieve this satisfyingly crunchy exterior. For added flavor, brown butter directly in the pan before mixing your dough, or use bacon grease in savory cornbreads to enhance richness. Cast iron also excels with upside-down cakes and fruit cobblers, as the hot surface caramelizes the fruit topping quickly, creating a flavorful glaze. For artisan bread, using a Dutch oven traps steam to help the dough rise and develop a crisp, golden crust during the first part of baking. For presentation, serving giant cookies or brownies straight from the skillet creates a rustic and inviting look. Pies and quiches benefit from even heat distribution provided by cast iron, which helps prevent hot spots and ensures a crisp bottom crust. Dense desserts such as brownies and chocolate cakes bake evenly in cast iron, resulting in a chewy interior with a firm, crispy crust every time. Using a rice cooker in a similar fashion requires careful temperature management to achieve consistent results. For best accuracy, ensure the skillet surface is clean and dry, just as you would clean the thermometer before taking a temperature reading.

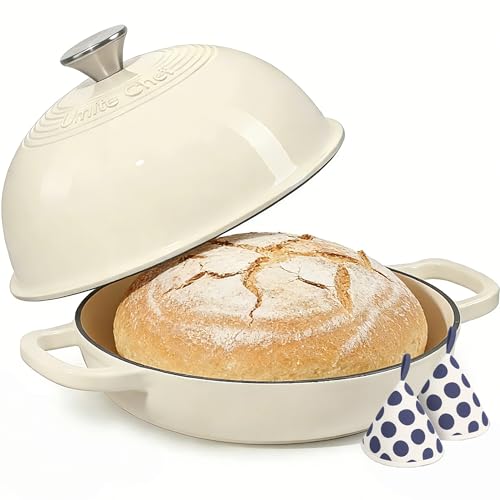
Achieve Professional Artisan Bread at Home - Expertly designed for bread baking, this 6 qt cast iron bread oven creates the ideal steam baking environment. Crafted from high-quality cast iron, it ensures superior heat retention for a crispy, golden crust and impressive oven spring—just like a bakery. The domed cloche lid traps moisture perfectly, guaranteeing delectable results every time

2-in-1 Versatile Cookware Design: The Lodge Cast Iron Double Dutch Oven is a Dutch oven and dual-handle skillet in one smart design, expanding your options for searing, baking, frying, and more