Wondering if you need a Dutch oven to make tender, flavorful braised short ribs? You don’t—just a sturdy pot or skillet with a tight-fitting lid will do.
Sear the ribs directly, deglaze with wine and broth, then cook low and slow. Keep reading for everything you need to create melt-in-your-mouth ribs without special equipment.
Why Dutch Ovens Are Optional for Braised Short Ribs
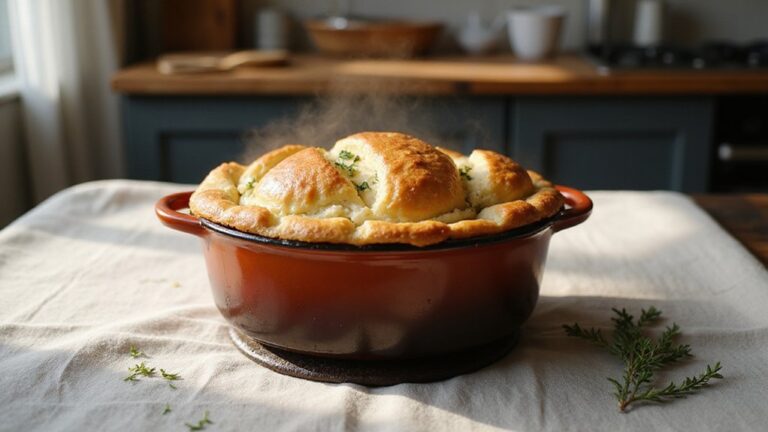
You don’t need a Dutch oven to make tender, fall-off-the-bone short ribs. Instead, focus on heat retention and moisture control using heavy-gauge stainless steel or cast iron cookware, which maintains steady oven temperatures between 275°F and 325°F. For browning, sear the ribs directly in the same pan to develop a rich, caramelized crust that adds depth to the flavor. Le Creuset skillets are excellent for this task because their enamel coating prevents sticking while still delivering the high heat needed for browning. Once browned, deglaze with red wine, scraping up the browned bits to create a deeper, more complex sauce. Cover the pan tightly with heavy-duty aluminum foil to trap steam and create an airtight seal, replicating the effects of a lid. While this method focuses on short ribs, the principles of heat retention and moisture control also apply when baking sourdough bread in a Dutch oven to achieve a fluffy, tangy loaf. If using a cast iron skillet, remember that rust removal techniques can restore its surface if it has been neglected. This method ensures moisture stays locked in during the 2 to 2.5 hours of cooking, resulting in perfectly tender, flavorful short ribs without the need for a traditional Dutch oven.
What Pot or Pan Can You Use Instead?
A heavy-bottomed cast iron skillet with a lid is an excellent substitute. Preheat it thoroughly to prevent sticking, and its weight helps distribute heat evenly for a good sear. Stainless steel pots are also a solid choice; after searing, deglaze the pan to capture flavorful browned bits and build your sauce. Remember, if you’re replacing meat with vegetables, don’t overcrowd the pan, as this can cause steaming instead of browning. For accurate temperature checks at the stovetop, account for reflective surfaces that can distort infrared readings. For well-marbled cuts like rib eye, you can even use a non-stick skillet without preheating to let the fat render naturally and develop a brown crust with less smoke. For similar convenience, you can adapt these principles to one-pan ground beef skillet recipes that also emphasize balanced seasoning and hearty flavors.
For dishes that go in the oven, sear the meat in a separate skillet first. Then, transfer it to a ceramic casserole or oven-safe dish. Keep the liquid covering only half the meat to avoid boiling or overcooking. If using slow cookers or electric pressure cookers, set them to controlled heat. For pressure cookers, cook for about 45 minutes, then allow a natural release of pressure for 15 minutes.
If you don’t have a lid, double-layer heavy-duty foil is your friend. Wrap it snugly around the pan’s edges to trap moisture. Make sure to check your foil for vents or gaps to maintain a proper seal. Regularly maintaining your equipment by ensuring tight seals and clean surfaces helps keep performance consistent and prevents leaks.

Deep Cooking Capacity: The Lodge Cast Iron Covered Deep Skillet features a spacious design with extra room for braising, frying, and sautéing family-size meals for versatile everyday cooking
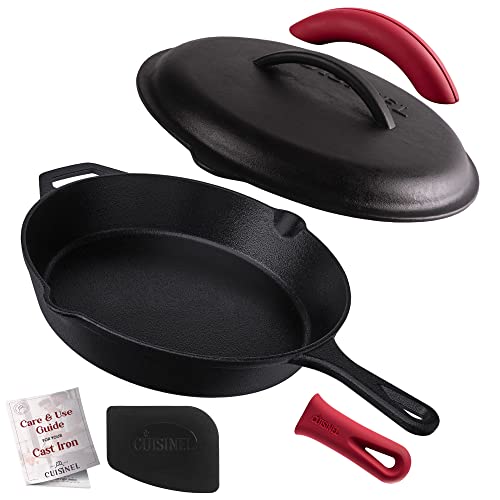
SUPERIOR HEAT RETENTION FOR PERFECT SEARING – Heavy‑duty cast iron distributes heat evenly so steaks, vegetables and more cook consistently on stovetop, oven, grill or campfire.

Moisture-Locking Cast Iron Cover: The Lodge Seasoned Cast Iron Lid features a tight-fitting design that seals in moisture and supports even, consistent cooking
Best Oven Temperatures for Braised Short Ribs
The ideal oven temperature for braising short ribs is between 275°F and 300°F. This low-and-slow range ensures collagen dissolves steadily over 2.5 to 4 hours, resulting in tender meat that easily shreds and develops deep flavor. At this temperature, fat melts into a silky consistency while the meat stays moist and flavorful without becoming tough. For enhanced tenderness, generously season the ribs with aromatics like green onion, garlic, and ginger placed beneath them in the baking dish. For a similar layered effect, consider arranging sliced potatoes and onions beneath the ribs to absorb savory drippings.
For a quicker braise, 325°F works well, producing fork-tender short ribs in about two hours. Gentle bubbling begins to break down the connective tissue without risking overcooking. If you want to push the limits, you can cook at 350°F for roughly two hours, then reduce the temperature to 325°F for an additional 30 to 45 minutes to prevent drying out or toughness. Avoid higher temperatures like 375°F unless you can monitor the internal temperature carefully, as excessive heat can lead to tough meat. Consistent oven heat is crucial to achieve the desired tenderness and flavor transformation.
How to Sear Short Ribs for a Rich Crust
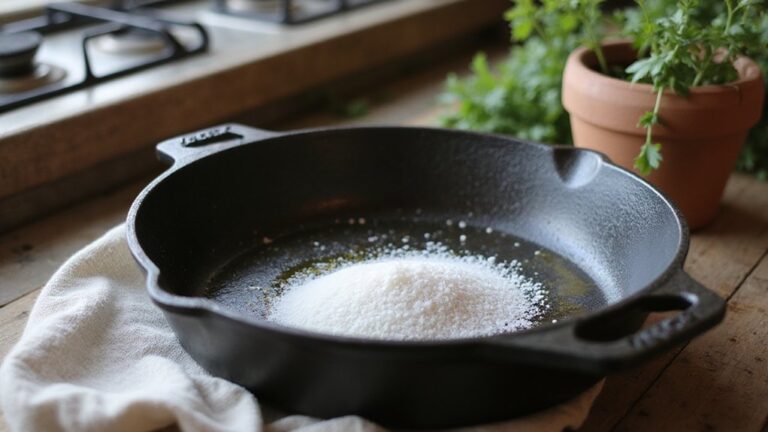
To sear short ribs properly and develop a rich crust, heat your heavy-bottomed skillet or pot over medium-high to high heat. Add enough oil so it glides smoothly and immediately sizzles when the meat is added. Pat the ribs dry with paper towels and season them with salt beforehand to promote browning. Avoid overcrowding the pan; sear in batches if necessary to ensure each piece gets direct contact with the hot surface. To ensure even oil distribution and avoid excess, use a squirt bottle to make a circle and X on the pan before heating. This technique relies on the pan’s superior heat retention to maintain a consistent temperature for a deep crust. For longer braises, a slow cooker can be adapted to maintain precise temperature as a cost-effective sous vide alternative after searing. Consider using a well-seasoned cast iron skillet for better food release and even heating during this process.
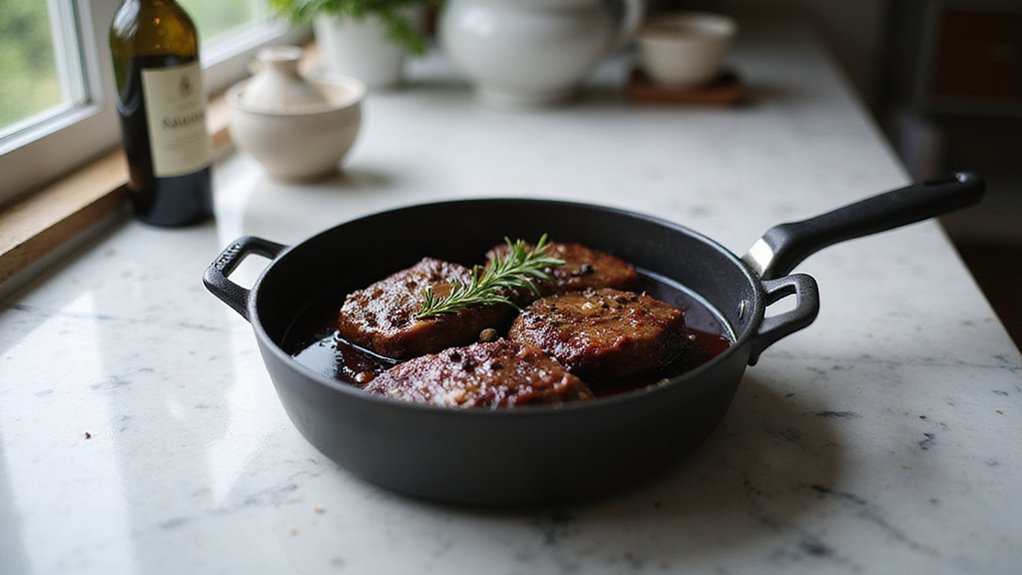
Place the ribs in the pan without moving them for about 2 to 3 minutes on each side until a deep golden-brown crust forms. Resist the temptation to flip too early—if the meat sticks, it’s not ready to turn. Allow an extra 30 seconds before trying again. This crust forms through the Maillard reaction, which creates rich, complex flavors and adds texture to the meat. Once seared, scrape up any browned bits from the bottom of the pan; these flavorful residues will enhance your sauce or braising liquid.

A BOX INCLUDES: One pre-seasoned cast iron skillet. Measures 9.5 inches in diameter.

5.5-inch square skillet for grilled cheese or ham & cheese sandwiches

Seasoned with oil for a natural, easy-release finish that improves with use
What Braising Liquid Works Best?
The best braising liquid for tender, flavorful short ribs combines red wine and beef broth. To achieve deep flavor, deglaze your pan with Pinot Noir after searing the meat. Its acidity helps break down the fibers and releases the fond, which adds richness to the sauce. Follow this by adding beef broth in a 2:1 ratio—two parts broth to one part wine—to create a balanced, meaty base. If you prefer a less acidic sauce, you can use broth alone or add tomato paste for added body and subtle tang. Incorporate herbs like thyme and rosemary to build earthy depth. Ensure the liquid covers the ribs by at least half to two-thirds of their height for even cooking and maximum flavor infusion.

One 750ml bottle of Meiomi Pinot Noir Red Wine, containing five 5 fl. oz. glasses of wine

One 750 ml bottle of Erath Oregon Pinot Noir

Stainless steel fermentation; no oak aging.
How Long to Cook Short Ribs for Perfect Tenderness
Cooking short ribs to perfection requires a low and slow approach. For slow cooker methods, plan for 7 to 8 hours on low or 4 to 5 hours on high. In the oven, start at 350°F for about 2 hours, then reduce the temperature to 325°F and cook for an additional 30 to 45 minutes. This combination ensures the meat becomes fork-tender and falls off the bone.
On the stovetop, simmer the ribs covered over low heat for approximately 2 hours, making sure to maintain a gentle boil. Check the liquid level halfway through—if it evaporates too much, the ribs can dry out and lose tenderness. For an oven temperature of around 275°F, expect the ribs to be ready after about 3.5 to 4 hours, with bone separation from the meat signaling doneness. Keep in mind that the size and thickness of the ribs influence cooking time, so always test tenderness with a fork before serving. For added depth of flavor, deglazing the pan with beef stock or wine lifts browned bits just as in a hearty stew. For meal prep, vacuum sealing the cooked ribs extends freshness and prevents freezer burn while preserving their rich flavor and tenderness. Cooking the ribs in a preheated cast iron skillet can help achieve a golden, crisp crust similar to the edge of a well-made pizza.
How to Braise Short Ribs Without an Oven
You can braise short ribs without an oven using your stovetop or slow cooker. Start by searing the ribs in a cast iron skillet to create a flavorful fond—the caramelized bits stuck to the pan—that will enhance your final dish. Once seared, transfer the ribs to a slow cooker or return them to the same skillet for braising. You can create a savory base by deglazing the skillet with chicken broth, similar to the technique used in a Dutch oven pork tenderloin recipe. This step builds a rich gravy that clings to the meat after braising. To ensure the meat is safely cooked, always check that it reaches an internal temperature of 165°F using a meat thermometer inserted into the thickest part away from the bone.
If using a stovetop, set the heat to the lowest possible setting and maintain a gentle simmer. Keep an eye on the liquid level and add more broth or water if needed to prevent drying out. It’s important to check periodically so the meat stays moist and tender.
For a slow cooker, place the seared ribs inside and cook on the low setting for 7 to 8 hours. This slow, gentle heat allows collagen to melt gradually, resulting in fall-off-the-bone tenderness without risking overcooking. Using low heat and extended cooking time, whether on stovetop or slow cooker, ensures your short ribs become juicy, flavorful, and easy to pull apart—no oven required.

Durable Cast Iron Construction: Made from cast iron for long-lasting use and even heat distribution.

Exceptional Heat Retention: Enjoy perfectly cooked meals with cast iron skillets that provide even heat distribution, ideal for searing, frying, and baking in a 12 inch frying pan.

Quality Cast Iron Frying Pan: The Lodge Seasoned Cast Iron Skillet is loved for its great heat retention, incredible durability, and ability to make almost any recipe you dream up
How to Rest the Meat and Finish the Sauce
Once the short ribs reach an internal temperature of 190°F to 205°F, remove them from the heat and let them rest for 60 minutes. Resting allows the juices to reabsorb into the muscle fibers, ensuring each bite remains moist and tender. Transfer the ribs to a wire rack placed over a baking sheet, tent loosely with foil, and avoid stacking them to prevent drying out.
While the ribs rest, strain the braising liquid through a fine-mesh sieve to remove solids. Skim off any excess fat from the surface. Reduce the liquid over medium heat until it thickens to a syrupy consistency—this intensifies the flavor. Finish the sauce by whisking in one tablespoon of cold butter to create a glossy, rich emulsion. Adjust the seasoning with salt or a splash of vinegar to balance the flavors. Pour the sauce over the rested ribs just before serving for the best presentation.