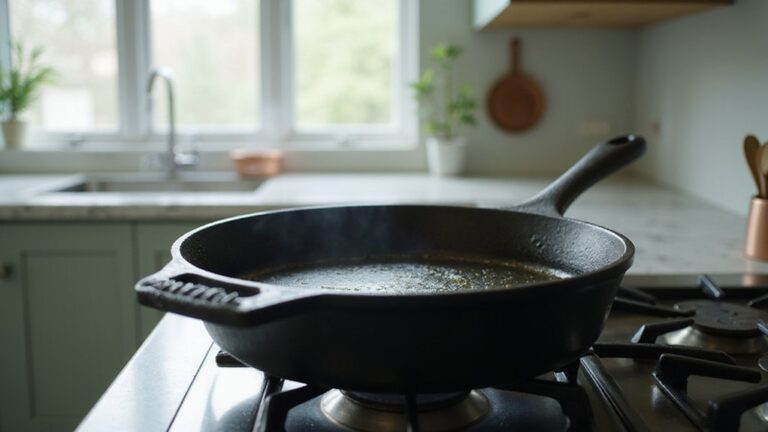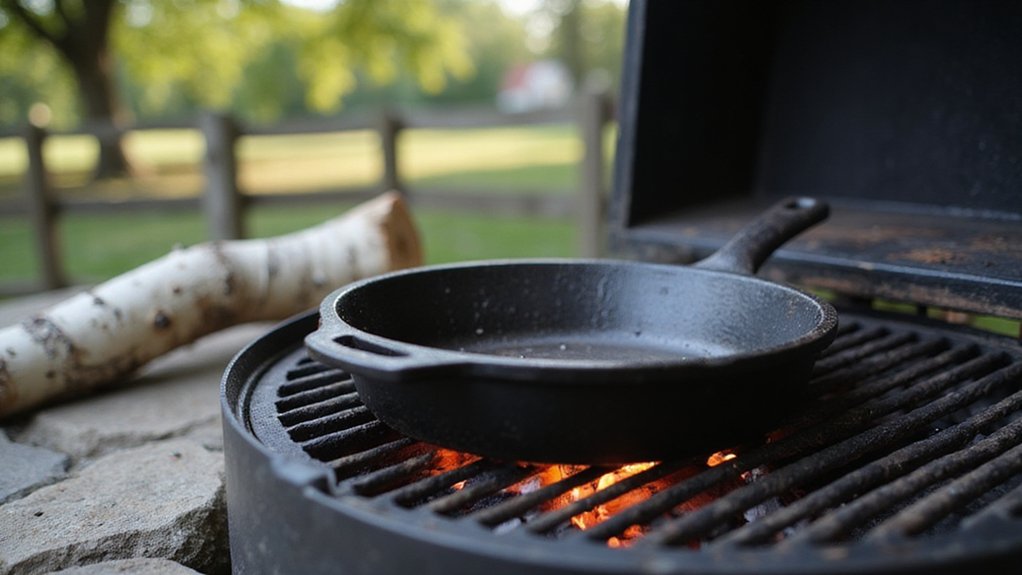
Wondering if you can really grill with a cast iron skillet? The answer is yes, and it’s actually a great tool to have in your cooking arsenal.
It delivers even browning, locks in heat for perfect sears, and helps prevent flare-ups on delicate foods. Keep reading to learn how to use it for grilling success.
How to Preheat Your Cast Iron Skillet for Grilling
Preheating your cast iron skillet properly takes about 10 to 15 minutes for optimal results. Begin on low or medium-low heat to gradually warm the skillet for five minutes. This slow process helps protect the seasoning layer and prevents thermal shock that can cause cracks. Cast iron’s porous surface differs from materials like stainless steel; it requires gentle heating to maintain its non-stick coating.
After the initial warming, increase the heat to medium-high. Close the grill lid to trap heat and let the skillet heat for an additional 5 to 10 minutes. Use an infrared thermometer to verify that the temperature reaches your desired range—325 to 375°F for vegetables and 425 to 475°F for searing meats. If your burner is smaller, rotate the skillet occasionally to ensure even heating. Always wear thick mitts when handling the hot skillet to avoid burns. To check readiness without a thermometer, flick water droplets onto the surface and watch for them to immediately skip and scatter. This same preheating method works well for dishes like a Dutch oven pork roast with sauerkraut, which is often cooked at similar temperatures. For best accuracy, allow the infrared thermometer to acclimate to its environment for 10 to 30 minutes before use.
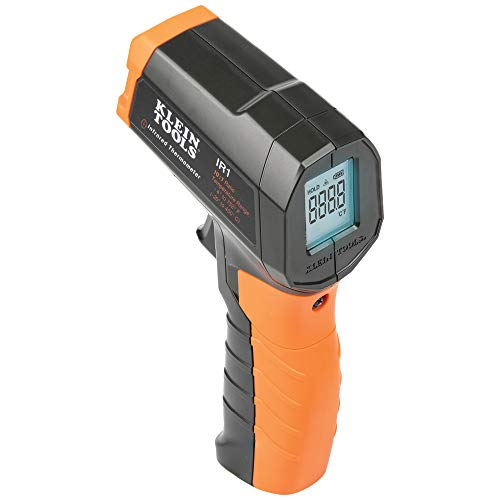
PRECISE TEMPERATURE MEASUREMENT: Optical resolution (distance-to-spot) of 10:1 ensures accurate temperature readings from a distance

NOT for HUMAN: THIS IS NOT A MEDICAL THERMOMETER,DO NOT USE TO TAKE TEMPERATURE OF BODY OR FOREHEAD. The NEWEST model of infrared thermometer measures a wider range from -58℉ to 1022℉(-50℃ to 550℃), supports switch ℉/ ℃. Tips: for better results, the IR thermometer should be 14 inches away from the object.

Distributes and retains heat evenly
The Best Way to Sear Meat and Build a Crust on Cast Iron
Preheat your cast iron skillet until it reaches about 500°F, making it hot enough to create a proper crust. In contrast, sous vide cooking uses lower, precise temperatures like 165°F for creamy egg yolks. Once it’s smoking, add a high smoke point oil such as avocado or canola; these oils resist breaking down at high temperatures, which helps build a stronger seasoning layer over time. Pat your steak dry with paper towels to remove excess moisture and season it just before searing. For even cooking, allow the steak to rest at room temperature for 20-30 minutes before placing it in the pan. Carefully place the meat in the hot pan; you should hear an aggressive sizzle. Resist the temptation to flip early—wait until the meat naturally releases from the pan, about 3 to 4 minutes. Flip the steak every 2 minutes afterward, reducing the heat to medium-low each time. This controlled process allows the crust to develop deeply without burning, locking in juices and achieving a caramelized exterior. Remember, choosing oils with high smoke points is crucial for a successful sear; avoid oils that break down easily at high heat. Applying a high-quality seasoning oil while the skillet is still wet can help prevent flash rust from forming after cleaning. Once done, let your steak rest for 10 minutes before slicing to allow the juices to redistribute.
Why Cast Iron Beats Standard Grill Grates for Delicate Foods?
Cast iron clearly outperforms standard grill grates when grilling delicate foods because of its dominant heat retention and temperature stability. This material maintains a consistent, high heat that minimizes temperature fluctuations, which can cause fragile items like fish and shrimp to stick or cook unevenly on stainless steel grates.
With cast iron, approximately 90 to 100 percent of the surface browns foods evenly, creating a uniform crust without burning. In contrast, standard stainless steel grates brown only about 15 to 20 percent of the surface, often leading to inconsistent results. Cast iron also prevents flare-ups caused by dripping fats by trapping juices, avoiding flare-ups and smoke that can scorch delicate foods. This principle of steady, gentle heat is similar to how a Le Creuset Dutch oven tenderizes chicken through even, slow cooking.
The flat cooking surface of cast iron keeps items from falling through and allows them to cook in their own fats, enhancing flavor. Its radiant heat gently cooks thinner cuts and seafood, protecting them from over-scorching while ensuring they cook through before a crust develops—a challenge direct flames often can’t manage effectively. This principle of consistent heat retention mirrors the importance of vacuum sealing in sous vide cooking, where a stable environment is essential to maintain flavor and food safety.

Versatile Cooking Skillet: The Lodge Cast Iron Skillet is a multipurpose, everyday cooking pan that excels at searing, sautéing, baking, frying, and campfire meals
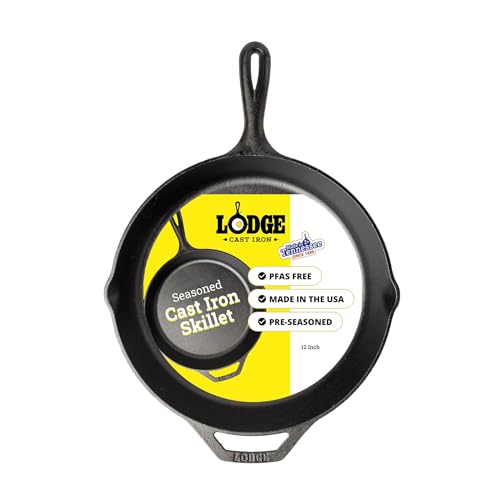
Quality Cast Iron Frying Pan: The Lodge Seasoned Cast Iron Skillet is loved for its great heat retention, incredible durability, and ability to make almost any recipe you dream up

Durable Cast Iron Construction: Made from cast iron for long-lasting use and even heat distribution.
How to Prevent Sticking When Grilling With Cast Iron
To prevent sticking when grilling with cast iron, start by patting your meat dry before cooking. Removing excess moisture helps avoid steaming and ensures you get a good sear. Preheat your skillet slowly on low heat, then raise it to medium. This gradual warming helps develop a proper, non-stick surface. Proper preheating until steaming and smoking occurs is essential for optimal non-stick performance.
Apply a thin layer of high-smoke-point oil directly on the food, not the skillet. This creates a barrier that reduces sticking. Let proteins sit undisturbed for several minutes once placed in the pan; they will naturally release from the surface once they form a crust. Similar to how a cast iron skillet can be used for pizza by preheating the pan on the stovetop with cornmeal to prevent sticking, this grill method relies on heat and oil for release.
Avoid forcing stuck food to come loose. Instead, use a spatula and scrape gently only when the food lifts easily. Keep at least one tablespoon of fat in the pan during cooking to maintain even coverage and prevent sticking. Steering clear of cooking sprays is recommended, as their propellants can damage the seasoning layer over time. Similar to how vacuum sealing without blanching preserves fresh-picked flavor, this technique relies on avoiding moisture to prevent sticking. For measuring temperatures during grilling, a digital meat thermometer with a stainless steel probe can also be used to check water temperature for tasks like poaching if it has a proper waterproof rating.
Following these steps provides a reliable way to achieve a non-stick surface on your cast iron grill every time you cook.

Graza Frizzle Oil Made from 100% Olives: A neutral-flavored, high heat cooking oil made from 100% peak harvest olives. With a smoke point of up to 450 degrees, Frizzle is your high-heat kitchen hero. 1 bottle/750ml.

Light Buttery Flavor That Elevates Every Meal: Algae Cooking Club Chef-Grade Algae Oil enhances every dish with subtle richness. Its neutral profile makes it ideal for searing, baking, and dressings, transforming everyday meals into gourmet experiences.

Light Buttery Flavor That Elevates Every Meal: Algae Cooking Club Chef-Grade Algae Oil enhances every dish with subtle richness. Its neutral profile makes it ideal for searing, baking, and dressings, transforming everyday meals into gourmet experiences.
Your Step-by-Step Guide to Cleaning Cast Iron After Grilling
After grilling, clean your cast iron skillet immediately while it’s still hot. Use a paper towel to wipe out excess oil and food debris. Rinse the skillet with hot water, avoiding soap to preserve the seasoning. For stubborn bits, scrub with a chainmail scrubber or coarse salt paste. If residue remains, boil water in the skillet for several minutes and scrap with a spatula. Notched scrapers are designed to fit the grooves of ridged grill pans for thorough cleaning, making them effective for this task. Dump the water and dry the skillet thoroughly with a towel. Place it on the stove over low heat to evaporate any remaining moisture, which helps prevent rust. Once completely cooled, apply a thin layer of neutral oil, coating all surfaces and grooves evenly to maintain the seasoning before storing.
Which Oils Work Best for High-Heat Grilling and Seasoning?
For high-heat grilling and seasoning, oils with high smoke points are best. Avocado oil, with a smoke point of 520°F, is ideal for intense searing and high-temperature grilling. Grapeseed oil, at 420°F, offers a subtle nutty flavor and works well for more moderate high-heat cooking. Vegetable and canola oils are also suitable for general searing due to their high smoke points and neutral flavors. Using oils with too low a smoke point, like flaxseed oil, can cause the seasoning to become a liability by turning into a flaking residue. If your cast iron develops rust from moisture or neglect, Evapo-Rust is water-based and non-toxic, making it safe for removing rust without harming the cookware when used for short soaks.
When seasoning cast iron or carbon steel pans, apply a very thin layer of oil like grapeseed. Heat the skillet above 400°F to polymerize the oil, creating a durable non-stick surface. Oils used for baking, such as avocado oil or Crisco, can also be effective but require gradual seasoning. Start with low heat and slowly increase to prevent warping or sticking. Avoid coconut oil and extra virgin olive oil in seasoning because they can leave a sticky residue. Always wipe off excess oil before heating to avoid pooling and uneven seasoning buildup. Raw cast iron that is unseasoned is more prone to rust and food sticking, so pre-seasoned options from the factory can be a better choice for immediate use.

Light Buttery Flavor That Elevates Every Meal: Algae Cooking Club Chef-Grade Algae Oil enhances every dish with subtle richness. Its neutral profile makes it ideal for searing, baking, and dressings, transforming everyday meals into gourmet experiences.

America's #1 Avocado Oil for Cooking — Every batch of Chosen Foods avocado oil is independently tested to confirm 100% pure avocado oil with no fillers or seed oil blends. Our purity standard was verified by UC Davis as one of only two avocado oil brands to pass their rigorous quality test. This bottle delivers the clean, neutral taste and consistent high-heat performance that has made Chosen Foods the avocado oil of choice for home cooks, professional chefs, and clean-eating households across the United States.

100% GRAPESEED OIL BULK SIZE: Expertly crafted by The Olive Oil People using wine grape seeds imported from France
How to Avoid Burns From a Hot Cast Iron Handle
Always use a heat-resistant potholder or oven mitt when handling a hot cast iron handle—never your bare skin. Keep protective gear nearby before you start cooking or grilling to ensure you can quickly react if the handle is hot. Position the skillet so the handle points away from open flames or direct heat sources, which helps reduce heat transfer to the handle. Cooking on lower heat also keeps the handle cooler longer, minimizing burn risks. A well-seasoned smooth surface can also help prevent food from sticking, reducing the need to reach for a hot handle during cooking. Seasoning the skillet periodically by baking on a thin layer of oil will further improve the non-stick surface and overall performance. Choosing a vacuum sealer with sealing modes for different food types can similarly help protect you from steam burns when preparing meals ahead of time.
How to Avoid Thermal Shock When Cooling Your Cast Iron After Grilling
After grilling, your cast iron skillet remains extremely hot, so avoid thermal shock by not plunging it into cold water or placing it on a freezing surface. Instead, turn off the heat and leave the skillet on the grill grate. Allow it to rest for about 20 to 30 minutes until it is warm, not hot. The gradual cooling process is similar to resting meat in a Dutch oven to retain moisture and prevent damage. Never move it to a cold sink, set it outside in cold air, or put it near freezing surfaces. If you need to move the skillet, always use a wooden board or trivet to lift it safely. This gradual cooling prevents sudden temperature changes, which helps preserve your seasoning and prevents rust. Once the skillet has cooled completely, it is safe to clean. When you do clean it, hand wash with warm water and a scrub brush, optionally using gentle dish soap for stubborn residue. For best results, ensure your pan is well-seasoned to maintain its natural non-stick coating.
What Temperature Limits Keep Cast Iron Safe on the Grill?
Cast iron can withstand extremely high temperatures, with melting points around 2,200°F, which is far beyond what you’ll encounter on a grill. However, your main concern is maintaining the seasoning layer rather than the metal itself. The polymerized oil that creates your seasoning starts burning off at approximately 600°F and can be completely destroyed by 800°F, exposing raw metal. To preserve your skillet’s finish, it’s best to keep grill temperatures at or below 500°F. Some brands, such as Staub, are designed to handle heat up to 900°F without issue. Material hardness remains stable until you reach about 1,328°F, which is well above typical grilling temperatures. For safe and effective grilling, aim to keep your heat between 350°F and 450°F, and never go beyond 500°F if you want your seasoning to stay intact. Similar to the slow-braising techniques used in Dutch ovens, maintaining a consistent moderate heat is key to preventing damage to your cookware. Infrared thermometers are less reliable for measuring the internal temperature of liquids, such as candy syrups, compared to digital probe thermometers, making them a poor choice for grilling tasks that require precise internal readings.

BBQ / Grill pit thermometer, safe and environmentally friendly.

[FAST & ACCURATE READING] Respond just within 2-3 seconds. The diameter of the dial plate is 2-3/8”, which is big enough for easy reading. With a 4 color-coded temperature range, you can grasp the internal temperature of grills at a glance. Featuring high-temperature measurement sensitivity, the grill thermometer is capable to detect temperature changes with an accuracy of ±0.5% during the entire cooking process.
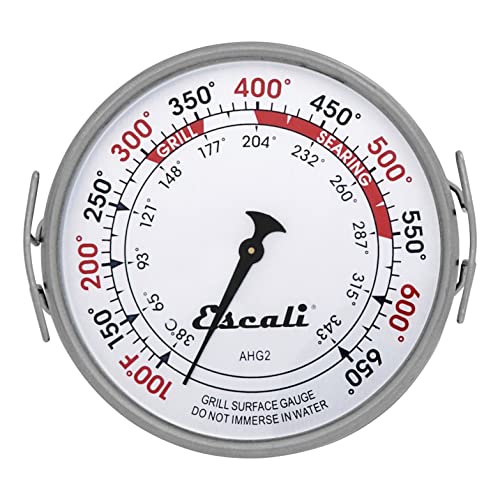
Temperature Range: 100° to 650°F / 38° to 343°C. Dial Diameter: 3.5 inches