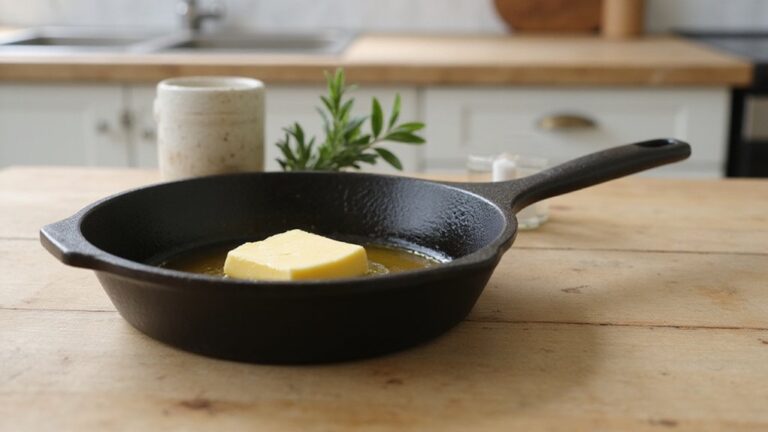
Wondering if you can season cast iron with Crisco? The good news is yes—you can, and it often creates a durable, non-stick surface that rivals more expensive oils.
Applying a thin layer and baking above 440°F helps bond the fat into a glass-like coating. Keep reading for the essential tips to get that perfect seasoning every time.
Why Crisco Beats Other Oils for Seasoning Cast Iron
Crisco costs just $0.18 per ounce, making it 15 to 20 times less expensive than specialty products like BuzzyWaxx or Crisbee. This means you can achieve the same non-stick seasoning results without overspending. Its stable hydrogenated blend polymerizes into a hard, glass-like finish at 490°F, which outperforms many animal fats that can vary in effectiveness. To get the best results, apply a thin, even layer of Crisco; using too much can cause stickiness. It has a neutral flavor that won’t alter the taste of your food, and its 440°F smoke point allows you to bake above that temperature for durable seasoning. However, experts generally recommend using oils with higher smoke points like flaxseed or avocado oil for the most durable non-stick layer over the long term. With Crisco, you get consistent, flake-resistant seasoning every time, saving you money that can be used on other cooking essentials. Don’t let myths dissuade you—Crisco is a reliable, budget-friendly choice for caring for your cast iron. Because seasoning involves heating until the smoke point triggers polymerization, the fat forms a protective armor rather than remaining as oil on the pan. For best results, always season your skillet while it is still wet after cleaning to prevent flash rust from forming on the bare iron. This approach mirrors how low cooking temperatures in a covered pot trap moisture to achieve tender results with other dishes.
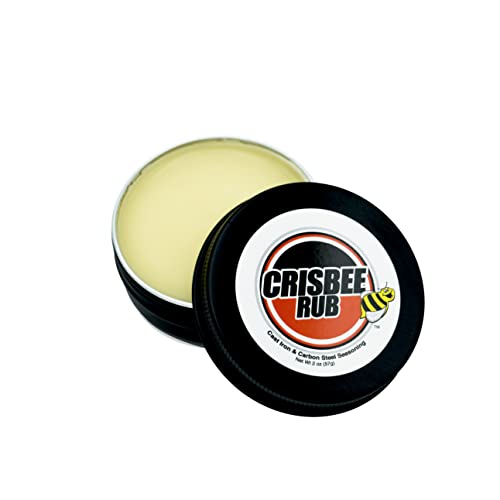
A little goes a long way. Very economical compared to seasoning cast iron cookware with oil.
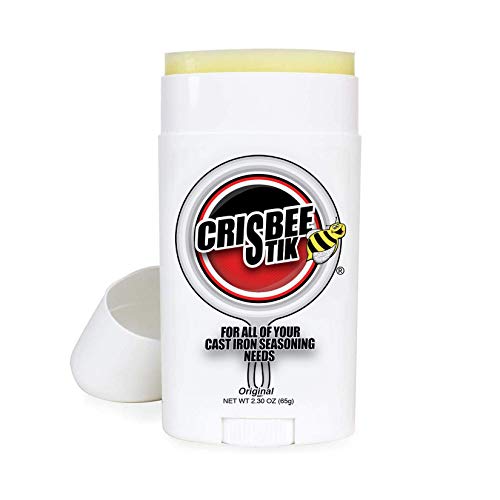
Made with Vitis Vinifera (Grapeseed) Oil and Beeswax. A little goes a long way. Very economical compared to seasoning cast iron cookware with oil.

TLC for your griddle cooktop: All you need to build a slick, easy-release surface that's protected from rust and easy to work with using Blackstone griddle seasoning and cast iron conditioner
How to Prepare Your Cast Iron Before Applying Crisco
To properly prepare your cast iron before applying Crisco, start with a clean and dry skillet. Wash new or vintage cookware with hot, soapy water and Dawn to remove factory oils and grime. Scrub every nook and cranny thoroughly until all residues are gone, then rinse completely. Inspect the surface for any sticky spots or leftover debris. Avoid using a dishwasher to strip seasoning and prevent rust, as it can damage the protective seasoning layer. This careful preparation is similar to how pre-freezing bread for 3-4 hours firms up the texture before vacuum sealing to prevent damage. Dry the skillet immediately using a towel. To ensure all moisture is gone, place it on a burner or in a 200°F oven for a few minutes. Moisture prevents the oil from bonding properly and can lead to rust. Once dry, keep the skillet in the oven at 200°F for 15 to 20 minutes to open its pores. This warm exposure makes it easier for Crisco to spread evenly later. Before the final bake, wipe off any excess oil to prevent a sticky coating, ensuring a thin, consistent layer for optimal results. Heating the skillet evaporates moisture after cleaning helps maintain the seasoning and prevents rust, as moisture is the primary enemy of cast iron.

YOUR NEW GO-TO SEASONING SPRAY: The Lodge Seasoning Spray is the perfect seasoning spray to maintain your cast iron cookware. It is made of 100% canola oil - no additives or propellants, to protect your cookware and enhance its finish.

RESTORE & PROTECT YOUR CAST IRON: Keep skillets, Dutch ovens, griddles, grill grates, and carbon steel cookware in peak condition with our premium cast iron skillets seasoning oil. Builds a durable protective layer that helps prevent rust, preserves the classic black patina, and maintains naturally nonstick cooking performance.
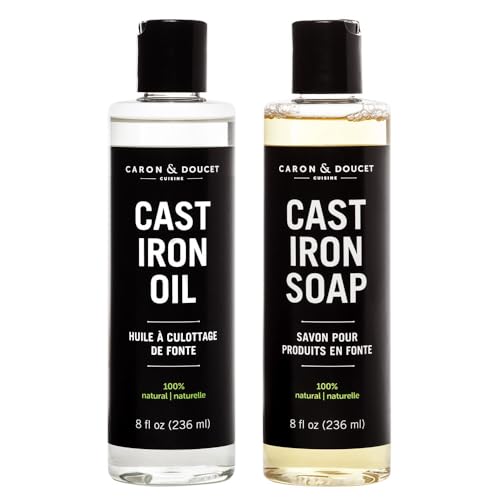
CLEANS CAST IRON | Includes our Cast Iron Soap unlike detergent based soaps, this soap is formulated with 100% natural plant-based oils & free of sulfates, phosphates, parabens & petrochemicals! Gentil on cast iron seasoning & on your hands!
How to Apply Crisco for a Thin, Even Coat
To apply Crisco for a thin, even coat, start by preheating your clean, dry cast iron pan in a 200°F oven for 15–20 minutes. This opens the pan’s pores, allowing the oil to bond better. While the pan is warm, add a generous dollop of Crisco and thoroughly rub it into every nook and cranny, ensuring even coverage. Immediately afterward, grab a lint-free paper towel and wipe off the excess until the surface appears dry. The goal is to leave behind a microscopic layer—using less oil results in a smoother, more effective seasoning. Then, place the pan back in the oven at 300°F for 15 minutes. After removing it, wipe the surface again to remove any pooled oil or excess. Check for spots; if you notice shiny patches or oil residue, you may have missed wiping enough. This method emphasizes a thin, even coating that builds a durable seasoning layer, making Crisco popular for its ease of application compared to other oils. Unlike Crisco, flaxseed oil undergoes polymerization when heated to create a harder, more durable nonstick finish. For a well-cured pan, repeating this process multiple times builds up a more durable seasoning layer that will last for generations. For a pan with grooves, use a stiff brush or scraper to remove food debris from the grooves before seasoning.

PREMIUM CAST IRON CONDITIONING & SEASONING OIL | Made with FOOD grade, solvent-less, refined coconut oil that is safe for food contact and cast iron surfaces. The result is a premium product that does not go rancid.

Use on cast iron skillets, dutch ovens, and carbon steel cookware to build seasoning and protect from rust

Non-GMO Sunflower Oil and beeswax
What Oven Temperature and Time Work Best With Crisco?
The optimal oven temperature for seasoning cast iron with Crisco is between 475°F and 500°F, with 495°F to 500°F being ideal. This range exceeds Crisco’s smoke point of 435°F to 440°F by approximately 50°F, allowing proper polymerization of the oil to create a durable coating. Consistent oven temperature is crucial; before starting, check your oven’s calibration to ensure it reaches and maintains the desired temperature accurately. An inaccurate oven can compromise the seasoning process, much like uneven heat can ruin a durable coating on vacuum seal bags meant for long-term storage. Using a lint-free cloth to wipe off excess Crisco after applying ensures an even, thin layer essential for proper bonding. This precise temperature control mirrors the sous vide cooking technique, where small variances can dramatically alter egg texture. For similar precision finishing, a butane torch can be used to caramelize sugar on desserts or melt cheese without heating the entire oven.
Bake the cast iron for 60 to 80 minutes at this high temperature. You can also follow a progressive ramp-up method: preheat your oven to 200°F for 20 minutes, then increase to 300°F for 15 minutes, wiping off excess oil, and finally raise the temperature to 400°F for a two-hour cure. During cooling, avoid opening the oven door; instead, let the temperature inside drop to around 250°F naturally. Exceeding 500°F can carbonize the oil and weaken the seasoning, while going below 380°F may not fully polymerize the oil and leave it in a liquid state.

Mild and Easy: Grapeseed Oil is at its best in stir-fries and sautés; it doesn't overwhelm other ingredients and lets fresh flavors shine. When grilling or frying, it is a must-have in the pantry.
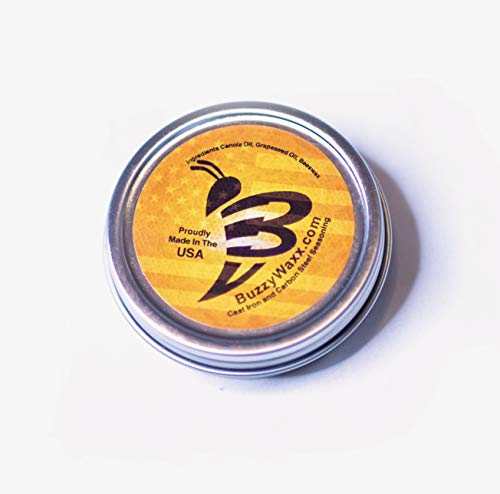
PREMIUM CAST IRON SEASONING WAX: BuzzyWaxx Original Blend is crafted from a harmonious blend of canola oil, grapeseed oil, and beeswax sourced from local North Carolina beekeepers. This food-safe, all-natural formula expertly seasons and conditions your cast iron skillets, carbon steel pans, Dutch ovens, and cookware — creating an unparalleled non-stick surface.
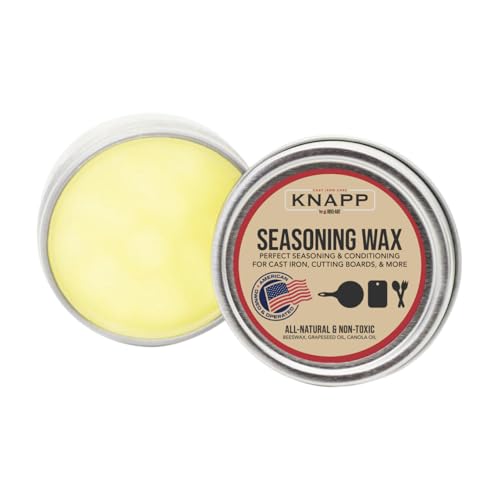
Perfect Seasoning and Conditioning: Cast Iron Seasoning Blend of Oil and Beeswax. Perfectly Seasons and Conditions Cast Iron Pans, Skillets, and Other Cookware. Our Formula Protects and Maintains Your Cast Iron Better Than Any Other Product on the Market.
How Many Coats of Crisco Do You Need?
You need 2 to 3 coats of Crisco for a well-seasoned pan, but the exact number depends on your pan’s condition and your goals. A new or flea-market pan requires about 3 coats to build an adequate non-stick barrier. If you plan to cook frequently on the pan, applying 5 coats can create a thicker, more durable surface. Each coat should be a very thin layer—wiped on until it looks matte, not greasy. Proper oil absorption into the iron is critical for a good seasoning, and multiple thin layers build a better finish than one thick coat. After each bake, inspect the surface for bare spots; if you see any, scrub and reapply coats as needed. Pre-seasoned pans might need just one coat, but you can apply more if desired. There’s no fixed rule—repeating the process allows you to build a seasoning layer tailored to your cooking habits and preferences. For best results, use high heat to bake the coats, similar to the Dutch oven method for achieving a crisp crust.
How to Fix Sticky, Splotchy, or Smoky Seasoning
If your seasoning is sticky, splotchy, or smoky, here are effective ways to fix each issue. For stickiness, start by scraping off excess residue with a spatula or paper towel. Then, scrub the surface with kosher salt and baking soda to remove uneven layers. To bond a better seasoning layer, bake the pan upside down at 450–500°F for about an hour. Alternatively, heating it on the stove for a few minutes also works. Remember, applying more oil isn’t always better; use a very thin layer and wipe off as much as possible before baking. Dutch ovens retain heat evenly, making them ideal for reseasoning bonds.
If the finish is splotchy, it’s best to strip the old seasoning. Splotchy seasoning often arises from excess oil applied during the seasoning process. Use steel wool or an SOS pad to scour the surface, removing irregular layers. Afterward, apply a microscopically thin coat of oil—just a wipe and wipe off the excess. Bake the pan at a high temperature of 500°F until the new layer bonds evenly. For a budget-friendly approach, stovetop or oven methods work efficiently.
To address smoke from seasoning, place the pan upside down on a baking sheet in the oven. Bake without any added oil and crack the oven door open briefly afterward to allow smoke to escape. Clean off any loose flakes after cooling, and avoid pooling excess oil while seasoning to prevent further smoke.

Restore & Protect Cast Iron Surface: Designed for cast iron cookware to build a smooth protective layer and extend lifespan of skillets, pans, and griddles

RESTORES & RESEASONS | Includes our Cast Iron Scrub designed to restore & remove stubborn rust spots. Helps to remove burnt & stuck on food spots that develop over time. Made with high quality coconut oil to help season & enhanced with essential oils to eliminate odours.
How to Season Cast Iron With Crisco: Safety Tips for Smoky Ovens
Seasoning cast iron with Crisco can produce smoke because its smoke point is 435°F, which is above the temperature needed for baking the oil onto the pan. To stay safe during the process, open your kitchen windows fully and turn on the range hood fan before starting. Inform everyone in your household about the potential smoke to prevent confusion. Placing aluminum foil on the bottom oven rack helps catch any oil drips and minimizes smoke. Bake the pan upside down on the top rack to allow excess oil to drip away from the surface. If your ventilation is weak, choose times to season the pan when the oven window can be kept open or when the air can recirculate better, as trapping smoke in a closed environment can be unsafe. A thin layer of oil is crucial to avoid sticky buildup and ensure even seasoning. For accurate monitoring of the oven temperature during seasoning, keep a clear line of sight to your oven’s thermometer and clean the lens of any infrared thermometer regularly with a soft cloth to prevent distorted readings.
Although Crisco seasoning is effective, you can opt for oils with higher smoke points, such as flaxseed or vegetable oil, for less smoke during seasoning. Keep in mind that you may need to repeat the process two to three times to build a durable and smooth seasoning layer. Between each layer, allow the pan to cool completely inside the oven to prevent warping and ensure even seasoning.