Wondering how to turn a simple cut of corned beef into a deeply flavorful and tender dish? The trick is in the braising process, which involves slow cooking in beer until the meat is fall-apart tender.
By following a few key steps, you can transform it into a rich, satisfying meal with a glossy glaze and savory gravy. Keep reading to see how it all comes together.
Why Beer-Braised Corned Beef Works So Well
Beer’s acids and carbonation are key to transforming corned beef into tender, flavorful meat. The acids in beer gradually break down collagen into gelatin, which softens tough muscle fibers during braising at 300°F–325°F. The carbonation’s tiny bubbles physically loosen dense fibers, speeding up the tenderizing process. Additionally, malt sugars create a caramelized, earthy sweetness that balances the meat’s high salt content. Searing the meat first triggers the Maillard reaction, developing a deep, flavorful crust. This technique mirrors the classic pot roast method of searing a well-seasoned chuck roast to build a rich base before braising. Combining half beer and half broth in the braising liquid ensures the flavors penetrate evenly without overwhelming the pickling spices. This careful blend of techniques results in meat that’s fork-tender with a glossy, caramelized exterior. For best results, season your cast iron Dutch oven multiple times with a high-quality oil to prevent flash rust and maintain a nonstick surface. As with reusable storage solutions, keeping your cooking equipment in good condition requires checking for damage after each use and storing it in a dry place.
Set Up Your Dutch Oven for Beer-Braised Corned Beef
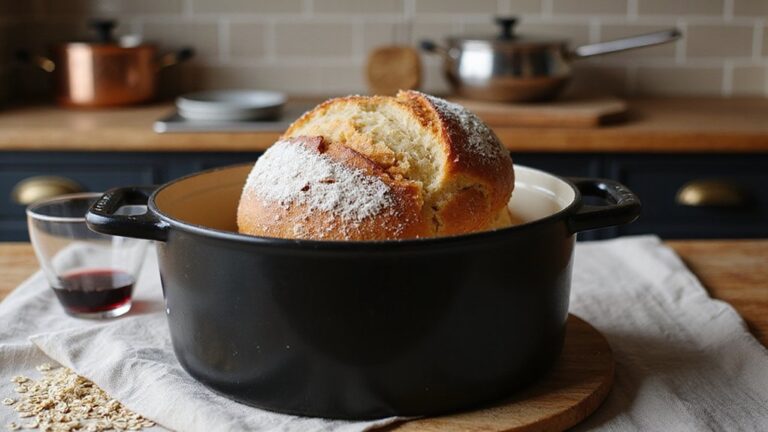
Preheat your oven to 300°F and position the rack in the lower third. This temperature provides gentle, even heat that helps tenderize the corned beef without drying it out. Arrange sliced onions at the bottom of the Dutch oven to create a flavorful bed that also helps distribute heat evenly. Rinse the brisket thoroughly and pat it dry before placing it fat cap up on the onions. Applying the spice packet or a homemade dry rub adds layers of flavor. Pour in enough beer or beef stock until it reaches halfway up the meat—add water if necessary to maintain the level. Bring the liquid to a gentle simmer on the stovetop, then cover the Dutch oven tightly with its lid. Transfer it to the oven and avoid lifting the lid during the first few hours of cooking to preserve moisture and heat, ensuring the meat stays tender. This method mimics the precision of sous vide by using controlled low heat to achieve tender textures and evenly cooked results.

Even Heat Distribution Retention: This Dutch oven Made with heavy-duty enameled cast iron, ensures even heat distribution for perfect searing and slow cooking, locking in flavors. thickened walls lock in heat for slow braising, searing, and baking. Unlike thin pots that scorch food, this professional-grade Enameled cast iron pot maintains steady temperatures

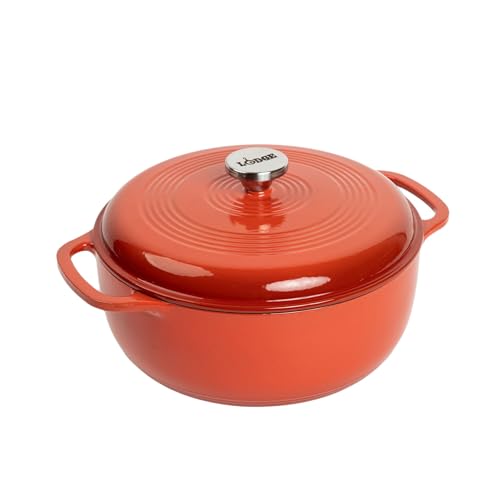
Quality Enameled Dutch Oven: The Lodge Essential Enamel Cast Iron Dutch Oven gives you all the benefits of cast iron cooking, great heat retention and durability, without fear of rust; it's also PFAS free
Choose the Best Beer for Corned Beef Braising
Opt for medium to dark beers, such as stout, porter, or amber ales, when braising corned beef. These beers offer subtle roast and malt flavors that enhance the dish without overwhelming it. Use two bottles or cans for a three-pound brisket, and if the beer doesn’t fully cover the meat, top it off with water. Avoid light lagers or very bitter beers, as they can detract from the flavor. The goal is to let the beer’s rich, malty qualities add depth to the braise, complementing the salty, savory flavors of the corned beef. For precise temperature control during braising, a digital probe thermometer ensures the meat reaches the ideal internal doneness. To achieve a crusty finish, you can replicate the steam environment by placing a pan of water in the oven during baking. For best results, ensure the Dutch oven is properly seasoned to maintain a non-stick surface and prevent rust during the braising process.

Make your own beer – be more than a beer drinker; be a beer maker! this craft beer kit turns beer lovers into beer brewers and gives you all the independence, experience, and fun that comes with brewing your own home beer.

Intense roast flavor with a huge malt influence Full-bodied dark brew, intense roast flavor

Product Type :Food Service Supply
How Long to Cook Beer-Braised Corned Beef
Corned beef is best cooked until it reaches an internal temperature of 185°F for optimal tenderness. In an oven braise at 300°F, plan to cook it for about 3 hours, flipping halfway through. Check for doneness using the fork test: it should slide in easily without resistance. If the meat isn’t tender after 4 hours, add 30-minute increments and continue cooking. Larger roasts will require more liquid and longer cooking times to become tender. For campers using a Dutch oven, even charcoal placement on both the top and bottom ensures consistent heat distribution. To ensure food safety and accurate results, test your thermometer’s accuracy using the ice water method before checking internal temperatures. For reliable calibration, always use a fixed physical reference like freezing or boiling water, not an arbitrary temperature. For slow cooker methods, cook on high for about 6 hours, until the internal temperature reaches approximately 200°F. Always allow the meat to rest for 15–20 minutes before slicing to help retain juices and improve texture. Keep in mind that using substitutions like broth instead of beer can still produce good results, which might slightly alter cooking times but won’t compromise tenderness if you monitor internal temperatures carefully.
Add Vegetables Without Overcooking Them
To add vegetables without overcooking them, introduce them in stages based on their density and cooking time. Hard root vegetables like carrots and potatoes should be braised directly in the au jus for 1.5 hours after the initial braise. Maintain a steady low simmer temperature to prevent excessive softening. For cabbage, add wedges during the final 45-minute interval, placing them cut-side down and ensuring they are fully submerged to keep their shape and texture. Soft greens such as spinach or Swiss chard require only a brief cook and should not be braised for too long or they will become mushy. This method pairs well with Dutch ovens for their excellent heat retention during slow-cooking.
Seasoning vegetables like thyme and salt should be added separately to roasted vegetables, which are cooked at 375°F. For stovetop recipes, remove the meat first and then simmer potatoes and carrots in the braising liquid for 20 to 30 minutes. Always skim off excess fat from the surface before serving to achieve a cleaner presentation. This careful timing and staged addition keep your vegetables flavorful, tender, and perfectly textured.

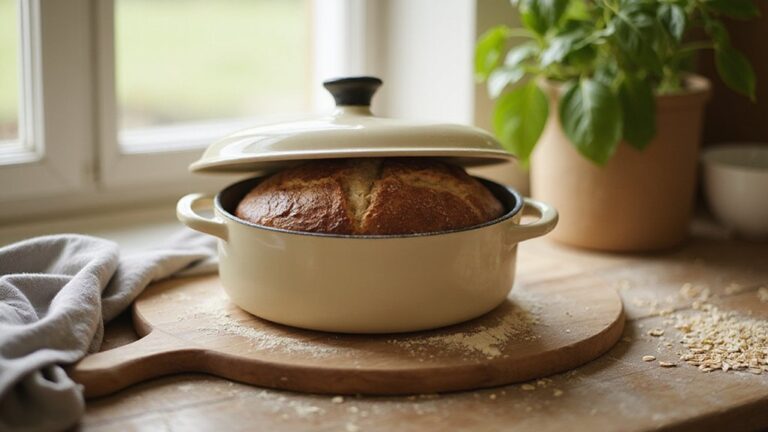
IDEAL FOR FAMILY MEALS - Perfectly sized for families of 3–5 people, this 5.5QT Dutch oven handles everything from hearty soups and stews to one-pot dinners, pasta dishes, and Sunday pot roasts. Spacious enough for a whole chicken yet practical for everyday cooking, it delivers the ideal balance between daily family meals and weekend entertaining. Also well-sized for artisan bread bakers who want one pot for both family dinners and sourdough baking.

Even Heat Distribution Retention: This Dutch oven Made with heavy-duty enameled cast iron, ensures even heat distribution for perfect searing and slow cooking, locking in flavors. thickened walls lock in heat for slow braising, searing, and baking. Unlike thin pots that scorch food, this professional-grade Enameled cast iron pot maintains steady temperatures

IDEAL FOR FAMILY MEALS - Perfectly sized for families of 3–5 people, this 5.5QT Dutch oven handles everything from hearty soups and stews to one-pot dinners, pasta dishes, and Sunday pot roasts. Spacious enough for a whole chicken yet practical for everyday cooking, it delivers the ideal balance between daily family meals and weekend entertaining. Also well-sized for artisan bread bakers who want one pot for both family dinners and sourdough baking.
Rest, Glaze, and Slice the Corned Beef
After removing the vegetables, let the corned beef rest for at least 20 minutes, loosely covered with foil. This step ensures the juices redistribute within the meat, keeping it tender and flavorful. To prepare the meat, pat the brisket dry with paper towels to remove excess moisture, then trim the fat cap to about ¼ inch thickness to prevent overpowering richness and to help the glaze adhere better. Score the surface in a crisscross pattern, making shallow cuts about ¼ inch deep; this allows the glaze to penetrate and enhances presentation. This slow, moist cooking process mirrors the Dutch oven’s ability to retain heat and moisture, similar to low and slow oven roasting for optimal tenderness. Vacuum sealing leftover corned beef can extend food freshness up to five times longer and prevent freezer burn.
For the glaze, combine equal parts of prepared mustard, brown sugar, and bourbon, then bring the mixture to a simmer to develop a bubbling, caramelizing sauce. Brush this glaze generously over the meat, making sure to cover all sides evenly. Use a broiler on high to caramelize the glaze, broiling the brisket for 4-5 minutes at a time. Repeat this process twice more, watching carefully to prevent burning, until the surface is beautifully caramelized and glossy.
Once the glaze achieves the desired caramelization, remove the brisket from the broiler and let it rest for a few minutes. When ready to serve, slice the corned beef against the grain with a sharp carving knife. Cutting against the grain shortens muscle fibers, resulting in slices that stay tender and moist. Always wait until the meat is no longer hot, as slicing too early causes juices to escape, leaving your slices dry. Serve immediately with the reserved braising liquid on the side. For those who prefer sous vide cooking, this dish can be prepared using FoodSaver bags which are BPA-free and tested to meet FDA safety standards.
Thicken the Braising Liquid Into Gravy
To thicken your braising liquid into gravy, start by skimming off the fat from the cooking liquid and reserving it for a roux. Sauté finely diced aromatics like onions, garlic, or celery in that fat until fragrant. Then, whisk in an equal amount of flour and cook until the mixture turns a light blond color, creating a smooth, blond roux. Gradually pour in the hot braising liquid while whisking constantly to prevent lumps. Continue simmering until the sauce thickens enough to coat the back of a spoon, typically about 5 to 10 minutes. This gradual reduction naturally concentrates flavors as excess liquid evaporates. For an even more precise texture, consider using sous vide techniques to maintain consistent control over the final consistency of the gravy. This method is similar to how camping Dutch oven recipes rely on steady heat to build concentrated flavor.
For added flavor balance, incorporate a splash of vinegar or lemon juice to cut through the richness of the gravy. A small amount of Worcestershire sauce can also enhance the savory depth of the gravy. Taste and season with salt and pepper as needed. To speed up the process or if you prefer a quicker thickening method, combine two tablespoons of cornstarch with a quarter-cup of cold water to make a slurry. Stir this into the simmering gravy and cook until it thickens, usually within a minute or two. Finish by stirring in a pat of butter to give the gravy a glossy, velvety sheen. For an ultra-smooth finish, strain the gravy through a fine sieve before serving.

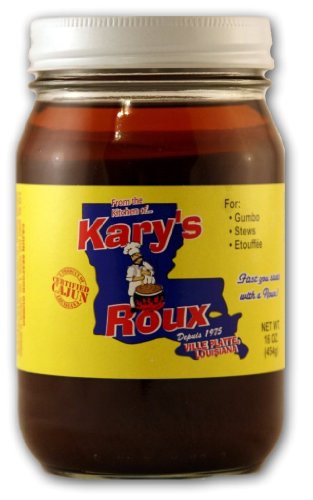
Certified Cajun

Enhance your Cajun dishes with Kary's Light Roux 16oz (Pack of 1)