
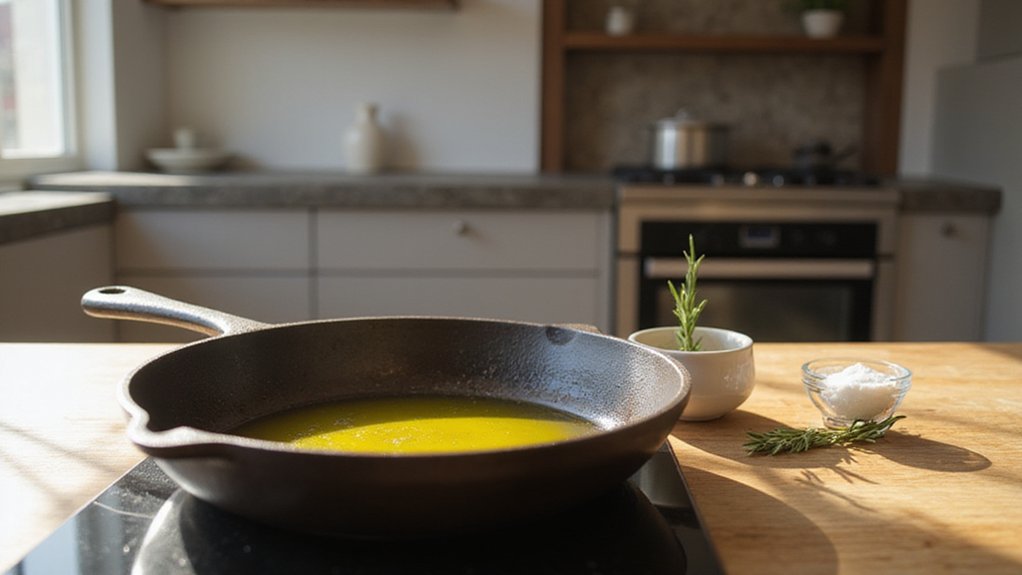
Wondering if you can cook with oil in a cast iron skillet? The answer is yes, and it’s actually part of what makes these pans so great — they develop a natural non-stick surface over time through seasoning.
Picking the right oil and heating your pan properly will help you cook safely and achieve excellent results. Keep reading to learn how to do it right.
What Happens to Oil When You Heat a Cast Iron Skillet?
When you heat oil in a cast iron skillet above 400°F, thermal polymerization begins to occur, transforming the liquid fat into a hard, plastic-like coating that bonds directly to the iron surface. At this temperature, molecular cross-linking and oxidation reactions happen rapidly. The oil molecules break apart, bond with oxygen, and recombine into long-chain polymers. These polymers then attach permanently to the iron through iron-oxygen-carbon bonds, forming your seasoning layers. As the oil reaches these high temperatures, its volatility increases significantly, which is necessary for creating a durable seasoning. You will notice this as the oil thins out and moves more freely across the skillet surface. If you keep the temperature below 400°F, polymerization won’t occur sufficiently, leaving your seasoning weak and prone to deterioration. This process permanently alters the oil’s molecular structure, building a chemically stable, heat-resistant barrier with each heating session. For precise temperature control during seasoning, digital probe thermometers are recommended for measuring the oil’s actual internal temperature, as infrared thermometers can be less reliable due to steam and reflective surfaces. The resulting polymer coating is considered durable, inert, and nontoxic based on scientific understanding. To ensure the skillet surface remains properly prepared before heating, applying oil while the pan is still wet can help prevent flash rust from forming. This precise control over temperature is similar to the sous vide method used for achieving specific egg textures.
Pick the Right Oil Based on Smoke Point
Choosing the right oil for your cast iron skillet depends primarily on its smoke point, which is the temperature at which the oil begins to burn and break down. For high-heat cooking like searing, you should select oils with smoke points above 400°F. Avocado oil has the highest among common options, with a smoke point of 520°F. Oils such as grapeseed, refined sunflower, peanut, and rice bran oil all reach around 450°F. Canola oil is a versatile choice, with a smoke point ranging from 400 to 450°F, offering a good balance between affordability and performance. For similarly tender results when braising in a cast iron skillet, cooking at 350°F for 2 to 2.5 hours mimics the low-and-slow approach used for Dutch oven short ribs. The same principle of even heating applies when using a butane torch to soften glass tubing, where steady rotation prevents stress fractures. This method also works well for a Dutch oven pot roast, where the meat becomes fork-tender from slow cooking.
Keep in mind that how the oil is processed affects its smoke point. Refined oils generally have higher smoke points than cold-pressed or unrefined varieties. For example, unrefined olive oil has a smoke point of about 350°F, making it unsuitable for high-temperature seasoning. Using oils with smoke points below 400°F during seasoning increases the risk of burning off before the polymerization process completes, which can hinder creating a durable, non-stick surface.
Always ensure the oil’s smoke point is exceeded during seasoning by at least 20°F. This margin helps guarantee proper polymerization, resulting in a strong, well-seasoned skillet finish.

Graza Frizzle Oil Made from 100% Olives: A neutral-flavored, high heat cooking oil made from 100% peak harvest olives. With a smoke point of up to 450 degrees, Frizzle is your high-heat kitchen hero. 1 bottle/750ml.

Light Buttery Flavor That Elevates Every Meal: Algae Cooking Club Chef-Grade Algae Oil enhances every dish with subtle richness. Its neutral profile makes it ideal for searing, baking, and dressings, transforming everyday meals into gourmet experiences.

Light Buttery Flavor That Elevates Every Meal: Algae Cooking Club Chef-Grade Algae Oil enhances every dish with subtle richness. Its neutral profile makes it ideal for searing, baking, and dressings, transforming everyday meals into gourmet experiences.
Can You Use Olive Oil in a Cast Iron Skillet?
Yes, olive oil can be used in a cast iron skillet. However, you need to match the type of olive oil to your cooking temperature. Extra virgin olive oil offers rich flavor but has a lower smoke point, so it’s best kept at or below medium heat, around 375°F, for sautéing or frying eggs. Refined olive oil has a higher smoke point, making it suitable for hotter cooking without burning or smoking. To ensure safety when cooking chicken in the skillet, use a meat thermometer to check that the thickest part reaches 165°F. The polymerized oil layer created during this seasoning process protects the iron from rusting and provides a non-stick surface.
Olive oil is also excellent for seasoning your cast iron skillet. Apply thin, even layers of oil and bake at 375°F to 400°F to build a durable protective layer that bonds chemically with the iron. Avoid using olive oil for high-heat searing or broiling, as it can smoke and break down. Keep an eye on the temperature and reduce heat if you notice smoking. When used correctly, olive oil helps maintain your skillet’s performance and enhances the flavor of your food. For a completely different cooking approach, you can also use a Dutch oven to make dump cakes with cake mix and pie filling for a simple dessert.
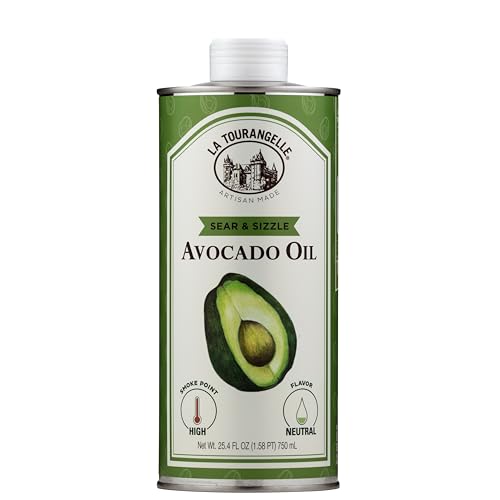
Healthy High Heat Oil: Expeller-pressed from fresh avocados and protected in our iconic light-blocking tin, this smooth, neutral oil preserves freshness and flavor. Fire up the grill, sear the perfect steak, or master a golden, crispy fry — all without losing the natural taste of your ingredients. With a high smoke point and everyday versatility, Sear & Sizzle should be every kitchen’s secret weapon.

America's #1 Avocado Oil for Cooking — Every batch of Chosen Foods avocado oil is independently tested to confirm 100% pure avocado oil with no fillers or seed oil blends. Our purity standard was verified by UC Davis as one of only two avocado oil brands to pass their rigorous quality test. This bottle delivers the clean, neutral taste and consistent high-heat performance that has made Chosen Foods the avocado oil of choice for home cooks, professional chefs, and clean-eating households across the United States.

GREAT FOR COOKING: Our refined avocado oil is the perfect all-purpose cooking oil. It is great for fried dishes, and it makes a nice base for a homemade salad dressing when cold
The Best Oils for Searing, Sautéing, and Deep Frying
For searing, sautéing, and deep frying in cast iron, it’s crucial to match the oil’s smoke point to your cooking method. Searing requires high heat, so oils like avocado oil, with a smoke point of 520°F, are ideal for achieving a good sear on steaks without burning. Grapeseed or peanut oil, both with a smoke point of 420°F, also work well for searing due to their stability at high temperatures. Building a foundation with these high smoke point oils is essential for durable seasoning. When searing steak, applying a dry rub right before cooking helps form a flavorful crust that complements the high-heat oil. For best results, drying the steak thoroughly before searing prevents steaming and ensures a crisp crust.
For sautéing, which involves moderate heat, neutral oils such as vegetable or canola are suitable. These oils have smoke points around 400°F and won’t burn easily during quick cooking. If you prefer using olive oil, choose refined extra light versions, as standard olive oil has a lower smoke point and can burn at higher temperatures, producing unwanted flavors and residue.
Deep frying demands oils that can handle very high heat without smoking. Grapeseed and peanut oils are excellent choices because of their high smoke points and neutral flavors. Avocado oil can also be used for deep frying but may impart a subtle flavor to your dish. Always ensure your cooking temperature stays below each oil’s smoke point to prevent breakdown, smoke, and residue buildup. Purging excess air from the fuel tank of a butane torch prevents malfunction, similar to how using fresh oil avoids residue from degraded fats.

Light Buttery Flavor That Elevates Every Meal: Algae Cooking Club Chef-Grade Algae Oil enhances every dish with subtle richness. Its neutral profile makes it ideal for searing, baking, and dressings, transforming everyday meals into gourmet experiences.

100% GRAPESEED OIL BULK SIZE: Expertly crafted by The Olive Oil People using wine grape seeds imported from France

One 32 fl oz bottle of Bertolli Non-GMO Certified Cooking Olive Oil
Why You Should Always Preheat the Pan Before Adding Oil
Preheating your cast iron skillet before adding oil is essential to ensure optimal cooking results. Heating the pan dry first allows you to reach the right temperature, which prevents the oil from degrading prematurely. When you pour oil into a cold skillet, it can break down quickly, releasing toxic chemicals, and affecting flavor. Using high-quality oils like avocado or canola can be wasted if they are subjected to sudden, uneven heat.
Preheating also promotes even heat distribution across the pan, as cast iron needs time for the heat to fully penetrate. This eliminates hot spots that can cause uneven cooking. Additionally, a hot skillet minimizes temperature drops when ingredients are added, resulting in better searing and browning. The immediate sizzle created by a properly preheated pan helps prevent sticking and kickstarts the Maillard reaction, which is key to achieving perfectly browned food. To get the best results, heat the pan dry first, then add your oil just before cooking begins.
How to Tell When the Oil Is Hot Enough for Frying
The oil is ready for frying when it reaches a temperature of 350 to 365°F. To determine this without a thermometer, look for visual cues. A shimmering surface indicates the oil is hot enough. You can stick a wooden spoon handle into the oil—if steady, gentle bubbles form around it, the temperature is on point. For a quick test, drop a small piece of bread; it should brown within 30 to 40 seconds. Alternatively, a tiny piece of batter that sizzles and floats confirms the oil is at the right temperature. Be cautious with aromatic or infused oils, as they can burn at lower temperatures. For the most precise result, using a thermometer is best, ensuring your oil hits the optimal frying range. Just as a propane torch allows precise control for caramelizing sugar on crème brûlée, a thermometer gives you the exact control needed to avoid burning your oil.
Oil Depth Needed for Shallow vs. Deep Frying
For shallow frying, use 1/4 to 1/2 inch of oil—just enough to reach halfway up the food’s sides. This depth keeps oil absorption low, around 3–8 mL per 100 grams, reducing greasiness. It also helps prevent the oil from reaching its smoke point prematurely, which can cause off-flavors and harmful compounds. The temperature remains steady between 300 and 347°F, ensuring even cooking without burning the surface. Using this oil depth is ideal for lighter, thinner foods like cutlets or vegetables that need gentle heat and minimal oil contact.

Versatile Cooking Skillet: The Lodge Cast Iron Skillet is a multipurpose, everyday cooking pan that excels at searing, sautéing, baking, frying, and campfire meals

Durable Cast Iron Construction: Made from cast iron for long-lasting use and even heat distribution.

What’s the Deal With Vegetable Oil in Cast Iron?
Vegetable oil can be used on cast iron, but it requires careful application. Its low smoke point means it breaks down quickly when heated above a certain temperature, which can lead to a sticky surface and uneven seasoning. To avoid this, you need to apply a very thin coat, wiping off all visible drops to prevent pooling. Then, heat the pan to the oil’s smoke point so the oil forms a hardened layer of crystals rather than decomposing into a sticky residue. If you master this technique, vegetable oil can promote good oil absorption and help build durable seasoning layers over multiple applications. Proper seasoning is achieved through polymerization when the oil is heated sufficiently in the oven. However, oils with higher smoke points—like avocado or canola—are generally more forgiving and easier to work with because they withstand higher temperatures without breaking down. In a similar way, a long, slow fermentation can develop deep flavor in bread without the complexity of a traditional starter. Vacuum sealing can also protect hard varieties of cheese stored in the refrigerator from spoilage and mold. For baking bread, a Dutch oven similarly creates a self-contained steam chamber that mimics the sealed environment needed for excellent crust and oven spring.
How to Clean and Re-Season Your Skillet After Each Use
After you’ve finished cooking, clean your skillet immediately to preserve the seasoning. Remove large food bits using paper towels, then rinse with warm, soapy water and a soft sponge or scrub brush. Avoid using abrasive tools, and never put your skillet in the dishwasher, as hand-washing is crucial for preventing rust. To aid in removing stubborn residues, you can heat the pan to help lift stuck-on food, as cast iron retains heat exceptionally well. This quality also makes the skillet perfect for slow-cooking, braising, and roasting a variety of dishes.
Thoroughly dry every surface with a dish towel, then heat the pan over low heat for 5 to 30 seconds to evaporate any remaining moisture. Apply a few drops of neutral oil and wipe evenly across the entire skillet, ensuring no glossy residue stays. Place the skillet in an oven preheated to 450 to 500 degrees Fahrenheit for 30 to 60 minutes. During this process, the oil bonds with the surface, and you may notice some smoke—that’s normal as the oil polymerizes. While hot, wipe away any beaded-up oil, then let the pan cool slowly inside the oven.
5 Common Oiling Mistakes That Ruin Cast Iron Seasoning
Using the right amount of oil is essential for proper cast iron seasoning. You only need a thin, even layer—just enough to wipe down the surface without dripping or pooling. Applying too much oil creates a sticky residue that prevents proper polymerization, resulting in a dull, uneven coating that can attract dirt and rust. Always wipe off excess oil thoroughly before baking. This prevents buildup and ensures a smooth, durable seasoning layer that bonds well during the heating process. For example, a Dutch oven used for creamed corn cornbread benefits from this properly seasoned surface to prevent sticking and enhance flavor. Unsaturated fats bond better for a durable coating during polymerization.

Mild and Easy: Grapeseed Oil is at its best in stir-fries and sautés; it doesn't overwhelm other ingredients and lets fresh flavors shine. When grilling or frying, it is a must-have in the pantry.

YOUR NEW GO-TO SEASONING SPRAY: The Lodge Seasoning Spray is the perfect seasoning spray to maintain your cast iron cookware. It is made of 100% canola oil - no additives or propellants, to protect your cookware and enhance its finish.

TLC for your griddle cooktop: All you need to build a slick, easy-release surface that's protected from rust and easy to work with using Blackstone griddle seasoning and cast iron conditioner


