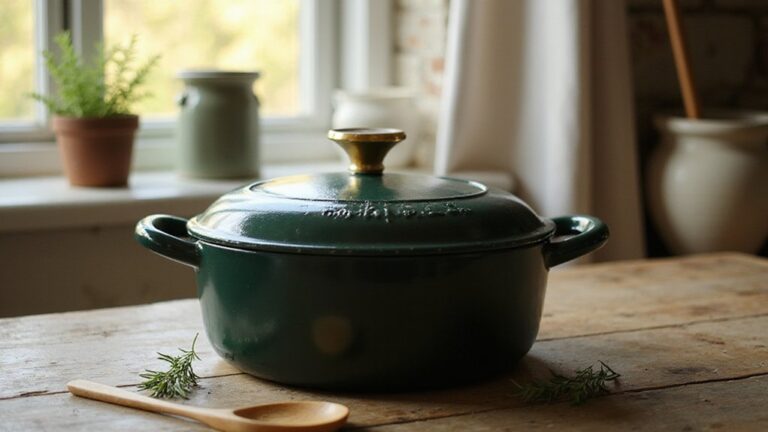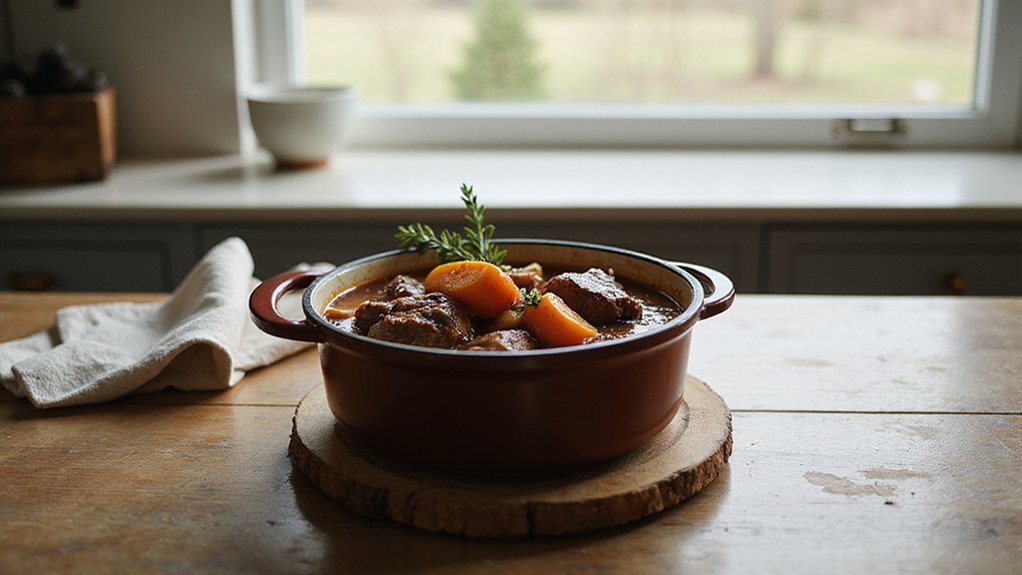
Ever wonder how to make a rich beef stew without wine? You can build deep, savory flavor by focusing on ingredients like soy sauce, Worcestershire sauce, and tomato paste instead of alcohol.
Using a tender chuck roast and slow braising in a Dutch oven ensures every bite is melt-in-your-mouth satisfying.
Keep reading to see how all the layers come together perfectly.
Why Skip the Wine in Beef Stew?
Skipping wine in your beef stew doesn’t mean sacrificing flavor; instead, it gives you more control and flexibility. You can replace wine with ingredients like beef broth, chicken stock, or a splash of vinegar, all of which add rich, savory depth without the alcohol. These substitutes prevent the wine-like overpowering taste that can clash with herbs and beef, and they avoid the acidity and tannins that might interfere with the sweetness of carrots and onions. For dietary restrictions or cost considerations, flavor enhancers such as tomato paste and bacon come in handy, providing robust flavor without the need for wine. Additionally, skipping wine simplifies the cooking process—there’s no need to deglaze or reduce wine, just add broth and let it simmer. If you want to manage acidity, you can add a touch of vinegar at the end, keeping your stew hearty and well-balanced without extra steps or expenses. The precise temperature control achieved with this method is similar to how sous vide cooking allows you to master egg doneness by holding the water at specific temperatures. For those using a cast iron Dutch oven, a vinegar spray solution can quickly remove any rust that develops on the cookware after extended use. Achieving a perfectly tender interior in stew meat is similar to how a sous vide steak maintains an even, juicy doneness from edge to edge.
The Best Beef Cut for a Tender Stew
The best beef cuts for a tender stew are those rich in connective tissue that breaks down during slow cooking. Chuck roast is the go-to option because of its high collagen content, which transforms into gelatin and creates a melt-in-your-mouth texture after 2.5 to 3 hours of low, slow heat at around 300°F. Instead of pre-packaged “stew beef,” it’s better to buy a whole chuck roast and cut it yourself for more consistent results. For added variety, you can apply the same Dutch oven methods used for chicken to achieve tender, juicy results with beef.
For extra tenderness and flavor, consider beef shin or oxtail. Shin offers a tender, melt-in-your-mouth consistency, while oxtail’s fatty layers and dense collagen make the broth particularly rich and gelatinous. Short ribs and brisket are also suitable but require longer cooking times. Bone-in cuts add depth of flavor and more collagen, which enhances the overall richness of the stew. Keep an eye on the meat and taste at around the two-hour mark, cooking until the meat easily falls apart. Using a heavy-bottomed pan for searing can help achieve a deep brown crust before slow cooking. To maintain your Dutch oven for future stews, dry it immediately after washing to prevent rust from forming on the cookware.

One bone-in beef chuck flanken style short ribs weighing between 0.25 and 1.25 pounds

One boneless beef chuck center roast weighing between 1.75 and 4 pounds

Meets standards for animal welfare, feed, and more, so you can know about what you're buying (and eating)
How to Sear Beef Stew Meat for Maximum Flavor
To sear beef stew meat for maximum flavor, start by patting the meat dry with paper towels. A dry surface is essential for developing a deep brown crust, so don’t skip this step. Season the meat with salt and pepper just before placing it in the pan to enhance flavor without drawing out excess moisture. Preheat your pan over medium-high heat until the oil ripples; this indicates the right temperature. When the meat makes contact with the hot pan, you’ll hear a loud sizzle, signaling that it’s ready for searing. Cook the beef in small batches, arranging the cubes about an inch apart to prevent overcrowding, which would lower the pan temperature. Let the meat cook undisturbed for 3–4 minutes on one side to develop a rich crust, then flip and sear for another 2–3 minutes. Use vegetable oil to prevent burning, especially if searing multiple batches. Resist the temptation to move the meat too often; patience ensures maximum flavor from the caramelized surface. Using a wet marinade beforehand introduces surface moisture that can hinder browning, but this is managed by the high heat searing technique described here. After searing, when cleaning the pan, ensure it is dried completely and oiled to maintain its seasoning. Similar to how vacuum seal bags keep air out to preserve food and save space, a dry surface on the meat is crucial for achieving that deep, flavorful crust. For cast iron skillets especially, oven cleaner containing lye can be used to strip and restore the pan’s surface before re-seasoning it properly.

One 48 fluid ounce bottle of Vegetable Oil

✅ 100% Pure Wagyu Craftsmanship — Sourced from richly marbled, pasture-raised Wagyu cattle, this pure beef tallow is ultra-luxurious, deeply flavorful, and packed with nourishing fats. No grains, no fillers—just real Wagyu purity

32 fluid ounce vegetable oil
Sauté Vegetables for a Deep Flavor Base
Adding tomato paste and fresh thyme enhances the flavor base significantly. Cook them for 2 to 3 minutes until the tomato paste darkens slightly and melds with the oil, which concentrates its sweetness and adds depth. Incorporate a splash of Worcestershire sauce for a savory boost that balances acidity and richness. Finish by sprinkling flour over the mixture and cook for an additional 2 to 3 minutes, stirring constantly to eliminate the raw flour taste. This thickens the base and prepares it to absorb liquids without becoming too runny, giving your stew a richer, more developed flavor. Cook the garlic and flour together a few minutes to eliminate raw taste, as instructed in the preparation of the flavored sauce.
Replace Wine’s Missing Depth With Umami Boosters
Using umami boosters can effectively replace the depth typically provided by wine in your dishes. Start with layering umami flavors: add soy sauce for salty richness, Worcestershire sauce for tangy complexity, and fish sauce for a briny oceanic note. Miso paste thickens the mixture and adds depth, while melting in anchovies provides a savory, meaty undertone. To balance the flavor profile, incorporate tomato paste and caramelized onions to build body and sweetness. Browned mushrooms are essential for earthy layers and depth. Brighten the dish with acidic touches like red wine vinegar or balsamic vinegar, which add brightness without the harshness alcohol might bring. Be cautious with fruit juices—they can introduce sweetness that may require additional balancing with acidity or savory elements like tomato paste or Worcestershire. Stick to this umami-focused approach, and you’ll achieve a rich, complex flavor without any wine.

Authentic Japanese food at your home, Plant-based UMAMI


Umami Dashi Soy Sauce: Level up your dishes with high end, restaurant level Japanese flavors in under 5 minutes using our Japanese dashi sauce; this umami packed flavor bomb is the backbone of most Japanese dishes
Oven vs. Stovetop: Which Braising Method Works Best?
The oven generally provides more reliable, hands-off results than the stovetop for braising. It delivers consistent ambient heat, which prevents scorching and helps lock in volatile aromatics better than the stovetop can. This uniform heat results in even tenderness throughout the dish, with no hot spots to worry about. Stovetop braising requires continuous attention to prevent the liquid from boiling vigorously, which can toughen the meat. It also involves constant heat adjustments to maintain a gentle simmer. However, on the stovetop, you can more easily deglaze the pan and tweak the liquid’s thickness during cooking. For cooking safety, the oven reduces the risk of uneven bottom scorching and frees you from monitoring a flame constantly. Just make sure your Dutch oven has heat-resistant handles before transferring it from the stovetop to the oven. Overall, the oven offers a more consistent and hands-free approach, making it a preferable choice for dependable results. For dishes like these short ribs, the oven also allows the meat to slowly tenderize as wine-based sauces meld with aromatic vegetables and broth. Maintaining a proper seasoning on the Dutch oven will also help protect its surface and improve non-stick performance during braising.

Even Heat Distribution Retention: This Umite Chef Dutch oven Made with heavy-duty enameled cast iron, ensures even heat distribution for perfect searing and slow cooking, locking in flavors. thickened walls lock in heat for slow braising, searing, and baking. Unlike thin pots that scorch food, this professional-grade Enameled cast iron potSuperior heat retention after preheating (allow 5-7 mins for even distribution). CRITICAL: Always cool naturally for 45+ mins before cleaning. Thermal shock (hot-to-cold contact) cracks enamel. USE TIP: Preheat 2-3 mins on medium-low only

Pre-seasoned 2-in-1 cast iron dutch oven: The 2-In-1 cast iron dutch oven pot with skillet lid has been burned with vegetable oil,(no synthetic coatings or chemicals). The shallow skillet that can be used as a lid

FEAST & BATCH COOKING - Designed for large families, holiday gatherings, and weekend meal prep, this 7QT Dutch oven comfortably serves 5–8 people. Its generous capacity easily handles family-size soups, large-batch stews, pot roasts, and whole chickens without overcrowding ingredients. Perfect for Thanksgiving recipes, holiday entertaining, and batch cooking with fewer rounds in the kitchen.
How Long to Braise Beef Stew for Fork-Tender Meat
Braising beef stew until it is fork-tender generally takes about 2 to 4 hours, depending on your oven temperature and the size of the meat chunks. The ideal time for chuck roast, popular for stews, is around 3 hours at a moderate temperature. At 300°F, plan for closer to 4 hours to achieve shreddable beef. If you’re cooking at 350°F, 2 hours may suffice before adding vegetables, with an extra 30 minutes afterward. At 275°F, start with 2 hours, then add vegetables and braise for an additional hour. Using a vacuum sealer to prep and store your stew ingredients in advance can streamline the process and ensure consistent vacuum strength for optimal freshness. For reliable results, choose Ziploc vacuum bags designed for use with compatible sealers to avoid weak seals. A Dutch oven’s tight-fitting lid also helps retain moisture during this extended braising.
You cannot rush collagen breakdown, which is key to tender meat. Check the stew after about 2 hours; if the meat feels firm, continue braising for at least another hour. Larger chunks—around 2 inches—may need the full 3 hours to become fork-tender. The best test is to gently insert a fork and see if the meat easily shreds apart. The sauce should also thicken into a rich gravy as the collagen releases and the liquids reduce. Additionally, resting cooked meat for 15 minutes post-cooking helps relax proteins and reabsorb juices, ensuring optimal tenderness from your long, slow braising.
Add Potatoes and Roots at the Right Time for Perfect Texture
Add potatoes and root vegetables at the right time to ensure they soften without turning to mush. Once your beef is nearly fork-tender—around two hours into cooking—you should add the vegetables. Cut potatoes into uniform one-inch cubes and slice carrots to match in size; even sizing helps achieve consistent cooking. Re-cover the pot and keep it at a low simmer for about one additional hour after adding the vegetables. Timing is crucial: adding them too early risks mushing, while adding them too late leaves them undercooked and crunchy. Stir in peas about ten minutes before serving to keep their bright color and fresh flavor. If the stew appears too thick, stir in a little more broth to loosen it up. For a safe indoor cooking alternative, consider using a butane torch to gently toast marshmallows for s’mores. Proper timing and size control guarantee perfectly tender, intact vegetables every time.
Thicken Your Stew Without the Lumps
Thickening a stew without lumps starts with the right slurry technique. For flour, whisk 2 to 3 tablespoons with equal parts cold water until smooth. Add the slurry to your gently simmering stew while stirring continuously to prevent clumps. Alternatively, use a cornstarch slurry by dissolving 1 to 2 tablespoons in cold water or broth, then stir it in during the last five minutes of cooking. For flavor enhancement, try beurre manié—knead equal parts softened butter and flour into a paste, then whisk small pieces into the stew for a richer taste. If you’re looking for ingredient substitutions, you can replace flour with cornstarch, arrowroot, or potato starch to create a gluten-free thickener. Pureeing starchy vegetables like carrots or potatoes and stirring them back into the stew also adds natural thickness without extra ingredients. Avoid adding thickeners too early in the cooking process, as they can develop a raw flour taste. These methods ensure a silky, lump-free stew every time. However, if you choose to reduce the liquid by cooking without a lid, you risk overcooking the meat and making vegetables mushy.

Twice the Thickening Power of Flour: Delivers double the thickening strength of standard all-purpose flour, allowing you to use half the amount in your recipes to achieve the perfect consistency.

Clabber Girl Non-GMO Corn starch comes in a resealable 6.5 ounce can

Highest quality corn starch powder
Serve and Store for Even Better Flavor Tomorrow
After serving the stew, remove the bay leaves and thyme stems, then skim off all but a thin layer of fat. This prevents bitterness and greasiness. For a polished presentation, garnish with fresh parsley and ladle the stew over buttered bread or biscuits. Ensure the beef is fork-tender to confirm proper doneness, as this indicates that the smaller meat pieces have cooked long enough to guarantee tenderness. To maintain your cookware after the meal, thoroughly dry and apply a light coat of oil before storing.
For enhanced flavor the next day, cool the stew uncovered for 10 to 15 minutes, then transfer it to shallow, airtight containers. Refrigerate within two hours and leave it overnight. As it cools, the fats solidify, making them easy to remove. During this time, the herbs and spices fully infuse the meat, deepening the flavor. Reheat gently on the stove, adding a splash of broth if needed, to avoid overheating and losing quality. This simple technique allows the flavors to meld and develop even further, resulting in a richer, more complex stew tomorrow.