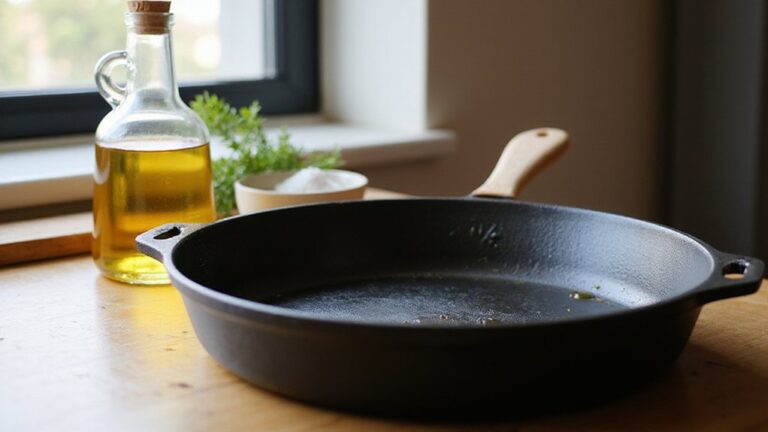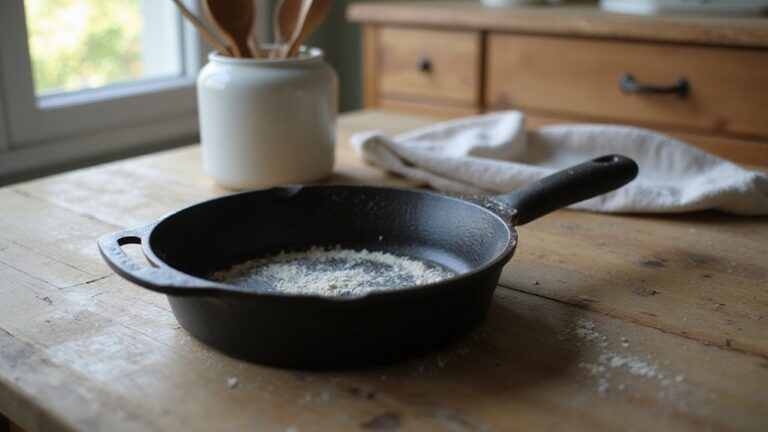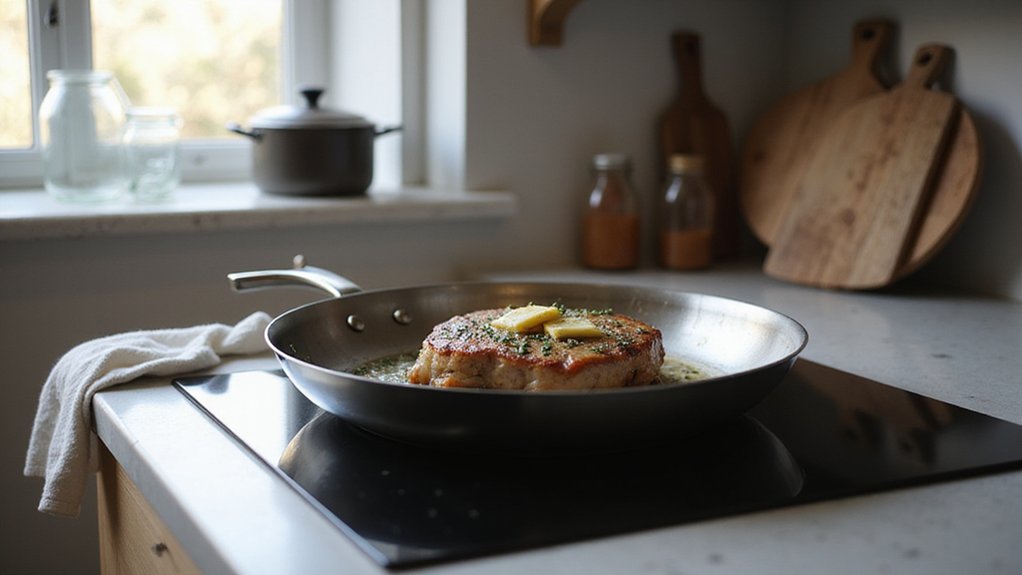
Wondering how to cook pork chops without a cast iron skillet? You can still get a perfect sear using heavy stainless steel, carbon steel, or even a Dutch oven.
The key is in the heat and technique, not the pan’s material. Once you master these tips, you’ll be able to make flavorful, juicy pork chops with any suitable pan.
Keep reading for all the details.
Why You Don’t Need Cast Iron for Perfect Pork Chops
You don’t need a cast iron skillet to get perfect pork chops because many other pans and techniques work just as well. Heavy-bottomed stainless steel pans are durable and provide good heat retention without the weight of cast iron. Carbon steel pans are similar, needing seasoning techniques like cast iron but offering a lighter alternative. Dutch ovens can brown and braise pork chops effectively, especially if you prefer a one-pot approach, and they can also be used to slow-braise the meat for exceptional tenderness. For searing, a 12-inch non-stick or anodized skillet provides even heat distribution; just avoid overcrowding to prevent steaming instead of searing. Preheat the pan with some fat over medium-high heat, then sear the pork chops without moving them until a golden crust forms. Flip, lower the heat, and cover to trap steam, ensuring juicy, evenly cooked meat. Properly dry-patting the chops and seasoning them helps develop a crisp, flavorful crust every time. If you ever encounter rust on an older pan, vinegar spray solution can help remove it without causing pitting damage. For those using a Dutch oven on a glass stovetop, lifting rather than sliding it prevents scratches and protects the surface.
Best Pan Materials for Perfect Pork Chops
Stainless steel and carbon steel pans are ideal for achieving deep browning on pork chops because both materials can withstand high heat without warping. Stainless steel heats evenly and maintains its temperature, creating a perfect crust. Carbon steel heats up quickly and responds fast to temperature adjustments. However, carbon steel requires regular seasoning to build its non-stick layer and prevent rust, which involves oiling the pan after cleaning. Both types of pans offer excellent heat control and durability, making them favorites for searing meat. Using a 12-inch skillet helps prevent overcrowding, ensuring each chop gets enough contact with the surface for a crisp, even sear. Season the pork chops with salt, black pepper, paprika, thyme, and rosemary just before cooking to retain maximum flavor and ensure a well-seasoned crust.

【TRI-PLY STAINLESS STEEL】Tri-Ply Stainless Steel Pan Combines Ergonomic kitchenware Design and superior features for better cooking performance. Stainless steel surface doesn't react with food or alter flavors.

【Versatile Heat Control for Every Meal】 From slow Sunday breakfasts to busy weeknight dinners, Lolykitch tri-ply stainless steel pan heats up quickly and evenly for perfect results. Use low heat for silky scrambled eggs, medium-low for everyday stir-fries, and medium-high for that golden steak crust. For best results, avoid heating the empty pan before adding oil or ingredients.

MULTIPLY CLAD STURDY CONSTRUCTION: Multiply cladding technology produces the highest-quality 3 ply stainless steel cookware set in your kitchen. 304 stainless steel interior for safe, easy-clean cooking; a thick aluminum core for even heating; 430 stainless steel exterior for use on all cooktops. Allows heat to pass through the entire pan, bottom to sidewall, with quick & even heat.
How to Get the Heat Right for Pork Chops
Preheating your skillet over high heat for about 3 minutes is essential to achieving the right temperature for pork chops. Aim for a medium-high surface temperature of 350 to 375°F when pan-frying; this range promotes proper browning and searing without burning. Temperature control is crucial—if the pan gets too hot, lower the heat immediately to maintain that range and prevent the meat from burning or cooking unevenly. Thin pork chops benefit from starting with higher heat to quickly brown the surface before they overcook internally. Flip the chops after 3 to 4 minutes on the first side, then reduce the heat to medium and cook for an additional 5 minutes. During baking, keep the oven temperature between 350 and 400°F depending on the thickness of the chops. Always monitor internal temperatures: thin chops are done at 145–150°F, while thicker cuts reach 150–160°F. Pull them from heat once they reach 135–150°F, knowing they will rise an extra 5 to 10°F during resting. Rest the pork chops for at least 3 minutes before serving to allow juices to redistribute. Achieving precise doneness is similar to how sous vide cooking allows for exact temperature control to customize egg textures. A Dutch oven’s thick cast iron and tight-fitting lid provide excellent moisture retention, which can also help achieve juicy pork chops by preventing steam from escaping during cooking. Using a trivet as a beginner-friendly tool can further improve heat distribution and prevent scorching when cooking with a Dutch oven.

ROAD-READY 1000W EFFICIENCY: Designed for RVs, dorm rooms, offices, and small kitchens. The 1000W heating element delivers reliable cooking performance while being energy-efficient and compatible with standard outlets.

Moisture-Locking Cast Iron Cover: The Lodge Seasoned Cast Iron Lid features a tight-fitting design that seals in moisture and supports even, consistent cooking
Dry, Season, and Prep Pork Chops for Any Pan
Patting your pork chops dry with paper towels is essential before seasoning because moisture on the surface can prevent proper browning. For a more thorough dry, leave the chops uncovered on a wire rack in the fridge for an hour; this helps draw out excess moisture. When it comes to seasoning, you have options: a simple salt and pepper blend or a more complex mix like brown sugar, smoked paprika, garlic powder, and cayenne for a flavorful crust. Be sure to rub the seasoning generously over both sides of the chops, including the edges with fat. For best results, season the pork chops 8 to 24 hours ahead of cooking to allow the flavors to penetrate. Let the seasoned chops sit at room temperature for 20 to 30 minutes before cooking to ensure even heat distribution. Allowing the meat to rest at room temperature also promotes even cooking. To prevent rust and maintain the pan’s surface, you should always dry the skillet thoroughly and apply a light coat of oil before storing. Similar to ensuring a complete airtight closure on a vacuum-sealed bag, running your fingers along the pork chop’s surface helps to press the seasoning firmly into the meat for better adhesion.
Before cooking, place the pork chops on a wire rack set inside a sheet pan. This setup promotes air circulation around the meat, keeping the surface dry and well-seasoned, which is key for achieving a crisp exterior. Always ensure the surface remains dry and seasoned before adding the pork to the pan, as excess moisture can hinder browning and result in a less desirable crust.
Pan-Frying Times for Thin and Thick Chops
To pan-fry pork chops, start by heating your pan until it is hot and the oil is shimmering. Some bakers recommend preheating the pan with the lid on to trap steam and enhance heat retention, though this is more common for Dutch oven bread. The thickness of your pork chop determines how long you’ll cook each side. For thin chops under 1/2 inch to 3/4 inch thick, sear for 2 to 3 minutes per side on medium-high heat. For thicker cuts over 1 inch, cook for 5 to 6 minutes per side on medium-high heat, then reduce to medium to complete cooking. Do not move the chops during the initial sear to allow a crust to form. For chops between 3/4 inch and 1 inch, aim for about 5 minutes on the first side and 3 minutes on the second. Always check for an internal temperature of 145°F to ensure safety and juice retention. Rest the chops for 3 to 5 minutes after cooking to let the juices settle before serving. Adjust the heat if browning occurs too quickly to prevent burning. For an alternative method, you can also cook pork chops in BPA-free FoodSaver bags with a controlled water bath for even and safe results.
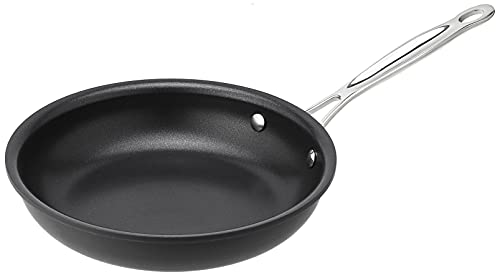
Hard anodized exterior for even heat distribution

11" Square Griddle Pan--make breakfast easy with a large surface, flat pan for your eggs, bacon, hash browns and more.

TOP-RATED NONSTICK: Cook's Illustrated's highest-rated nonstick skillet for superior cooking performance
Basting Pork Chops With Butter for Flavor
Once your pork chop has a nice sear and the internal temperature reaches 120°F, it’s time to start basting with butter. Use 2-4 tablespoons of unsalted butter per batch to avoid over-salting, since you’ve already seasoned the meat. When added to the pan, let the butter melt completely until it foams and turns a golden hue. This creates a flavorful base for your butter infusion. Because cast iron holds heat so well, consider heating the pan gradually to avoid burning the butter if using a similar pan. Add smashed garlic cloves and herbs like thyme or rosemary directly into the foaming butter. Tilt the skillet slightly to pool the butter on one side. Use a spoon to continuously baste the pork chop with this hot, aromatic mixture for 2 to 4 minutes. The continuous motion also mimics how seasoning restores the protective layer on cast iron, ensuring even coverage. Constant motion ensures the meat is evenly coated and benefits from the heat transfer. Stop basting once the internal temperature reaches 135°F to 140°F. When adding butter, lower the heat to medium to prevent burning the garlic and herbs. Avoid rapid temperature changes when moving the pan to the stove after the meat has been chilled.

Brought to you by Whole Foods Market

365 by Whole Foods Market products give you that dance-down-the-aisles feeling, virtual aisles too! Our huge range of choices with premium ingredients at prices you can get down with makes grocery shopping so much more than tossing the basics in your cart.

Half-Stick Portions for Precision: 8 individually wrapped half sticks simplify measuring for smaller recipes
Oven-Finish or Grill Your Pork Chops
After searing, finish your pork chops either in the oven or on the grill. For oven finishing, preheat your oven to 400°F. Place the chops on a parchment-lined baking sheet or an oven-safe skillet. Bake 1-inch boneless pork chops for 15 to 20 minutes until the internal temperature reaches 145°F. Thicker cuts require about 7 minutes per half-inch of thickness. An instant-read thermometer ensures accurate monitoring of the internal temperature. Properly storing any leftover cooked pork chops in the refrigerator, similar to how vacuum sealing preserves freshness, keeps them safe for 3 to 5 days. This cooking method avoids the need for a seasoned cast iron skillet which requires careful oiling and baking to maintain. Alternatively, grill the chops over medium-high heat. Cook for four minutes per side, flipping once, until they reach an internal temperature of 143 to 145°F to account for residual heat. Sear the fatty edges first to enhance flavor and presentation. Using your marinade or favorite sauces during cooking adds extra flavor. Both methods produce juicy, perfectly cooked pork chops without needing a cast iron skillet. For a truly hearty meal, pair them with a rich, satisfying flavors like those found in a Dutch oven stew or chili.

Fast & Accurate: Get precise readings in just 1 second with ±0.9°F accuracy. NSF Certified for trusted food safety, this digital food thermometer features a 4.3 inches food-grade stainless steel meat probe, perfect for grilling, frying, baking, making candy and more

【8X Faster + 4X More Precise】: Upgraded with an industrial-leading professional thermocouple sensor, Themomonster meat thermometer digital with NIST certified ±0.5℉ precision provides you the accurate temperature of your food in just 0.5 Seconds.

【Fast & Accurate】Our meat thermometer digital delivers accurate readings within ±1°F in just 1–2 seconds, with a wide temperature range of -58°F to 572°F (-50°C to 300°C). No more waiting over the heat - know your food's exact temperature instantly.
Rest Your Chops and Keep Them Juicy
Transfer the chops immediately to a warm cutting board instead of the hot pan to halt the intense bottom cooking. Loosely tent with foil—avoid sealing it tight—since trapping steam can soften the crust and diminish texture. Pull the chops from the heat when they reach 135–140°F; carryover heat will bring them up to a safe, juicy 145°F. Rest for 2 minutes to allow the juices to redistribute and ensure tenderness. Because infrared thermometers only measure surface temperature, they cannot reliably gauge the internal doneness of thick cuts of meat. After resting, verify their final temperature, slice against the grain to ensure tenderness, and serve promptly to keep every bite moist and flavorful.