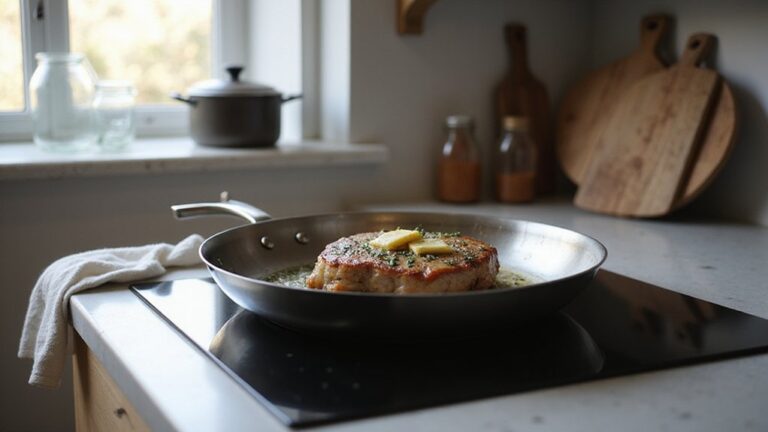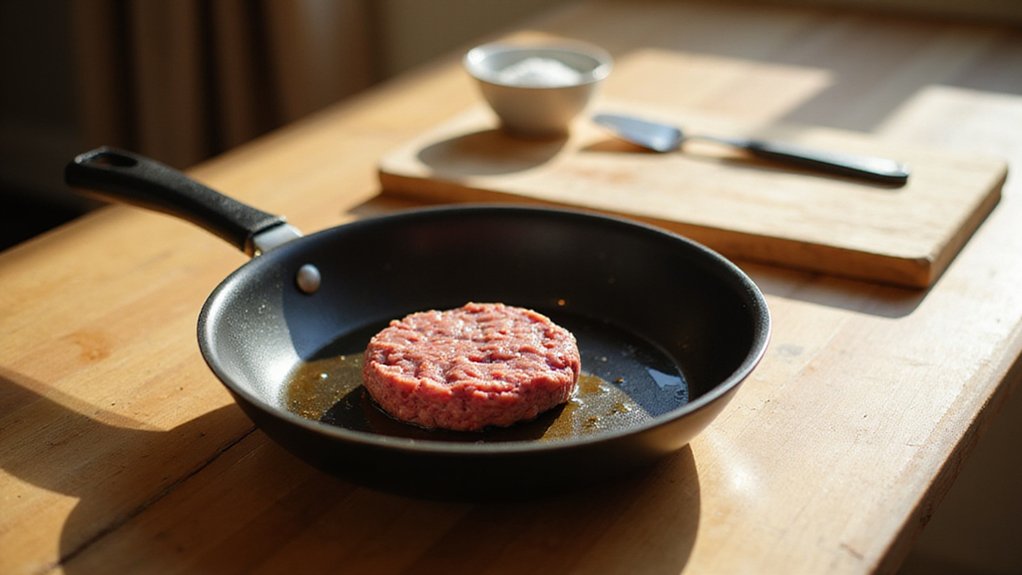
If you want to make crispy smash burgers without a cast iron skillet, you’re in the right place. You can achieve that perfect crust using a carbon steel or tri-ply stainless steel pan, thanks to their excellent heat retention and surface.
With a few simple steps, you’ll be flipping burgers with a satisfying crust in no time.
In the following guide, I’ll walk you through how to preheat your pan, form and chill your beef, and smash the patties properly—all to get that desirable lace edge and juicy interior.
3 Best Pan Alternatives for Smash Burgers
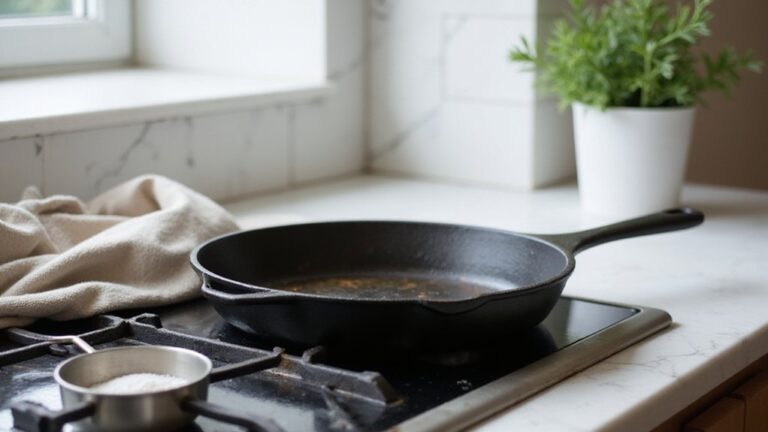
Carbon steel pans, tri-ply stainless steel griddles, and heavy cast iron pans are your top three alternatives for smash burgers when a dedicated griddle isn’t available. Carbon steel pans are lightweight, heat quickly, and can handle high temperatures without warping. They are easy to clean—just scrub with salt and a cloth, avoiding soap—to maintain their seasoning. These pans allow you to smash aggressively without damage, making them a popular choice for searing and crust formation. For an optimal crust, use a beef blend with high fat content like 70/30 or 80/20 to ensure juiciness and flavor. If you ever need to restore a rusty pan, a vinegar spray solution can effectively loosen rust and old seasoning. For home cooks experimenting with temperature precision, similar principles apply when adapting a rice cooker for sous vide cooking, where careful heat control is essential. The pan’s ability to retain moisture and heat enhances crust development by mimicking a Dutch oven’s sealed environment.
Tri-ply stainless steel griddles provide even heat distribution thanks to their layered construction, reaching the critical 400–425°F zone for good crust development. They’re durable enough to withstand metal spatulas and can be deglazed with water for a quick, hassle-free cleanup. This versatility makes them well-suited for consistent high-heat cooking.
Heavy cast iron pizza pans or reversible griddles boast significant thermal mass, ensuring they heat evenly and retain searing heat across multiple batches. They preheat thoroughly and support high-temperature cooking essential for smash burgers. Clean them with a brush and hot water, avoiding soap to preserve their seasoning, which improves over time and use.

NEW YORK MAGAZINE’S The Strategist: Selected as the top budget-friendly carbon steel option, noted for being “a no-nonsense kitchen workhorse with a humble price to match.”
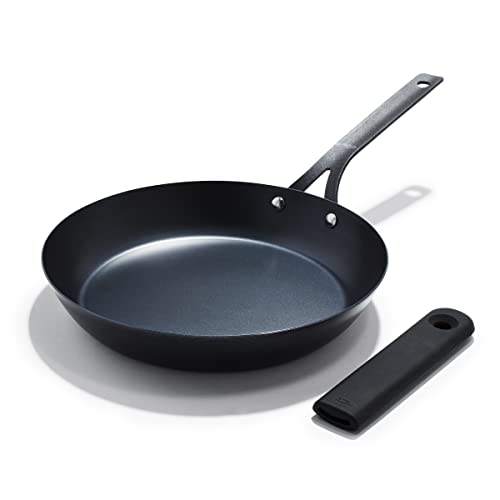
WIRECUTTER’S 2025 BEST PICK: OXO Obsidian won for its nonstick-like ease, lightweight feel, top-tier searing, and value—the closest thing to a holy-grail pan.
Why 80/20 Beef Is Non-Negotiable for Smash Burger Crust
Choosing 80/20 ground beef is non-negotiable for smash burger crust because its 20% fat content is crucial for achieving that crispy, lacy edge. During high-heat cooking, the fat renders out and helps form a solid, deep-brown crust that is both flavorful and structurally sound. Leaner blends, like 90/10, lack enough fat to create this crust without drying out, resulting in a less desirable texture. The fat not only contributes to juiciness inside the patty but also prevents sticking, allowing the surface to sear aggressively. To maximize this effect, keep the meat loosely packed and cold, which helps the fat render properly and weld the patty to the pan for that signature crust. Understanding the emissivity and D:S ratio of your cooking surface can further ensure an accurate heat reading when using an infrared thermometer. Always clean your thermometer probe between uses to avoid cross-contamination from raw beef. For a similarly rich and satisfying meal cooked without a skillet, consider making Savory Dutch Oven Potatoes with bacon and cheese in an outdoor setting.
Preheat Your Pan to 450°F for a Perfect Smash Burger Sear
Preheat your pan to 450°F for a perfect smash burger sear. Use a heavy stainless steel griddle or baking steel, no cast iron needed. Heat it on medium-high for 10–15 minutes, then test with a water drop; it should sizzle and evaporate immediately. When it reaches the right temperature, skip adding oil on the surface. Oil prevents sticking but also blocks the crust from forming properly. Instead, let the beef’s own fat render directly into the pan to create lacy, crispy edges. Proper portioning of the meat is essential now; shape your beef into loosely packed balls and apply pressure immediately upon placing them in the pan with a stainless steel press. Leave the patty untouched for 1 to 1.5 minutes to allow a deep brown crust to develop.
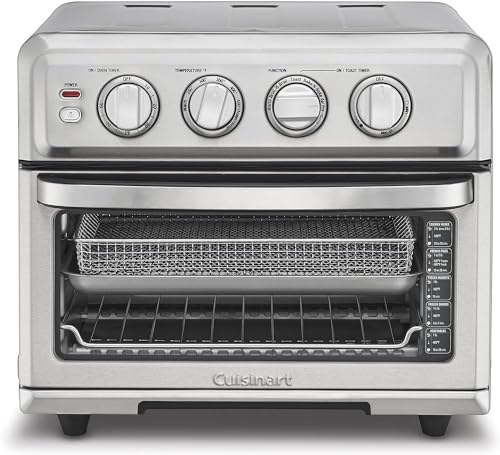
VERSATILE COOKING FUNCTIONS: This premium 1800-watt Cuisinart Air Fryer Toaster Oven is equipped with an air fry setting plus toast, convection bake, bake, convection broil, broil, grill, and warming feature
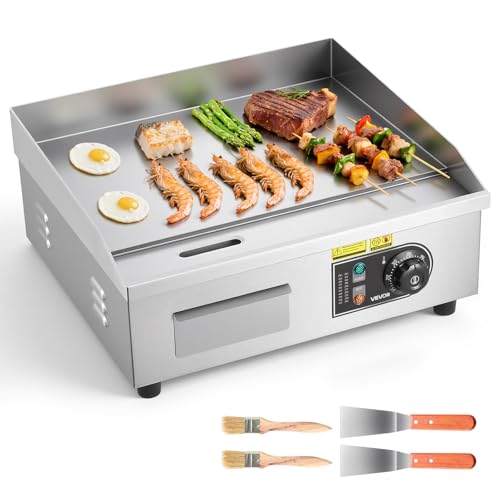
Powerful Large Griddle: This 1750W commercial electric griddle features a 17.72 x 11.81 in / 450 x 300 mm cooking surface and a 0.31 in / 8 mm thick iron plate. Even heat distribution ensures thorough cooking, allowing you to prepare more food at once

Powerful Large Griddle: Power: 1600 W. Cooking Size: 21x12 inch / 540x300 mm. Cooking Plate Thickness: 0.4 inch / 10 mm. Our electric griddle with a built-in heating tube provides even heat distribution for thorough cooking and enough cooking space at once, saving a lot of time on cooking large amounts of food.
Form and Chill Smash Burger Balls the Right Way
To form and chill your smash burger balls properly, start by portioning out 3-ounce balls of 80/20 ground chuck. Keep the meat loose and airy—avoid compressing it—since this preserves the tender texture. Gently shape each ball into a round shape, then sprinkle salt and pepper generously on the top for seasoning. Place the formed balls in the refrigerator and chill for at least 20 minutes. This step is crucial for achieving a good sear and preventing sticking during cooking. You can prepare these ahead of time, up to two days in advance, as long as they are covered to prevent drying out. Chilling the meat ensures your patties stay juicy and ready to be cooked to perfection with your favorite toppings and buns. Use a 1/4 cup measuring tool to estimate the 3-ounce portions for consistent sizing. Applying a high smoke point oil to your cooking surface before searing can help mimic the non-stick results of a well-seasoned cast iron skillet.
Smash Without a Cast Iron Skillet: Tools You Already Own
You can smash a burger without a cast iron skillet by using tools already in your kitchen. To create the necessary downward pressure, grab the back of a heavy pot, a sturdy pan, or even wrap a brick in foil. These tools apply even pressure for a thin, evenly cooked patty. Use a flat metal spatula with a sharp edge to lift and flip the burger without tearing the crust. Place a piece of parchment paper between the meat and your smashing tool to prevent sticking and tearing. Preheat an electric skillet to 400°F to provide a flat, consistent cooking surface. For best results, use an oil with a high smoke point to prevent burning. Keep the meat loose and uncompressed to facilitate smashing and proper crust formation. When it’s time to add cheese, cover the pan with a basting cover or lid to melt it quickly. Finish your creation with your favorite toppings and buns to customize your perfect smash burger. To maintain your cookware after cooking, always use hand wash with warm soapy water rather than a dishwasher, which can damage seasoning and cause rust. This approach follows the same principle as using a non-stick skillet for cooking eggs, where the right tool prevents sticking and ensures even heat distribution.

SMASH LIKE A PRO w/ THIS STURDY CAST IRON BURGER PRESS - This hamburger smasher is made of sturdy, reliable cast iron which adds a nice weight for pressing down hamburger patties and makes them easy to smash. Can handle high heat when cooking with a flat top grill, griddle, cast iron skillet, or regular cooking pan. Very durable and lasts for years to come!

Flat Handle Control: The extra-wide flat handle creates a steadier pressing angle and more direct downward force, so you can flatten ground beef with a firm and comfortable grip. That added leverage helps form thinner patties with better pan contact on griddles, cast iron pans, and skillets, making it easier to build crisp-edged smash burgers, seared sandwiches, bacon, and other fast family meals with more consistency from batch to batch on busy nights at home

【Heavy Duty 2.03 lbs Cast Iron】Our burger press is expertly crafted from thick, heavy-duty cast iron weighing 2.05 lb, delivering consistent, even pressure to form perfect burger patties without bulging, shrinking, or uneven cooking
Season One Side for a Better Smash Burger Crust
Seasoning only one side first is key to building a perfect crust. Immediately after smashing, heavily season only the exposed top side with a blend of kosher salt and black pepper, distributing it evenly like freshly fallen snow. This prevents the salt from drawing out moisture too early, which can ruin the meat’s texture. Add garlic and onion powders only once the patty hits the heat to avoid burning their flavors. Just before flipping, season the second side lightly to keep both surfaces flavorful without drying out the meat. Avoid pre-seasoning the meat balls, as this can lead to moisture loss and a weaker crust. For optimal results, properly browning ground beef in a cast iron skillet is a common technique, but you can adapt this method for any heavy pan. Use about one tablespoon of salt per batch to encourage deep caramelization. Timing is crucial: seasoning at these specific moments maximizes crust development and juiciness. While a digital probe thermometer ensures accurate internal temperature for the syrup, this method ensures the meat retains its moisture, much like oven cleaner dissolves organic solids in cast iron restoration.
How to Get a Crispy Lace Edge in 60 Seconds
To get a crispy lace edge in 60 seconds, start with a preheated stainless steel pan at 450°F until a water drop sizzles upon contact. Use 80/20 ground beef, loosely rolled into a 3-ounce ball, and salt it just before smashing. Place the beef ball on the hot pan, then press it firmly through parchment paper, pushing outward to create thin, irregular edges. Keep the patty untouched for 45 seconds so the fat renders and the edges darken. Use a metal spatula to scrape up and capture every brittle, lacy fragment. This technique is similar to the way a cast iron Dutch oven delivers intense, even heat for crisping. This rapid sear produces a crackly, delicate crust that pairs well with bold sauces like smoky aioli, and complements soft bun options such as brioche or potato rolls. The entire first-side cook takes exactly 60 seconds. This method mimics the “beef candy” edge from a griddle by using a stainless steel pan at high heat to rapidly render fat and create a brittle, lacy crust. For a similar precision in customizing texture, you could apply sous vide temperature control to achieve a specific yolk consistency for an accompanying egg topping. Achieving this crust relies on the same high heat searing principle used in Dutch oven recipes to develop a brown crust on meat.
Melt Cheese and Toast Buns in the Same Pan
You can toast buns and melt cheese in the same pan without extra cleanup by following a simple method. For proper maintenance, hand-wash the pan with a soft sponge and warm soapy water after each use. Since the meat is already resting, use medium-low heat to prevent the butter from burning. Butter both sides of your chosen bun variety, then place the buns buttered-side down in the pan. Toast them for about one minute until they develop a golden color. Flip the buns, then immediately place cheese directly on the toasted side. Cover the pan with a lid to trap steam, then turn off the heat. The residual heat melts the cheese within 2 to 3 minutes, ensuring the bread stays crisp and not soggy. This technique works well with any sauce pairing because it keeps the toasted surface intact while delivering evenly melted cheese. Maintaining consistent heat throughout the cooking process helps achieve the ideal texture. It’s an efficient way to prepare buns with minimal cleanup while achieving a perfect combination of crispy edges and gooey cheese. Similar to how a non-stick skillet allows well-marbled meat to release its own fat and develop a brown crust without added oil, this method relies on the pan’s surface and residual heat for optimal results. For a more customized and balanced texture, you can slice your own bread instead of using pre-sliced buns to control thickness and ensure consistent proportions with the fillings.

Durable Non-Stick Coating: Made with a durable non-stick coating that allows for easy food release and cleanup.


HEALTHY CERAMIC SKILLET - Made of natural ceramic, free of PFOA, PTFE, PFAS, lead, and cadmium, ensuring safety and health. This skillet does not produce toxic fumes even when overheated, and no coating will come off into your food.
3 Common Smash Burger Mistakes (and How to Fix Them)

One 16 ounce package of 100% Pure Ground Beef, 80% Lean/20% Fat

Meets standards for animal welfare, feed, and more, so you can know about what you're buying (and eating)

One 16 ounce package of four 100% Pure Ground Beef Burger Patties, 80% Lean/20% Fat
Avoid Overworking the Meat
Use loose 2- to 3-ounce balls of ground beef with an 80/20 fat ratio. Overpacking or overworking the meat creates dense patties that won’t sear properly. Smash them immediately after placing on the hot surface, applying steady pressure with parchment paper to prevent sticking. Hold the press for 10 to 15 seconds to develop a thin, crispy crust that adds flavor and texture.
Don’t Flip Too Early
Wait at least two minutes before flipping your burger. During this time, juices will pool on top, and the edges will caramelize, indicating the patty is ready to turn. If the patty sticks to the pan or griddle, it’s a sign it’s not yet developed a crust. Be patient; allowing the crust to form ensures a juicy interior and a good sear.
Season at the Right Time
Apply salt only after smashing the burger. Salt on the surface initially draws out moisture, which can make the patty dry if added too early. Once flipped, immediately place cheese on top and let it melt. This approach keeps your burger flavorful and moist, avoiding dry bites and ensuring the cheese melts perfectly over the juicy patty.