Ever wondered how to turn a simple pork roast into a flavorful, one-pot meal? With a few straightforward steps, you can achieve a tender, juicy roast paired with sweet potatoes in just a few hours.
By the end, you’ll know exactly how to prepare a comforting Dutch oven dish that’s perfect for easy weeknight dinners or weekend gatherings.
Why This One-Pot Pork Roast Belongs in Your Dutch Oven
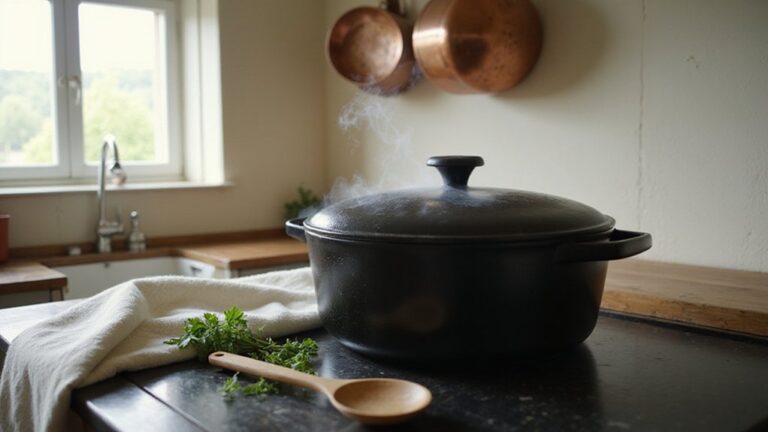
A Dutch oven is ideal for cooking a pork roast because its thick walls and tight-fitting lid trap steam, keeping the meat moist while allowing flavors to develop. This design means you can sear, braise, and roast all in one pot without needing additional dishes or constant monitoring. The heavy cast iron material ensures even heat distribution, which prevents hot spots and helps achieve deep browning without burning. If your Dutch oven develops rust, you can restore it using a vinegar spray solution to remove the buildup and re-season it for continued use. This method relies on the pot’s superior heat retention to maintain a steady cooking temperature throughout the process. For best results, use a high-smoke-point oil such as avocado or canola when searing the meat to ensure a proper crust without burning.
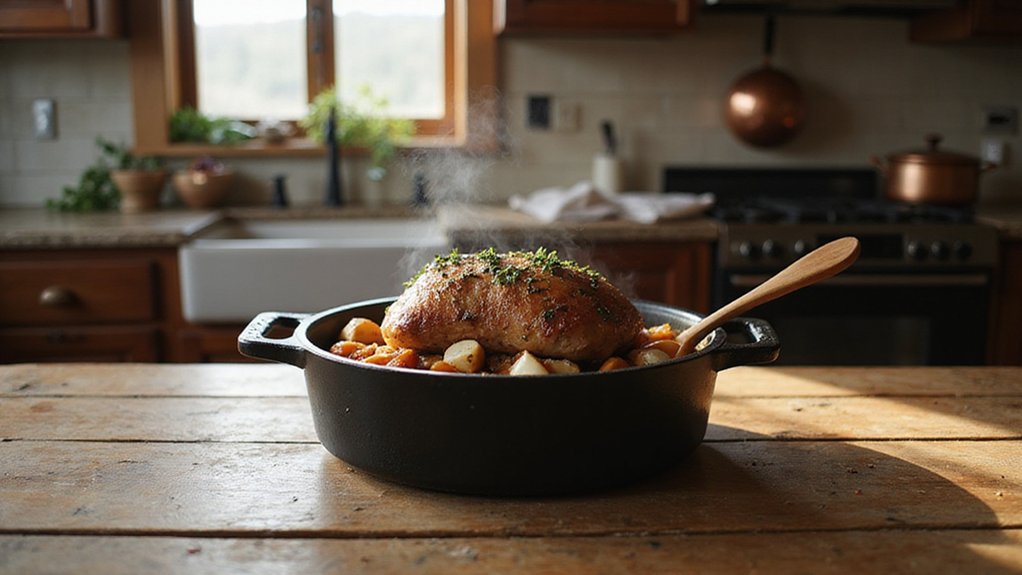
Start by seasoning the meat directly in the Dutch oven, then sear it on all sides over high heat to develop a rich, flavorful crust. Once properly browned, add cubed sweet potatoes to the pot and cover it. The trapped steam created during cooking self-braises the pork and infuses the potatoes with the savory drippings. The thick walls of the Dutch oven allow consistent heat spread, resulting in tender, juicy meat with a perfectly roasted exterior.
Using this method, you eliminate the need for multiple pans or constant oven timers. Your marinade flavoring is preserved and enhanced, and cleanup is a breeze, making the Dutch oven a reliable, all-in-one tool for this hearty dish.
How to Pick the Best Pork Shoulder or Loin for Slow Roasting
For slow roasting, choose a pork shoulder over a loin if you want tender, shreddable meat. Pork shoulder typically contains 16 to 30 percent fat, which melts during low-and-slow cooking, keeping the meat moist and flavorful. Look for a well-marbled shoulder roast labeled “pork shoulder” or “pork butt” for the best results. Avoid overly lean shoulders, as fat is essential for flavor and moisture retention. To ensure even searing and heat distribution, preheat your enameled cast iron Dutch oven on medium heat for about 5 minutes before adding the pork. A lighter interior finish can help you monitor browning more easily during this step.
If you prefer sliced roast rather than shredded meat, pork loin is the better option. However, since it is leaner, it tends to dry out more quickly during slow roasting. Loin is ideal for when you want neat slices but not for pulled or shredded preparations. Remember, your choice hinges on the desired final texture—shoulder for moist, shreddable meat, and loin for leaner slices. Using vacuum seal bags after cooking can keep leftover roast fresh and prevent freezer burn for extended storage.

Meets standards for animal welfare, feed, and more, so you can know about what you're buying (and eating)

One bone-in pork shoulder blade roast weighing between 1.6 and 3.8 pounds

Hearty, flavorful – boneless pork shoulder cuts for robust taste and juicy texture
The Simple Seasoning and Searing Trick for a Deep Golden Crust
To achieve a deep golden crust on your pork roast, start by patting the meat completely dry with paper towels. Surface moisture prevents proper browning, so removing it ensures your spice rub adheres firmly. For an even, crisp sear, combine salt, black pepper, garlic powder, and onion powder for your seasoning base. You can customize the flavor by adding smoked paprika or oregano to introduce color and depth. This browning technique is similar to searing bone-in beef short ribs to develop a golden crust before braising.
Apply the spice mixture evenly over the entire surface of the pork. This isn’t about marinating; it’s a quick rub that prepares the meat for high-heat searing. Heat 2 tablespoons of olive oil in a Dutch oven over medium-high heat until the oil shimmers. Place the pork in the hot oil, making sure there’s space between pieces to prevent steaming. Using vacuum sealing for leftover pre-seared portions can extend their freshness up to five times longer by locking out air and moisture.
Sear each side of the roast for about 3 to 4 minutes until a deep golden-brown crust forms. Use tongs to turn the meat, ensuring each side browns evenly. This step creates a flavorful, crispy exterior that seals in juices, setting the stage for the next cooking phase. For an alternative approach, the sous vide method can achieve precise doneness control for eggs, but for this pork roast, the direct sear remains essential.

2-IN-1 MULTI COOKER: The cast iron lid flips over into a full 10-inch skillet, giving you two pieces of cookware in one. Braise, simmer or deep fry in the 5-quart pot while you sear steak or fry eggs in the lid.

Heavy-Duty Camping Cookware: Designed for campfire coals, the Lodge Seasoned Cast Iron Camp Dutch Oven uses a flanged lid to distribute heat above and below for even cooking

2-in-1 Versatile Cookware Design: The Lodge Cast Iron Double Dutch Oven is a Dutch oven and dual-handle skillet in one smart design, expanding your options for searing, baking, frying, and more
Aromatics to Toss in the Pot With Your Pork
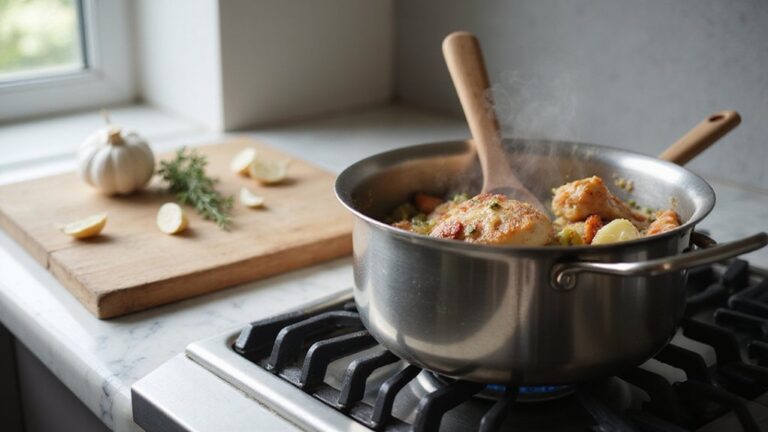
Once you’ve seared the pork to a deep golden crust, the next step is to add aromatics to build a fragrant foundation for the dish. Start by tossing sliced yellow onions into the pot and cook them for 3 to 5 minutes until they soften and release their natural sugars. This creates a sweet, savory base that enhances the overall flavor. Then, add minced garlic and cook for just 30 seconds to prevent it from burning, which can result in a bitter taste.
For herb pairings, tuck in sprigs of fresh rosemary and thyme, along with a bay leaf. Their earthy and lemony notes will infuse the braising liquid with complexity. If you don’t have onions, sliced shallots or leeks are good substitutes, offering a milder and sweeter flavor. Celery stalks can also add a subtle herbaceous crunch and depth to the base. Don’t forget to scrape the bottom of the pot with a wooden spoon after adding your aromatics. This lifts flavorful browned bits, known as fond, which will enrich your gravy and contribute to a rich, complex taste. The pot used here derives its name from Abraham Darby’s patented casting process inspired by Dutch methods. For high-heat braising, using FoodSaver bags ensures ingredients stay sealed and safe at boiling temperatures. To protect the pot’s surface during this process, always use soft utensils to avoid scratching the enamel.
Step-by-Step: Layering Sweet Potatoes for Perfect Texture Every Time
To layer sweet potatoes properly in the Dutch oven, start by slicing them into uniform ½-inch wedges. This thickness ensures they cook evenly without turning mushy. Toss the wedges with olive oil and your preferred seasoning blends such as rosemary, garlic powder, or smoked paprika to build deep flavor. Lay the seasoned potato wedges in a single layer at the bottom of the pot; this direct contact with heat promotes browning and crispness while avoiding steaming. Keep the potatoes separate from the pork, placing them on the side to allow steam circulation and prevent sogginess. For an especially durable non-stick surface, consider seasoning a skillet with bacon grease using the same polymerization process. Feel free to add other vegetables like carrots or bell peppers, but keep the layer loose to avoid overcrowding. Overpacking traps moisture, leading to a soggy texture. For long-term storage of any leftover roasted vegetables, consider using vacuum sealing to create an airtight closure that preserves freshness and prevents freezer burn. Finally, season again after layering to ensure maximum flavor before roasting. For a cost-effective meal, the entire Dutch oven pork roast with sweet potatoes serves four people at approximately $10 total. Drying the pot thoroughly after cleaning prevents rust formation and maintains the seasoning layer.

HOMEMADE TASTE: Indulge in the heartwarming flavors reminiscent of grandma's kitchen, with each spoonful of our Delicious Sweet Potato Casserole.


Temps and Timings: When to Turn Your Oven Up or Down
Starting the oven at 450°F gives the pork a quick, hard sear. After 30 minutes, lower the temperature to 350°F to prevent the outside from burning while the inside remains raw. Cover the pot immediately to trap moisture, then cook for 1 hour and 30 minutes. For faster results, increase the oven to 375°F and cook for about 50 minutes overall—adding apples at the 30-minute mark for extra flavor. If you’re using a convection oven, lower the temperature to 300°F to ensure even heat circulation. When adding sweet potatoes, slice them uniformly to promote even cooking during the final 40 to 45 minutes. Don’t forget to splash some cooking wine when you deglaze—the extra depth of flavor enhances the sauce effortlessly.
One-Pot Pork Roast: Internal Temp Targets and Fork-Tender Tests
Internal temperature targets are your best guide to ensuring pork roast is cooked safely and achieves the desired tenderness. For pork loin, aim for an internal temperature of 145°F; at this point, the center should be pale pink with clear juices, confirming safety without overcooking. Pull the roast from the oven at 150°F so carryover heat naturally pushes it to 160°F, achieving optimal juiciness and texture. For tougher cuts like shoulder, cook until the internal temperature reaches 190°F to 205°F to effectively break down collagen and make the meat fork-tender. Use a meat thermometer inserted into the thickest part of the roast to monitor these temperatures accurately. Without a thermometer, you can perform the fork-tender test: if a fork twists easily at the center, your meat has reached the desired doneness. For pulled or shreddable meat, try the two-fork pull test—if the meat separates easily without resistance, it’s ready. Following these temperature guidelines prevents results that are too chalky or tough, ensuring juicy, tender pork every time. To maintain moisture during cooking, add about ½ cup chicken broth midway through the process. For a similarly crisp exterior on other dishes, you can use a water tray in the oven to create steam and enhance crust formation. For campfire cooking, proper charcoal placement under and on the lid helps maintain even heat for consistent results.
The 15-Minute Rest Rule That Keeps Your Pork Juicy and Tender
Rest your pork roast for at least 15 minutes after cooking. This allows juices to redistribute into the meat fibers, preventing them from escaping when you slice. Pull the roast from the heat at 140°F and let carryover heat safely raise the internal temperature to about 145°F during the rest. During this time, loosely tent the meat with foil—avoid wrapping it tightly—to prevent steaming the crust. For a crowd-pleasing dessert to serve alongside, you could also prepare a simple Dutch oven peach cobbler using cake mix. This resting period is especially crucial for lean cuts like pork loin, as it reabsorbs residual juices, resulting in a juicier, more tender slice. Only cut into the meat after the full 15-minute rest and slice against the grain into ½-inch pieces for optimal texture. To protect your cookware after searing the roast, let it cool before washing to avoid thermal shock. After cleaning and drying the Dutch oven, applying a thin layer of oil to the cooking surface maintains its seasoning and prevents rust.
How to Turn Pan Juices Into Gravy for Your One-Pot Pork Roast
To turn pan juices into gravy, start by measuring 2 tablespoons of the rendered fat from the roasting pan and warming it over low heat. Whisk in an equal amount of flour to create a roux, cooking it for 1 to 2 minutes until lightly golden. Remove the pan from the heat, then slowly add a mixture of the drippings and broth, whisking constantly to prevent lumps. Continue until you have about 1 cup of liquid. Allow the juices to sit for about 10 minutes until fat rises to the top to separate before adding to the gravy. Bring the mixture to a boil and then reduce the heat to simmer, cooking for 3 to 10 minutes until the gravy thickens to your desired consistency. Finally, season with onion powder, garlic powder, thyme, and sage to taste. For a complementary wine, a dry Riesling pairs beautifully. A crisp salad with arugula and apples provides a fresh counterbalance to the richness of the gravy. Serve the gravy hot over your pork for maximum flavor.

PANTRY STAPLE: Our quick-dissolving flour for thickening your sauces and gravies easily

One 2 pound bag of All Purpose Flour

One 5 pound bag of All Purpose Flour