You can place an oven-safe meat thermometer at your oven’s center rack to verify its actual temperature against the displayed setting. Preheat to 350°F, then take readings every 15 minutes for two hours to track fluctuations. Calculate the average temperature from your measurements. Most ovens vary 25-50°F from their dials, affecting how your baked goods cook. Understanding this gap helps you make precise adjustments for consistent, quality results every time you bake.
Why Oven Temperature Accuracy Matters
If you’ve ever pulled a batch of cookies from the oven only to find them simultaneously burnt and underbaked, you’ve experienced the consequences of temperature inaccuracy.
Your oven’s temperature directly impacts baking consistency and final product quality. Even a 25°F deviation from recommended settings greatly alters outcomes—starches won’t gelatinize properly at 140°F, and proteins won’t coagulate effectively to establish structural integrity. Preheating a skillet is essential for achieving the desired results in baked goods. Temperature fluctuations cause gases to escape prematurely, resulting in poor rise and undesirable texture.
Real-world testing reveals most ovens deviate 25-50°F from displayed settings. This inconsistency explains why you get overbaked, dry goods or underbaked, doughy results. Accurate temperature measurement guarantees even cooking throughout, preventing quality issues that directly affect consumer satisfaction and your bakery’s reputation. Understanding temperature fluctuations in outdoor cooking can also help ensure your Dutch oven meals turn out perfectly every time.
Understanding Different Types of Thermometers
The right thermometer makes all the difference when you’re verifying oven temperature. Instant read thermometers give you quick readings in seconds, though they’re not designed for prolonged cooking periods. If you prefer continuous monitoring, wireless thermometers connect via Bluetooth or Wi-Fi, letting you track temperature remotely without opening your oven door.
For serious cooks, probe thermometers with multiple internal sensors and ambient sensors provide simultaneous meat and oven readings. Meat thermometers allow for optimal cooking by ensuring the core temperature is reached. Dial thermometers offer a battery-free option, though they respond more slowly. Digital probes deliver superior precision and real-time updates compared to analog models. Using a meat thermometer eliminates guesswork and ensures that your dishes reach the desired temperature safely and consistently.
Your choice depends on your cooking style. Casual home cooks benefit from affordable instant read models, while enthusiasts gain value from wireless options with extended range and multi-sensor capabilities for thorough temperature control.
Preparing Your Oven for Temperature Testing
Before you measure your oven’s temperature, you’ll need to prepare it properly to guarantee accurate results. Start by thoroughly cleaning your oven’s interior, removing grease and food residue that can obstruct heat circulation and skew calibration readings. Inspect the door seal for cracks or looseness that might allow heat escape, affecting temperature stability.
Next, check your heating elements and sensors for wear. Replace any damaged components before testing to guarantee proper oven functioning. Position your center rack at mid-height—this is your testing location for representative temperature readings. The Dutch oven’s excellent heat retention makes it an ideal tool for slowly bringing your oven to the correct temperature over time.
Finally, run a quick inspection of your oven’s overall condition. If cleaning and basic adjustments don’t resolve temperature inconsistencies, consider scheduling professional service. Proper oven maintenance is essential for accurate calibration testing. Additionally, ensure you use an oven-safe thermometer to monitor the oven temperature effectively while cooking.
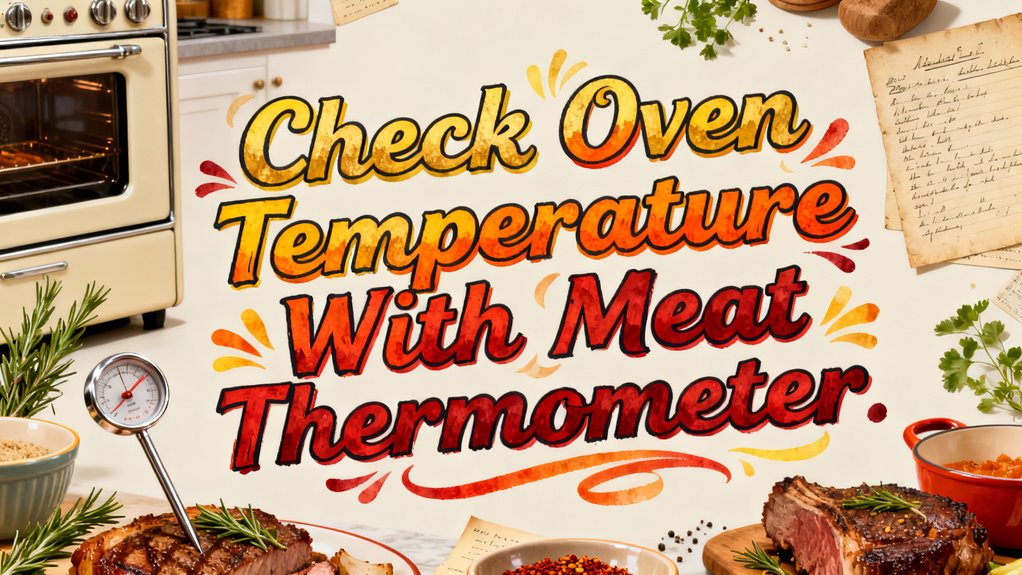
Step-by-Step Process for Checking Oven Temperature
Now that you’ve prepared your oven properly, you’re ready to check its temperature accurately using a meat thermometer. First, position the probe at the center of your oven rack, away from walls and heating elements. Once your oven reaches 350°F and fully preheats, observe the thermometer reading and compare it to your set temperature. Take readings every 15 minutes over a two-hour period to monitor temperature fluctuations and assess overall oven performance. Record all measurements carefully. Use a thermometer with a visible digital display or dial face to minimize door openings. Note any deviations and calculate the average temperature. This systematic approach guarantees you accurately evaluate your oven’s reliability and identify any calibration needs. For best results, use a thermometer on matte-finish cast iron pans to ensure accurate temperature readings.
What Your Thermometer Reading Reveals
Your meat thermometer readings reveal critical insights into your oven’s actual performance versus its displayed settings. When your thermometer reading exceeds your oven’s dial setting, you’re working with a hot oven that’ll cook faster than expected. Conversely, lower readings indicate a cool oven requiring extended cooking times. These temperature insights guide essential adjustments to prevent undercooking or burning your meals. Disparities between oven temperature and meat internal temperature readings signal potential heat distribution issues or calibration problems within your appliance. Moreover, ensuring thermometer accuracy is crucial for food safety and quality. By analyzing both readings simultaneously, you’ll diagnose whether your oven runs consistently hot or cool. This data empowers you to modify your oven settings or cooking durations accordingly, ensuring reliable, predictable results aligned with recipe requirements and food safety standards. Understanding how the name ‘Dutch oven’ reflects its English origins can further enhance your appreciation for effective cooking techniques.
Adjusting Your Oven Based on Results
Once you’ve identified whether your oven runs hot or cold, you’ll need to make targeted adjustments to bring it into proper calibration. For analog ovens, remove the knob and turn the set screw clockwise to lower temperature or counterclockwise to raise it. Digital ovens require accessing the calibration mode through your keypad settings. Additionally, using a specialized high-temperature thermometer can ensure that your adjustments are based on precise readings.
Make incremental adjustments—think 1/8 turn or 1°F steps—to avoid overcorrecting. After each adjustment, retest your oven using the same thermometer placement on the center rack, preheating to 350°F for 20-30 minutes. This consistent thermometer placement guarantees reliable comparisons between tests. It’s also essential to use an oven-safe meat thermometer to ensure accurate readings without risking damage to the device. Record your readings to track progress. If adjustments reach your device’s limit (typically ±35°F) and inaccuracy persists, professional servicing may be necessary.
Important Limitations of Meat Thermometers
While meat thermometers are invaluable tools for evaluating doneness, they come with important limitations that can compromise both accuracy and food safety if you’re not aware of them. You’ll encounter significant measurement errors depending on your thermometer type and sensor quality. Lower temperature sensors maintain only ±0.4°F accuracy within 14-149°F ranges, while accuracy variance increases to ±0.5°F in the critical 149-185°F range for poultry assessment. Placement accuracy also challenges you—inserting your probe in the thickest part of meat away from bone and fat proves essential for reliable readings. Additionally, multiple temperature zones within your oven create uneven heating that thermometers may not accurately reflect, potentially leading to false food safety assessments. Understanding the proper placement of thermometers can enhance both the accuracy of your readings and the safety of your cooking. Furthermore, many meat thermometers lack features like precise temperature calibration that are specifically designed for different cooking methods, which can further complicate achieving the right doneness level.
Best Practices for Accurate Temperature Monitoring
Because understanding your oven’s true temperature is critical to food safety, you’ll need to implement systematic monitoring practices that account for the thermometer limitations discussed earlier. Start with ideal probe placement at your oven’s center rack, away from walls, where air circulates naturally. Use oven-safe probes rated for high temperatures and secure them with clips to prevent movement. After preheating fully, take your initial reading immediately, then record temperatures at 15-minute intervals for at least two hours. This reveals your oven’s oscillation pattern. Allow temperature stabilization techniques—letting readings settle for several seconds—before recording data. Additionally, consider using advanced models like smart thermometers that incorporate ambient temperature sensors to enhance accuracy in monitoring your cooking environment. Calibrate your thermometer regularly using ice water or boiling water methods. These systematic practices compensate for measurement variables and deliver reliable oven temperature verification. Regular calibration ensures accuracy by relying on ice water or boiling water as fixed reference points.
When to Recalibrate Your Oven
Your oven’s calibration won’t stay perfect forever. You’ll need to recalibrate when you notice calibration signs like inconsistent cooking results or foods browning unevenly. Don’t wait for a fixed schedule—instead, perform frequency checks based on unexpected changes in your cooking outcomes.
Monitor your oven thermometer regularly. If readings differ by 15°F or more from your set temperature, recalibration is necessary. Differences under 15°F are generally acceptable for most cooking purposes.
Recalibrate after major repairs, component replacements, or power surges. Older ovens may drift gradually, requiring more frequent attention. However, if your oven shows deviations exceeding 30°F or fails to respond to calibration attempts, contact a professional immediately. Don’t attempt DIY fixes for severe temperature fluctuations or electrical issues.