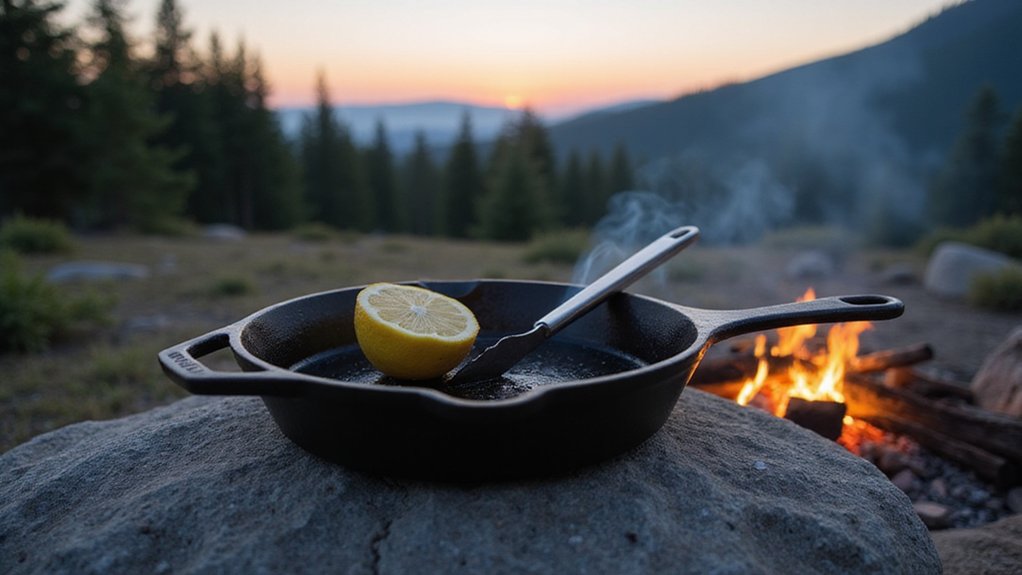
Cooking over an open fire can be tricky, especially when you want your skillet to stay well-seasoned and your food to turn out just right. Instead of flames, using glowing coals provides steady heat that’s easier to control and won’t damage your cast iron.
Mastering how to build and manage those coals makes all the difference, and I’ll show you how to do it right below.
Skip Flames: Why Coals Are Better for Your First Skillet Meal
Coals are better for your first skillet meal because they provide consistent, radiating heat that you can easily control. Unlike open flames, coals stay hot longer and allow you to rake them closer for a sear or move them farther away for gentle simmering. This steady heat helps prevent food from burning or sticking, making it easier to cook eggs, sausage, or fish perfectly. Using coals also reduces the risk of thermal shock, which can crack your cast iron or remove its seasoning. For authentic smoke flavor, choose hardwoods like oak or apple, known for producing aromatic embers, rather than softwoods that create acrid soot. Additionally, coals minimize dangerous flare-ups caused by dripping fats, giving you safer, more predictable cooking conditions. Build a fire, let it burn down until you have an even bed of glowing coals, and you’ll gain excellent control over your skillet’s temperature every time. Waiting until the flames die down and the coals turn white optimizes heat for thorough cooking, ensuring your skillet meal is evenly cooked without burnt spots. For stubborn residue, however, some sources recommend using warm soapy water with a stiff-bristled brush instead of boiling water, which can open the metal’s pores and cause rust. If your skillet does develop rust from moisture or residue, you can restore it by spraying with vinegar and letting sit for up to 30 minutes to loosen the damage before reseasoning. For a perfect sear on steak, baste the meat with a mixture of melted butter, garlic, and fresh herbs like rosemary to enhance flavor while monitoring internal temperature.


8 LB. BAG ALL-NATURAL HARDWOOD LUMP CHARCOAL FOR GRILLING, SMOKING & OUTDOOR BBQ COOKING – Upgrade your grilling experience with Mr. Bar-B-Q Lump Charcoal, made from a premium blend of 100% natural hardwoods for a clean, hot, and flavorful burn. Perfect for charcoal grills, smokers, kamado cookers, and portable BBQ setups, this high-quality lump charcoal delivers rich smoky flavor, consistent heat, and low ash for better performance and easier cleanup. Whether you're firing up a chimney starter, searing over high heat, or slow-smoking your favorite meats, poultry, seafood, or vegetables, this charcoal is the ideal choice for BBQ enthusiasts, grill masters, and outdoor cooks.

Provides an authentic southern BBQ flavor
Avoid Hickory and Mesquite: Best Woods for Open Fire Cooking
Avoid hickory and mesquite when cooking over an open fire, especially for your first attempt, because their intense, sometimes acrid smoke can overwhelm your skillet meal. Instead, choose hardwoods that produce subtle flavor infusions. Oak burns hot and steady, making it reliable and long-lasting. Apple wood offers sweet heat and imparts a mild aroma, with around 30 million BTUs per cord, providing a balanced cook. Cherry wood gives gentle, smoky coals that add a subtle fruitiness to your food. Beech and alder are also excellent options: alder especially suits lighter meats with its delicate smoke, while beech provides a consistent, clean burn. For a slow-cooked effect, a Le Creuset Dutch oven can also be used over the fire to infuse rich flavors into chicken. Hardwood lump charcoal, made from burnt hardwood without binders, is a versatile alternative to briquettes, offering a cleaner burn and better flavor for skillet cooking. For precise control over ingredient doneness, you can adapt the sous vide cooking technique to pre-cook eggs before finishing them in the skillet. Similarly, to keep extra fillets fresh, you can use a water submersion method for freezing salmon without a vacuum sealer.
Always remember to season your wood properly; dry it for at least six months until its moisture content falls below 20%. Green wood smokes excessively and can spoil your food with bitter flavors. Avoid softwoods like pine because they emit toxic smoke and create creosote. Poplar is best skipped too, as it leaves a bitter aftertaste. Focus on seasoned fruitwoods or dense hardwoods to ensure you get clean heat and the best flavor for your skillet cooking.
Build an Open Fire That Protects Your Skillet’s Seasoning
Controlling the flame’s intensity and your skillet’s distance from the heat is essential to protecting your seasoning while cooking over an open fire. As soon as the oil starts smoking, pull the skillet away from direct flames to prevent carbonization, which can damage the seasoning layer. Position the fire so that heat radiates gently, avoiding direct, blasting flames. Using larger sticks that are counterweighted on the fire helps stabilize the heat source and reduces flare-ups, maintaining consistent temperature. Rotate the skillet every minute to distribute heat evenly and prevent hot spots that could strip the seasoning. After the fire burns out, hanging the skillet on a fork stick with a counterweight allows for controlled cooling before further handling. Unlike a regular vacuum cleaner, which is not designed for vacuum sealing food properly, your open-fire cooking method similarly relies on dedicated techniques to preserve your skillet’s seasoning. For a similar approach to gentle heat, you can adapt the method of covering and simmering a dish over coals with a lid. To maintain that protective layer, you should always wipe off the excess oil after coating to achieve a dry, matte finish.
Select hardwoods like oak or hickory for steady, low-flame heat since they burn longer and produce less intense flames. Avoid using woods that cause sudden bursts of flame, as these can scorch the seasoning. Carefully layer sticks to build a bed of glowing coals instead of a roaring fire, which offers more controlled and even heat. Construct a fire ring that directs heat upward toward the skillet base, ensuring an even cooking environment without excessive flare-ups. Proper fire management helps preserve your skillet’s seasoning while still providing effective heat for cooking.

Reliable Heat Resistance: Designed for skillets 9 inches and larger, the Lodge Silicone Hot Handle Holder delivers a secure grip on hot cookware with heat resistance up to 500°F

VERSATILE: Our premium cast iron Ooni skillet pan is perfect for cooking meat, seafood, vegetables and much more!
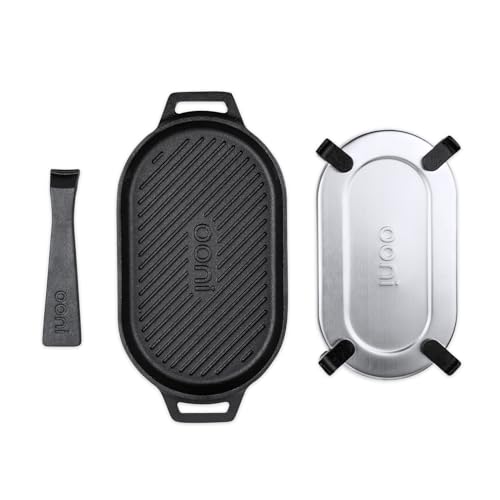
STRONG: The sleek, sturdy Nordic design allows you to move your cast iron pan in and out of your Ooni with ease.
The 15-Minute Preheat Rule for Perfectly Nonstick Cooking
Preheating your cast iron skillet for 10 to 15 minutes is essential for achieving a nonstick surface that works reliably. This duration allows the pan to warm evenly and reach about 400°F, which is ideal for most cooking tasks. Proper preheating helps maintain the seasoning by warming it gradually, preventing hot spots that can damage the surface. Similarly, ensuring your vacuum sealing bags are compatible with your sealer is key to locking out moisture and odors effectively, just as Kirkland bags offer a cost-effective alternative for FoodSaver users. You can also adapt this technique to achieve a fall-apart tender texture when braising hearty meats in a covered cast iron skillet. The skillet’s superior heat retention allows for even distribution and moisture retention, enhancing flavor during braising or slow-cooking.
Start with low heat or coals and gradually increase the temperature, rotating the skillet every few minutes to promote uniform heating. A slow, steady approach respects the thermal conductivity of cast iron, spreading heat evenly across the entire surface. This process avoids thermal shock that can crack or warp the pan and preserves the seasoning layer.
To verify the skillet’s readiness, perform a water drop test: sprinkle a few drops of water onto the surface. If they sizzle, dance, and evaporate quickly, your pan is at the right temperature. Never rush through this process—rushing can compromise the seasoning, resulting in food sticking and uneven cooking. Taking your time ensures the best nonstick performance and longevity of your cast iron skillet.

Deep Cooking Capacity: The Lodge Cast Iron Covered Deep Skillet features a spacious design with extra room for braising, frying, and sautéing family-size meals for versatile everyday cooking

Seasoned with oil for a natural, easy-release finish that improves with use

CAST IRON SKILLET PAN: Our high-quality fajita pan is seasoned with non-GMO, Kosher-certified flaxseed oil and is PTFE- and PFOA-free for better & healthier food. Plus, the textured engineered surface maintains seasoning better than milled-smooth pans.
Hot Pan, Cold Fat: The Open Fire Nonstick Secret
Preheat your cast iron skillet until it is evenly hot before adding cold fat. Heating the empty pan first ensures consistent heat distribution, preventing hot spots that can cause food to stick or burn. When you introduce cold fat into the hot pan, it shimmers instantly and produces a beading effect known as the Leidenfrost effect—this indicates the surface is at the right temperature. This quick reaction seals the microscopic pores in the cast iron, protecting its seasoning and stopping the fat from soaking in and degrading the surface. Keep the heat around level 4 out of 9; too much heat vaporizes the fat too quickly, leading to stickiness. Use fats with high smoke points, like beef tallow or avocado oil, which can withstand higher temperatures without burning immediately, ensuring your food releases cleanly from the pan. The secret is hot pan, cold fat, and just the right temperature for a reliable nonstick experience. This technique relies on a well-maintained seasoning layer to create the optimal surface, preventing rust and ensuring the skillet functions like new. This technique is similar to searing chicken thighs to a golden brown, where the hot pan creates a crisp skin and prevents sticking. Seasoning the skillet in the oven with multiple rounds of oiling and baking builds a durable layer that supports this technique.
No Thermostat? Just Add or Remove Coals to Control Heat
To control heat without a thermostat, adjusting coals is key. Cluster coals tightly for more intense heat, ideal for searing, or spread them out for a cooler zone to finish cooking. Pushing most coals to one side creates a hot side perfect for high-temperature tasks and a cooler side for delicate finishes. Listen closely: a sizzling sound indicates low heat, while popping signals a high fire. To keep temperatures steady, replenish coals around the perimeter every 30–40 minutes; this helps maintain consistent heat throughout your cook. This technique mimics the multiple heat zones of historical wood stoves, allowing versatile cooking methods.

Note: TANK AND PROPANE ADAPTER ISN’T INCLUDED. For first-time use, the recommended knob rotation range is 30° to 90°.

17-inch diameter grill grate that can be easily adjusted to a desired height
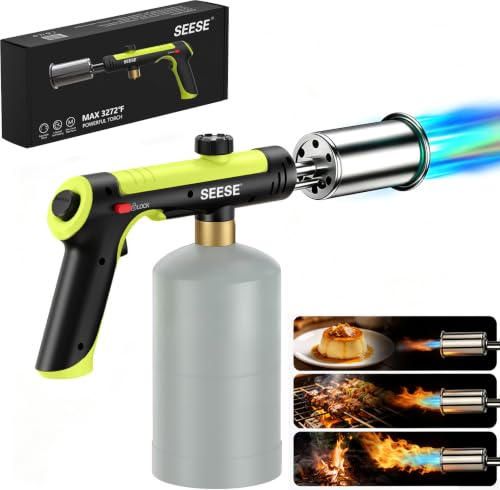
【🛡️ Dual-layer Security Protection】Secure gas seal minimizes leaks, and a safety lock blocks accidental use of the max flame button.Certified Safety Standard – Tested and approved to UL147 Safety Standard, ensuring stable ignition, leak-proof fuel flow, and reliable operation. Use with confidence knowing your torch meets US safety requirements.
Pile Coals on the Lid for Even Open Fire Skillet Cooking
To create an oven-like environment with your open fire skillet, pile about 15 to 20 briquettes on the lid. This setup directs heat from above, ensuring your food cooks evenly. Because heat naturally rises, you need a 2:1 top-to-bottom coal ratio for balanced warmth. Arrange the briquettes in a tight circle on the lid to maximize heat transfer. Use long-handled tongs to place the coals safely, avoiding burns or accidents. For similar results when baking bread, you can achieve a crisp crust and good oven spring by steaming with a cast iron skillet filled with boiling water placed in the oven.
Ground surface protection is essential—place charcoal on gravel or aluminum foil to prevent fire hazards. A tightly fitting lid keeps ash out of your food and maintains consistent heat. This method compensates for uneven fires, enabling baking or roasting with even heat from all directions.
Rotate the Skillet Every Few Minutes to Beat Wind and Hot Spots
Rotating your skillet every few minutes is essential during cooking sessions affected by unpredictable winds. A quarter-turn every few minutes helps counteract erratic gusts that push the flame unevenly around the pan. This simple motion redistributes heat across the skillet, preventing one side from scorching while the other remains raw. During preheating, rotate the skillet on low to medium-low heat for 5–10 minutes, ensuring the heat penetrates evenly through the iron. Without this rotation, hot spots will develop, especially when the skillet overhangs the fire’s edge. Regularly turning the skillet also helps maintain seasoning by promoting even heat distribution, which facilitates consistent polymerization of oil surface layers. During a sear, rotating every couple of minutes keeps browning uniform, effectively managing the fire’s variability rather than just reacting to it. This technique echoes the method for keeping chicken breast moist in a Dutch oven by ensuring even heat distribution and preventing dry spots.
Clean Cast Iron Without Soap or Thermal Shock
After cooking, avoid soap and thermal shock to maintain your cast iron skillet’s seasoning. Instead, pour coarse kosher salt into the warm pan and scrub with a damp paper towel. The salt gently lifts stuck food without stripping away the seasoning layer. Alternatively, fill the skillet with water and bring it to a boil for ten minutes to loosen stubborn bits. After boiling, scrape the residue and rinse with hot water. Scraping with a metal spatula can help dislodge loosened food particles during this process. It’s crucial to dry the skillet immediately over medium heat to prevent water from seeping into the metal’s pores, which can cause rust. Once dry, apply a thin layer of oil inside and outside, then wipe off the excess. To achieve a crispy crust similar to cornbread baked in a preheated skillet, heat the cast iron with butter before adding batter. Store the skillet with a paper towel inside to keep it smooth, non-stick, and rust-free. For cleaning enameled cast iron, however, soap and warm water are safe to use with a soft sponge. For best pizza results, preheat your oven to 475-500°F before baking.

For All Seasons: No pun intended! Whether it’s your next dinner party or a night in, our non iodized salt kosher option has you covered
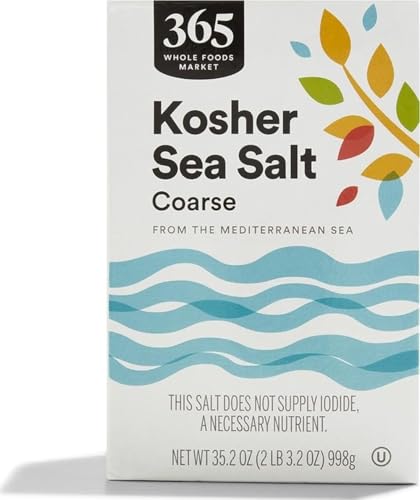
Premium kosher sea salt from the Mediterranean

GOURMET COARSE KOSHER SALT: Harvested from ancient mineral deposits formed millions of years ago, this natural rock salt is unrefined and contains additive free. The coarse crystals enhance texture, flavor release, and presentation in both everyday cooking and gourmet recipes.